4x5 Inches in Pixels: DPI Conversions, Print Quality, and Resizing Guide
Learn how to convert 4×5 inches to pixels at common DPIs, choose the right DPI for print or web, and follow step‑by‑step resizing, cropping, and prep tips.

This guide explains how to convert a 4×5-inch size into pixels using DPI (also called PPI for print), plus how to choose the right resolution for web and print. You’ll also find practical workflows for resizing, cropping, and preparing files, along with quick-reference tables for common DPIs. If you need a fast answer or a deeper dive, the sections below are organized to help you get from question to print-ready or web-ready in minutes.
4×5 Inches in Pixels: DPI Conversions, Print Quality, and Resizing Guide


TL;DR
- “4×5 in pixels” depends on DPI (also called PPI for print). Pixels = inches × DPI.
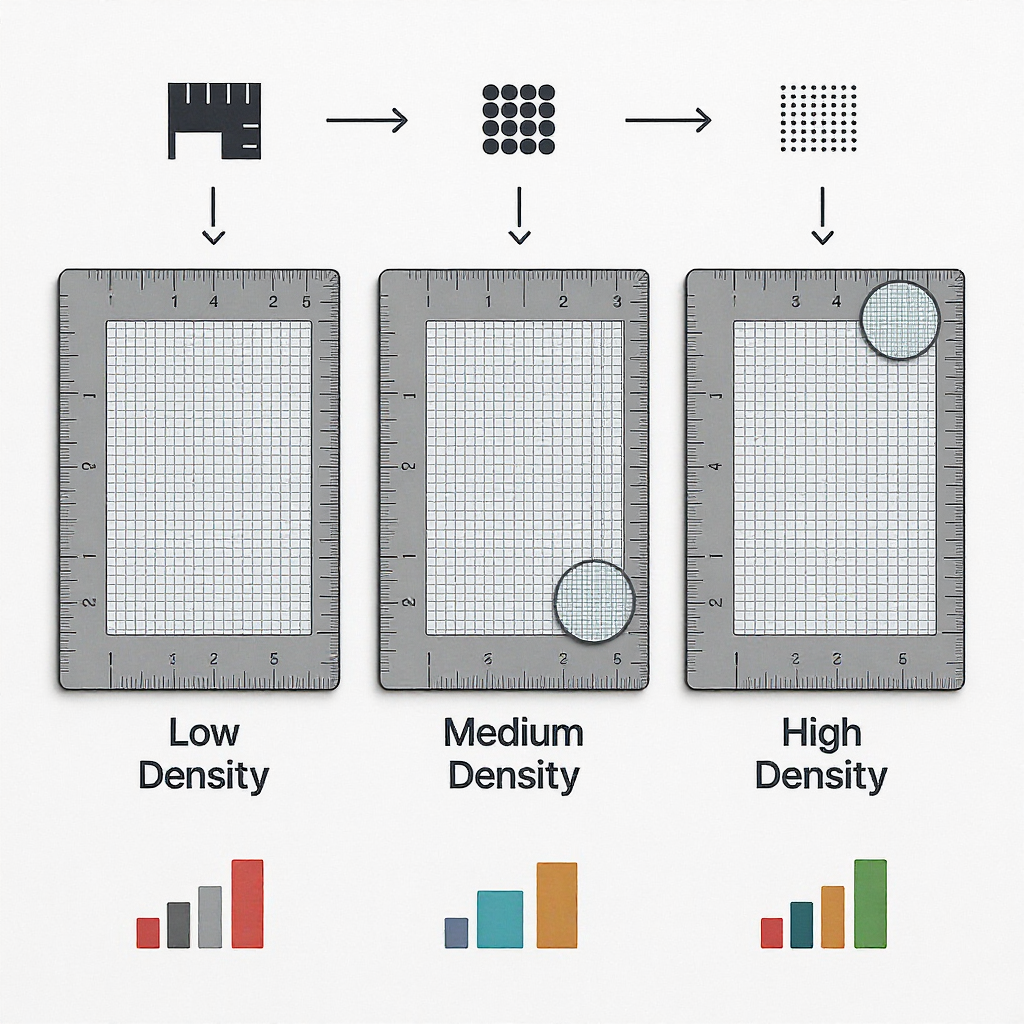
- Popular 4×5 pixel sizes: 72 DPI (288×360), 96 DPI (384×480), 150 DPI (600×750), 200 DPI (800×1000), 300 DPI (1200×1500), 600 DPI (2400×3000).
- For crisp small prints, 300 DPI is the safe default. For web, pixel dimensions matter—DPI does not.
What “4×5 in pixels” actually means
“4×5” describes the physical size in inches, not pixels. To talk about pixels, you must specify DPI (dots per inch) or PPI (pixels per inch). The math is straightforward:
- Width in pixels = width in inches × DPI
- Height in pixels = height in inches × DPI
Orientation:
- 4×5 (portrait) = width 4", height 5"
- 5×4 (landscape) = width 5", height 4"
Both are the same 4:5 aspect ratio (ratio of width:height), just rotated.
Key point for screens:
- Monitors care about pixels, not inches. A 1200×1500 image looks the same on the web regardless of its PPI metadata. PPI only changes print size unless a program rescales.

The conversion formula (pixels = inches × DPI)
Use this for any target:
- px_w = in_w × DPI
- px_h = in_h × DPI
Quick mental-math workflow:
- 300 DPI: multiply inches by 3, then append two zeros (4" → 4×3=12 → 1200 px).
- 150 DPI: half of 300 DPI (so 1200→600; 1500→750).
- 600 DPI: double the 300 DPI numbers (1200×2=2400; 1500×2=3000).
- 96 DPI: 100 DPI minus 4%. For 4", that’s ~400 − 16 = 384.
- 72 DPI: 3/4 of 96 DPI. For 4", 384 × 0.75 = 288.
Code snippet to compute any size:
def inches_to_pixels(width_in, height_in, dpi):
    return int(round(width_in * dpi)), int(round(height_in * dpi))

print(inches_to_pixels(4, 5, 300))  # (1200, 1500)
Quick answers at popular DPIs
Here are the 4×5 pixel dimensions at common DPIs:
| DPI | 4×5 in pixels (portrait) | 5×4 in pixels (landscape) |
|---|---|---|
| 72 | 288 × 360 | 360 × 288 |
| 96 | 384 × 480 | 480 × 384 |
| 150 | 600 × 750 | 750 × 600 |
| 200 | 800 × 1000 | 1000 × 800 |
| 300 | 1200 × 1500 | 1500 × 1200 |
| 600 | 2400 × 3000 | 3000 × 2400 |
Which DPI should you choose?
| Use case | Typical DPI | Notes |
|---|---|---|
| Web/social | N/A (pixels only) | PPI metadata is ignored on screens. Size to pixel dimensions you need (e.g., 1080×1350). |
| Home/desktop prints (small) | 300 DPI | Standard for crisp results at close viewing distances. |
| Pro lab prints | 300 DPI (or lab-specified) | Some labs accept 240–300 DPI; follow their template if available. |
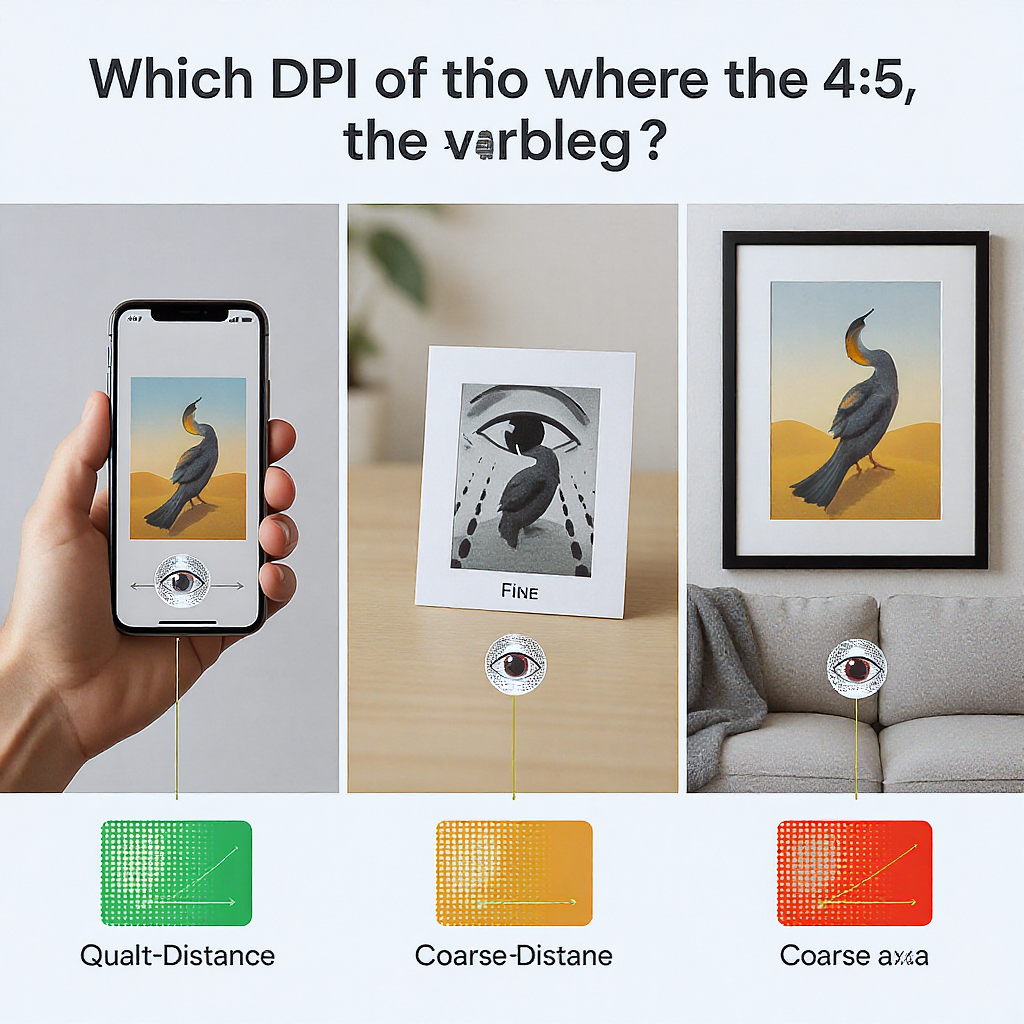
| Large posters | 150–200 DPI | OK when viewed from several feet away; higher DPI if detail matters up close. |
Minimums for crisp results:
- Small, handheld prints: 300 DPI strongly recommended.
- Medium wall prints: 240–300 DPI preferred, 200 DPI acceptable.
- Large signage/posters: 150–200 DPI may suffice due to viewing distance.
Where the 4:5 ratio shines
- Classic photo sizes: 4×5, 8×10, and 16×20 share the 4:5 ratio—easy enlargement without cropping.
- Framing/matting: Many off-the-shelf mats and frames are built around 4×5 and 8×10 apertures.
- Social media portrait crops: 1080×1350 is a 4:5 example often used for portrait/vertical posts on popular platforms. It maximizes screen real estate without awkward cropping.
Resizing without distortion
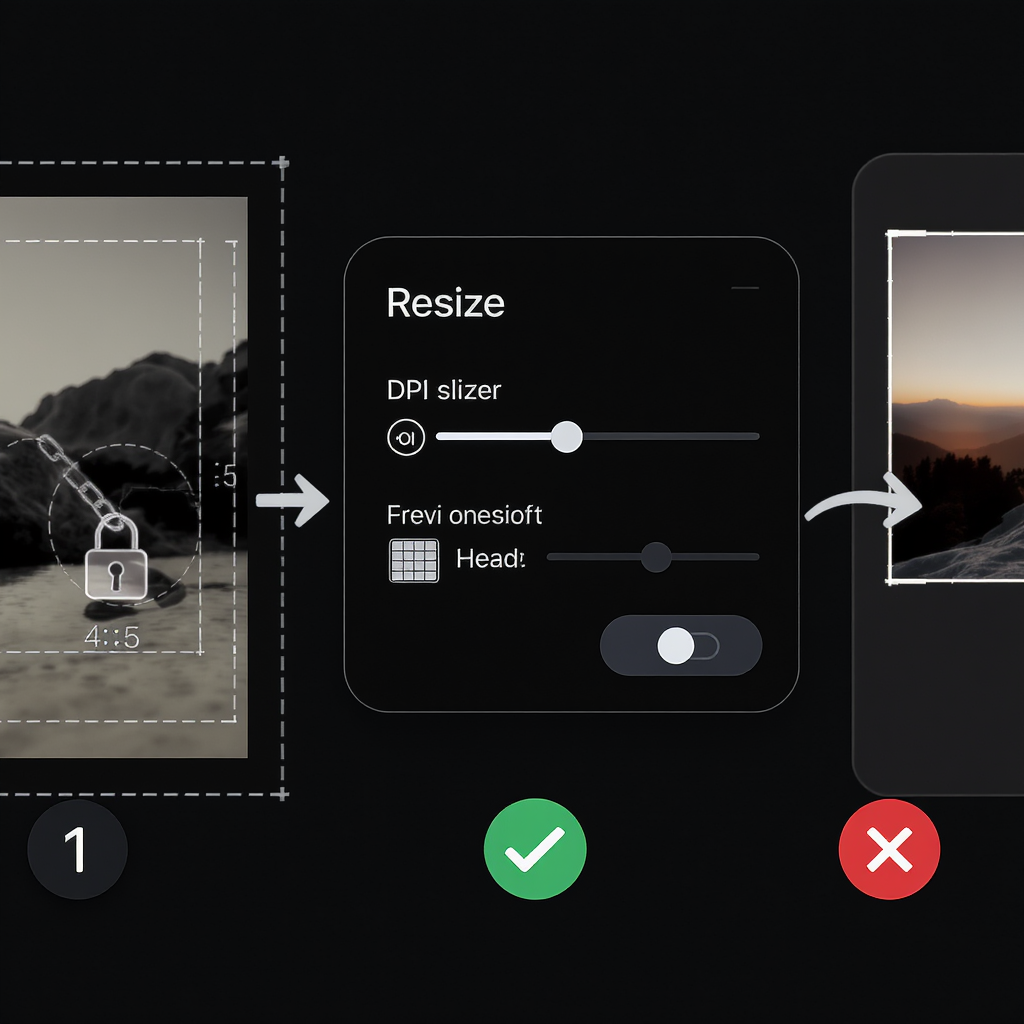
Always preserve the 4:5 aspect ratio to avoid squishing.
Options:
- Crop: Trim edges to fit the 4:5 frame. Best when there’s extra background space.
- Letterbox/pad: Add borders to fit 4:5 without losing content (use matching or white/black background).
Safe cropping tips:
- Keep eyes and key text inside a “safe zone” (~5–10% in from each edge).
- Avoid cropping at joints (elbows, knees) or cutting off chins/foreheads awkwardly.
Step-by-step workflow in common editors:
- Photoshop
- For exact pixel size: Image > Image Size. Check Resample to change pixel count. Enter 1200×1500 for 300 DPI prints or your target pixels.
- For aspect-correct crop: Crop Tool, set Ratio 4:5 or 1080×1350, reposition, Apply.
- For padding: Image > Canvas Size, anchor center, set target pixels, choose canvas color.
- GIMP
- Image > Scale Image for pixel dimensions; set Interpolation to Cubic or LoHalo for quality.
- Crop Tool with Fixed: Aspect ratio 4:5.
- Image > Canvas Size to add padding.
- Affinity Photo
- Document > Resize Document for pixel or inch+DPI targets.
- Crop Tool set to 4:5.
- Canva (web)
- Create a custom size canvas (e.g., 1200×1500). Drag image in, crop/position within.
Command-line (ImageMagick) examples:
- Center-crop to exactly 1200×1500:
magick input.jpg -resize "1200x1500^" -gravity center -extent 1200x1500 output.jpgmagick input.jpg -resize "1200x1500" -background white -gravity center -extent 1200x1500 output.jpgPreparing a 4×5 for print
- Bleed and trim
- Typical bleed: 0.125" (3 mm) on all sides. Your exported file size for a 4×5 trim should be 4.25" × 5.25".
- At 300 DPI, that’s 1275 × 1575 px.
- Keep critical content at least 0.125–0.25" inside the trim (safe margins) to avoid accidental cropping.
- Color mode and profiles
- If the printer accepts RGB: use sRGB IEC61966-2.1 and embed the profile.
- If the printer requires CMYK: use their exact ICC profile; soft-proof if possible.
- Do a test print when color is critical.
- Output sharpening
- Apply a final, light print sharpening after resizing to final pixels.
- Starting point (300 DPI small prints): Unsharp Mask ~ Amount 50–100%, Radius 0.7–1.2 px, Threshold 0–3. Adjust by eye.
File formats and compression
- JPEG
- Best for photos with smooth gradients.
- Use quality 80–90 (or “High/Very High”) to avoid banding and blockiness.
- Use progressive JPEG for web when supported.
- PNG
- Great for graphics, logos, text, or when you need transparency.
- Larger files for photos; not ideal for photographic prints due to size.
- TIFF
- Preferred for professional print; supports lossless compression (LZW/ZIP) and 16-bit color.
- Larger files; excellent for preserving maximum quality.
- Workflow tip
- Keep an editable master (PSD/AFPHOTO/XCF). Export flattened JPEG/PNG/TIFF for delivery.
- To reduce gradient banding, add subtle noise (0.5–1%) before export.
Troubleshooting and upscaling
If your image is “too small,” you have two levers: DPI and resampling. Simply changing the DPI tag without resampling does not create pixels—it only changes the print size.
Resampling tips:
- Enlarge in one step using a high-quality algorithm (e.g., bicubic smoother, “preserve details,” or an AI upscaler). Avoid repeated small resizes that compound artifacts.
- Apply noise reduction before upscaling if the image is noisy; apply gentle sharpening after.
- Don’t expect miracles from extreme upscales (e.g., 4× linear/16× area). Moderate upscaling usually looks better.
Quick rule: estimate maximum print size from existing pixels
- inches = pixels ÷ target DPI (calculate separately for width and height).
- Example with an 800×1000 image:
- At 300 DPI → 2.67" × 3.33" (too small for 4×5 at 300 DPI).
- At 200 DPI → 4" × 5" (fits exactly).
- At 150 DPI → 5.33" × 6.67" (larger, but softer up close).
- For handheld prints, aim for ~300 DPI; for wall viewing, 150–240 DPI may be acceptable.
Handy calculator (Python):
def max_print_size(px_w, px_h, dpi):
    return (px_w / dpi, px_h / dpi)

print(max_print_size(1200, 1500, 300))  # (4.0, 5.0)
print(max_print_size(1600, 2000, 240))  # (6.67, 8.33)
Examples you can copy
- 4×5 at 300 DPI for print: 1200×1500 pixels, sRGB unless your lab specifies otherwise; if bleed required, 1275×1575 px.
- Social media portrait at 4:5: 1080×1350 pixels (web-optimized JPEG, quality 80–90).
Final checklist
- Confirm aspect ratio is 4:5 (portrait 4×5 or landscape 5×4).
- Pick DPI for print (300 DPI default) or target pixel size for web.
- Resize/crop or pad without distorting.
- Add bleed if printing; keep critical elements inside safe margins.
- Set color profile (sRGB unless printer specifies CMYK/ICC).
- Apply gentle output sharpening after final sizing.
- Export in an appropriate format (JPEG for photos, PNG for graphics, TIFF for archival/pro print).
- If pixels are limited, consider careful upscaling and manage expectations.
Summary
To convert 4×5 inches to pixels, multiply each inch dimension by your chosen DPI; for example, 4×5 at 300 DPI is 1200×1500 pixels. Use 300 DPI for sharp small prints, preserve the 4:5 aspect ratio when resizing, and ignore DPI for web where only pixel dimensions matter. With the right DPI, bleed, color profile, and gentle output sharpening, you’ll get predictable results on both screens and paper.


