Add Users to Meta Business Suite with Role Permissions
Learn how to add users to Meta Business Suite, assign roles, set asset permissions, and ensure secure, efficient collaboration for your social media team.
Introduction to Meta Business Suite and Adding Users
Meta Business Suite is Meta's integrated platform for managing your brand’s Facebook Pages, Instagram accounts, and connected assets in one place. For businesses running social media campaigns, scheduling posts, handling customer interactions, or monitoring ad performance, knowing how to add users to Meta Business Suite and assign appropriate roles is essential. Doing this correctly enhances collaboration, streamlines workflows, and safeguards your brand’s digital presence.
Meta offers multiple user roles with distinct permission levels:
- Admin – Full control over settings, assets, billing, and permissions.
- Editor – Publish and manage content, handle communications, and review analytics without full admin rights.
- Moderator – Engage with followers, moderate comments and messages.
- Advertiser – Create/manage ads and review performance metrics.

This guide walks through the entire process of adding users, from prerequisites to troubleshooting and security best practices, helping you maintain both productivity and safety in your team’s online operations.
---
Prerequisites: Admin Access, Verified Business Account, Linked Assets
Before inviting people to collaborate:
- Admin Access – Only Admins can add new users and manage roles.
- Verified Business Account – Prevents invite and ownership issues.
- Linked Assets – Ensure your Pages, Ad Accounts, and Instagram profiles are added to Business Suite; this facilitates granting permissions.
Incomplete prerequisites can cause failed invitations or incorrect access allocation, so verify these steps first.
---
Step 1: Log In to Meta Business Suite Dashboard
Access your account at business.facebook.com using your Admin credentials. The Meta Business Suite dashboard provides unified control over connected assets, campaigns, and settings.
Use the left-hand menu to find tools for managing people and permissions.
---
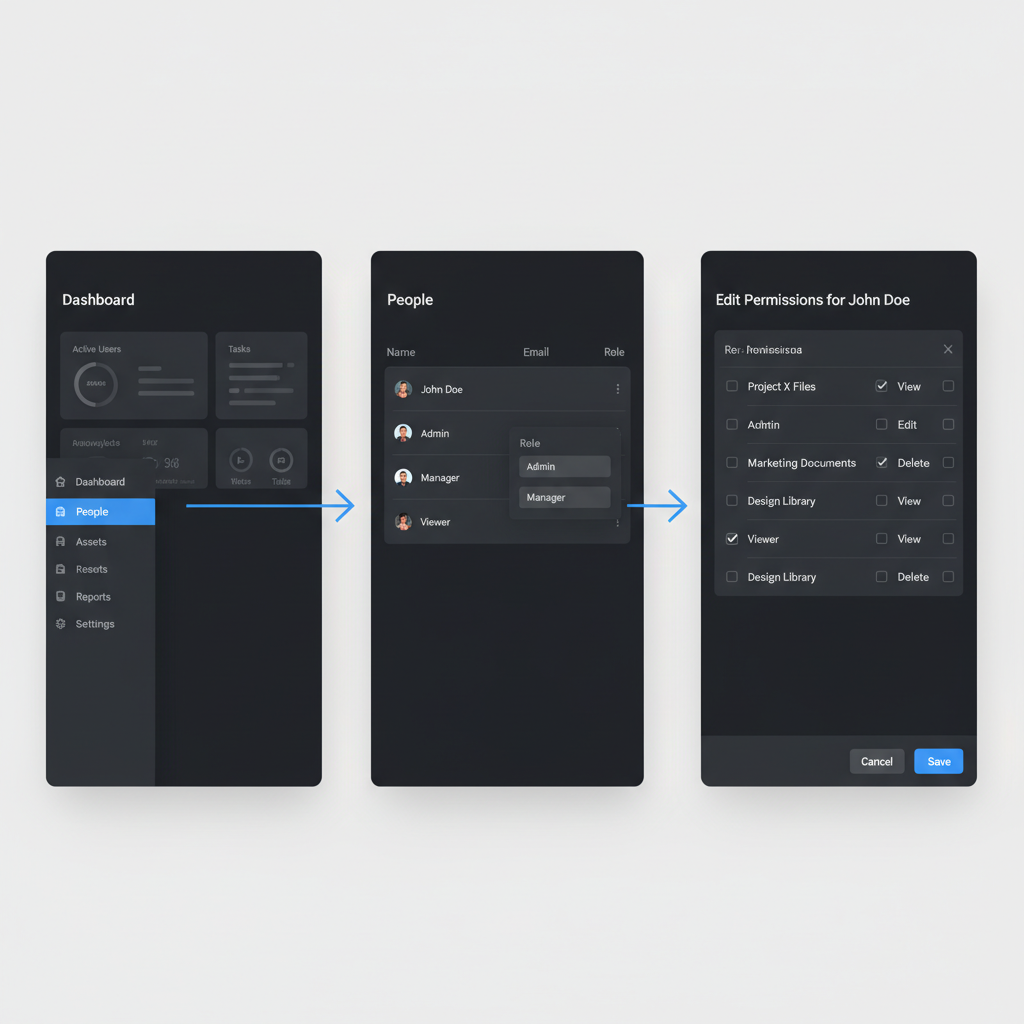
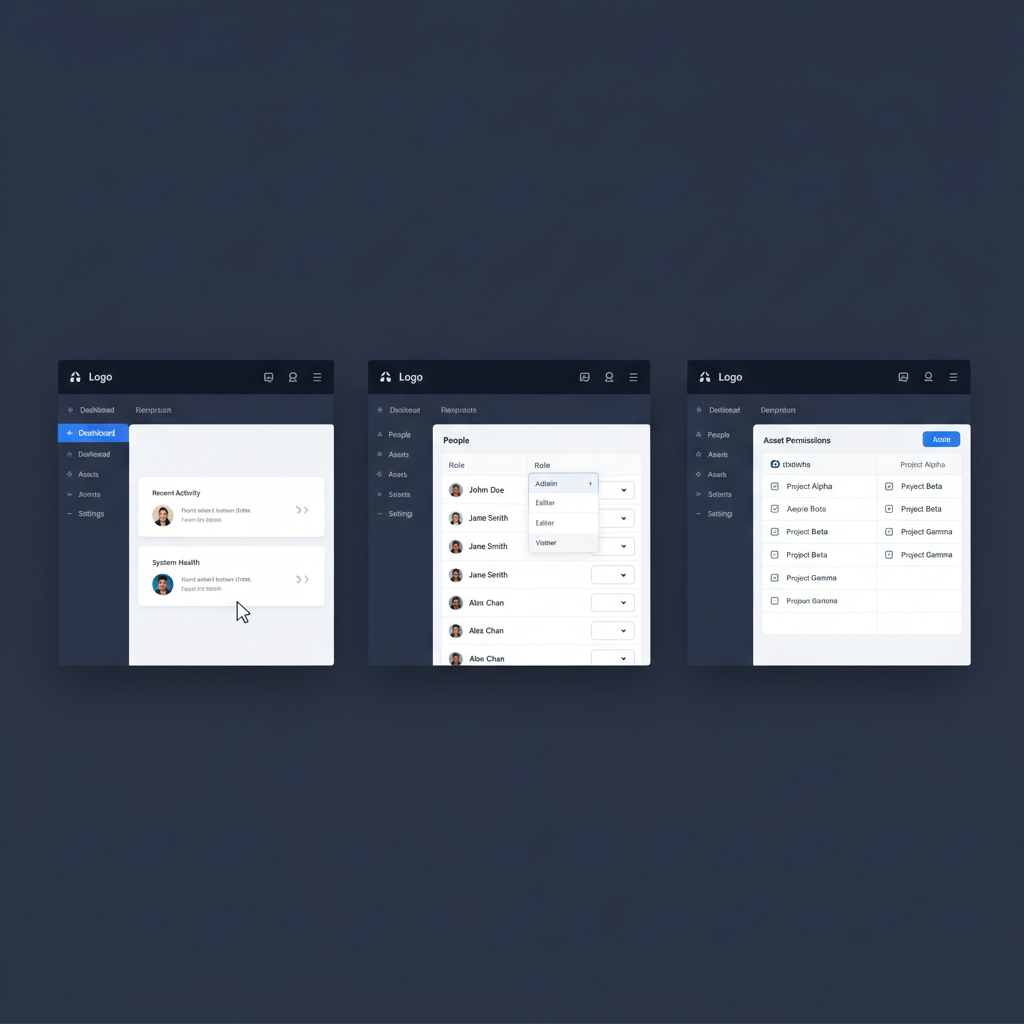
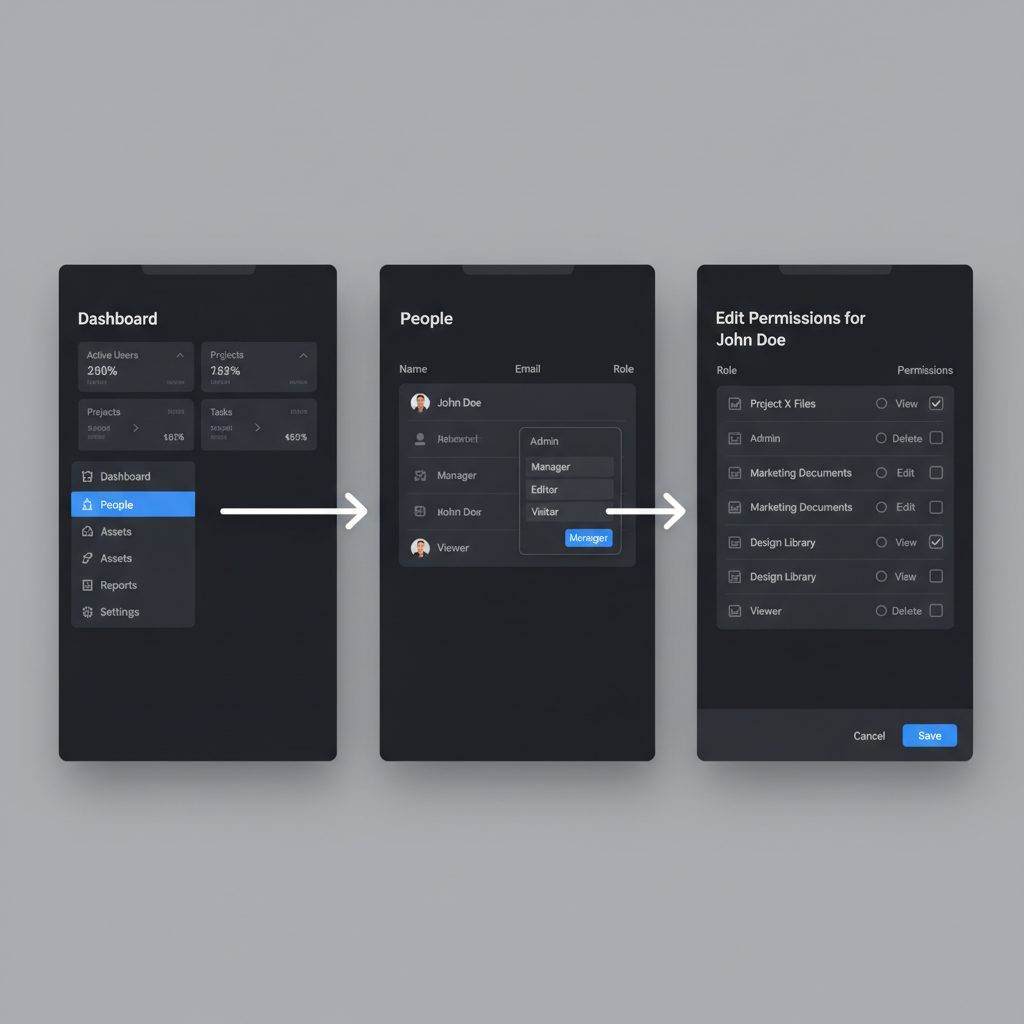
Step 2: Navigate to "Settings" and the "People" Section
From the dashboard:
- Select Settings in the left navigation panel.
- Click People to view current team members, their roles, and asset access.
This section centralizes user management, allowing additions, removals, and role adjustments.
---
Step 3: Click "Add" and Enter the User's Email Address
In People view:
- Hit the Add button near the top right of the list.
- Input the email address linked to the invitee’s Facebook account.
Accurate entry is crucial — typos may delay onboarding or send invites to the wrong person.
---
Step 4: Assign Appropriate Roles (Admin, Editor, Moderator, Advertiser)
After entering an email, choose the correct role based on responsibilities.
| Role | Key Permissions | Ideal Use |
|---|---|---|
| Admin | Manage roles, assets, billing, full settings | Business owners, senior executives |
| Editor | Publish content, moderate comments, view analytics | Social media managers, content teams |
| Moderator | Respond to messages, moderate comments | Community managers, customer support |
| Advertiser | Create/manage ads, view insights | Marketing teams, ad specialists |
Always follow the least privilege principle — grant only necessary access.
---
Step 5: Assign Specific Asset Permissions
With a role set, link the user to specific assets:
- Pages – Which Facebook Pages they can manage.
- Ad Accounts – For ad creation and results monitoring.
- Instagram Accounts – For posting and direct message engagement.
Roles can vary by asset — for example, someone can be an Editor on a Page but only a Viewer on an Ad Account.
---
Step 6: Send Invitation and Guide Acceptance
Once role and asset permissions are configured:
- Click Send Invitation.
- The user receives an email with a link to accept.
- They log into Facebook to confirm access.
Remind them to check spam/junk folders or look under Business Invitations in their Facebook account if the email isn’t visible.
---
Step 7: Confirm Status and Troubleshoot Issues
Return to People to verify:
- Pending – Invitation sent but awaiting acceptance.
- Active – Access granted and in use.
Troubleshooting Tips
- Resend invites if not accepted promptly.
- Double-check the invitee’s email matches their Facebook account.
- Ensure your business account is set as Primary in Business Settings.
- Clear browser cache or switch browsers to resolve technical issues.
---
Best Practices for Secure Team Access
Protect your business assets with these measures:
- Limit Admin Roles – Reserve for key decision-makers.
- Quarterly Reviews – Audit user roles and permissions regularly.
- Enable Two-Factor Authentication – Recommended for all team members.
- Swift Revocation – Remove access when someone departs.
- Maintain Documentation – Record the rationale for each role assignment.
---
Editing or Removing Users Later
To modify or revoke access:
- Go to People.
- Select the user to edit roles or asset permissions.
- Click Remove to revoke all access.
These actions keep your team roster and permissions aligned with current needs.
---
Summary and Call to Action
Successfully adding users to Meta Business Suite involves:
- Logging in to the dashboard.
- Accessing Settings > People.
- Adding the user's email.
- Assigning an appropriate role.
- Setting asset-specific permissions.
- Sending the invite with acceptance guidance.
- Monitoring status and troubleshooting when needed.
By mastering these steps and observing best practices, you’ll run a secure, efficient workflow across Facebook and Instagram. Now that you know how to manage users in Meta Business Suite, put this process into action and empower your team to collaborate seamlessly.