Best Pic Editor for Instagram to Enhance Your Photos
Discover the best free and paid pic editors for Instagram, with features, pros, and cons to enhance photos, boost engagement, and refine your brand.

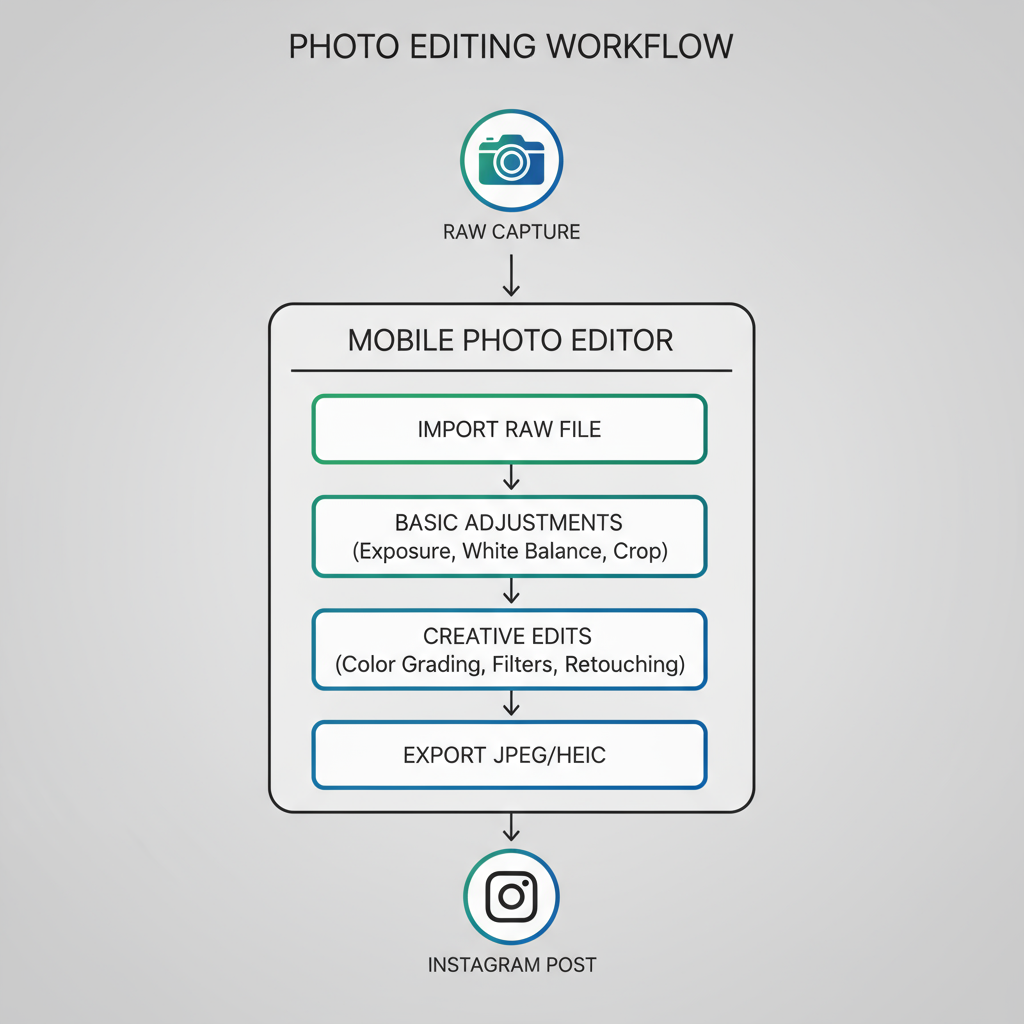
Introduction: Why Image Editing Matters for Instagram Engagement
Instagram is a visually driven platform where you have just seconds to capture someone’s attention. With over a billion active users, your feed is competing against an endless stream of content. Standing out requires more than a nice snapshot — it demands a visually cohesive and polished presentation. The right pic editor for Instagram can transform an ordinary photo into a compelling story that sparks engagement, attracts followers, and strengthens your brand image.
Well-crafted edits enhance colors, refine details, and maintain brand or personal aesthetics, making your profile instantly recognizable. Whether you post casually or operate as a full-time influencer, investing in the best pic editor for Instagram can significantly elevate your visual presence.
---
Key Features to Look for in a Pic Editor
When selecting your editing tool, focus on features that fit your style and posting process:
- Filters & Presets: Instantly establish mood and consistency.
- Retouching Tools: Smooth imperfections, enhance eyes, and refine details.
- Text & Overlay Options: Add creative typography, quotes, or branding marks.
- Layer Support: Work on multiple design elements without damaging the original image.
- Cropping & Ratios: Optimize for Instagram’s key formats (1:1, 4:5, 16:9).
- Export Settings: Retain image quality when exporting for upload.
These core capabilities enable precise adjustments while saving time, benefiting both beginners and advanced creators.
---
Top Free Pic Editors for Instagram
Free apps can deliver high-impact results when you understand their limitations and advantages.
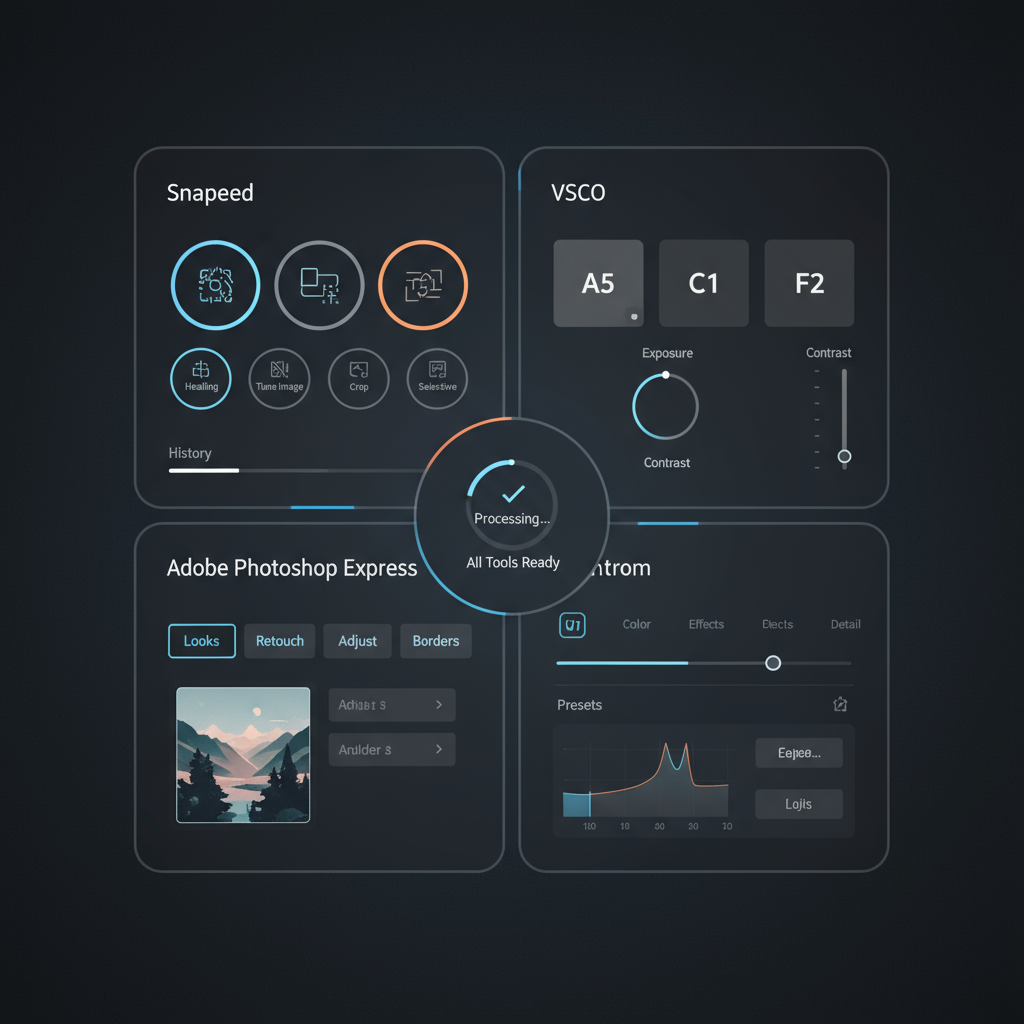
1. Snapseed
Pros:
- Selective editing for detailed control
- Non-destructive “stack” editing workflow
- Completely free with no advertisements
Cons:
- Minimal graphic design tools
- Can feel overwhelming to new users
2. VSCO
Pros:
- Iconic presets and filters used by top Instagram creators
- Built-in creative community for inspiration
Cons:
- Most premium filters require a subscription
- Some advanced features gated behind paywall
3. Adobe Photoshop Express
Pros:
- Trusted Adobe editing quality
- Familiar Photoshop-inspired tools in a mobile-friendly format
Cons:
- Advanced effects require in-app purchase
- Lacks deep layer/masking capabilities
---
Top Paid Pic Editors for Instagram
Paid tools often provide professional-grade capacity and ongoing updates ideal for branding.
1. Adobe Lightroom
Pros:
- Industry-leading RAW editing and advanced color grading
- Cloud syncing for multi-device access
Cons:
- Subscription-based
- Not as intuitive for complete beginners
2. PicsArt Gold
Pros:
- Extensive creative assets: fonts, stickers, collage layouts
- AI-powered tools for background removal and effects
Cons:
- Less suited for fine color work
- Requires a stable connection for some edits
3. Pixelmator Pro (Mac)
Pros:
- One-time purchase, no recurring fees
- Deep integration with macOS workflow
Cons:
- Mac-only availability
- Limited mobile support compared to Lightroom
---
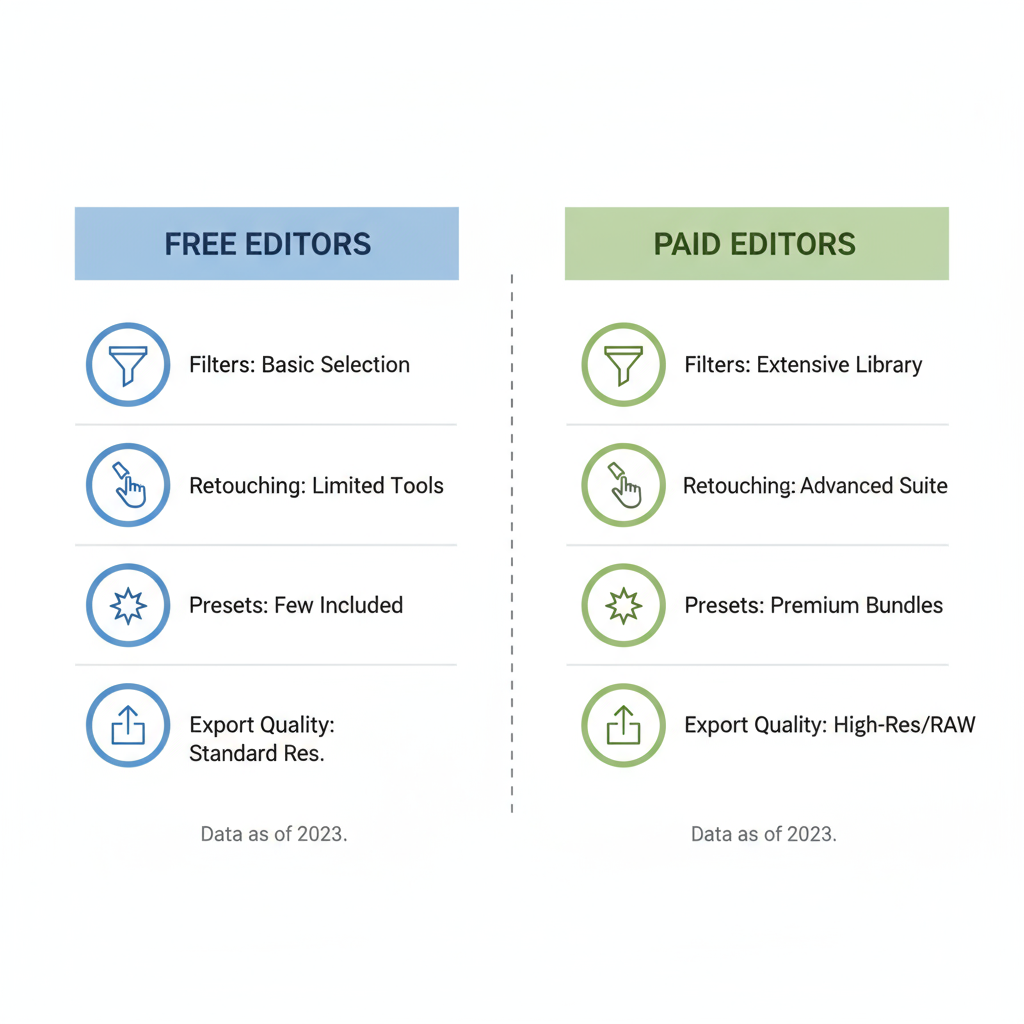
Free vs. Paid Pic Editors: Comparison Chart
Here’s a side-by-side look at free versus paid image editors for Instagram:
| Criteria | Free Editors | Paid Editors |
|---|---|---|
| Cost | $0 | $3–$20/month or one-time $40–$100 |
| Feature Depth | Basic to moderate | Advanced & professional-grade |
| Ease of Use | Beginner friendly | Requires moderate learning for full potential |
| Output Quality | Good, may lack fine control | Excellent, supports RAW and advanced formats |
| Offline Capability | Most support offline use | Offline plus cloud sync |
---
Editing Tips for Instagram Aesthetics
Boost the visual impact of your feed with these strategies:
- Consistent Tones: Stick to a color palette or preset suite.
- Maximize Visibility: Portrait 4:5 crops fill more of the feed, catching the eye.
- Plan Your Grid: Preview how new posts blend with your past uploads.
- Leave Breathing Room: Use negative space to create balance and clarity.
---
How to Optimize Images for Instagram Upload
A great edit can lose its charm if uploaded incorrectly. Follow these practices:
- File Size: Aim for under 1MB while maintaining quality.
- Resolution: Upload at 1080px width (or slightly above for future-proofing).
- sRGB Profile: Ensures color consistency across devices.
- Sharpen Lightly: Counteract Instagram’s compression effect.
---
Advanced Features Worth Investing In
For creators serious about visual branding, advanced toolsets can be game-changers:
- RAW File Editing: Maximum data and control over lighting and color.
- AI Background Removal: Rapid product and creative compositing.
- Batch Processing: Ensure consistency across multiple shots.
- Precision Masking: Targeted fixes without affecting the whole image.
These capabilities open up new creative directions and professional polish.
---
Top 3 Recommendations by Skill Level
Beginner:
- Snapseed – Free, intuitive, and feature-rich for starters.
Intermediate:
- VSCO Premium – Ideal for curated style and consistent looks.
Professional:
- Adobe Lightroom – Complete RAW editing suite with precise controls.
---
Conclusion: Experiment, Analyze, and Elevate Your Instagram
Choosing the best pic editor for Instagram involves weighing your budget, features you’ll truly use, and your creative style. Try pairing one free option with one premium editor, edit identical images in both, and post them strategically while tracking engagement. The results will reveal which tool gives you the power to tell your visual story most effectively.
If you’re ready to explore, start with Snapseed today and create multiple edits of your next post. Test them with your audience — the difference in engagement can be eye-opening.


