How to Schedule a Story on Instagram Effectively
Learn how to schedule Instagram Stories using Meta Business Suite or third‑party tools, plus pro tips to boost engagement and posting consistency.

Introduction: Why Scheduling Instagram Stories Improves Consistent Engagement
Scheduling Instagram Stories is a powerful tactic for brands, creators, and businesses aiming for steady engagement. Stories allow a 24‑hour touchpoint with your audience—perfect for creative storytelling, product promotions, and behind‑the‑scenes looks. But posting consistently can be tough when you’re juggling multiple tasks.
Planning and scheduling Stories in advance helps you:
- Maintain a consistent posting rhythm
- Align content with campaigns and events
- Free time for live engagement and spontaneous posts
- Preserve quality by reducing last‑minute rush
In this guide, we’ll answer the question “Can I schedule a story on Instagram?” and explore native options, third‑party tools, and tips to maximize reach and efficiency.
---
Can You Schedule Instagram Stories Natively? Instagram App Limitations
The quick answer: No, not within the standard Instagram app.
The native Instagram interface allows you to create, edit, and post Stories instantly, but it doesn’t have a true scheduling function. This can make carefully planning your content calendar more difficult.
What You Can Do in the Instagram App
- Save Story drafts (not time‑scheduled)
- Use “Close Friends” and “Highlights” for selective visibility
- Publish manually at the right moment
For automated scheduling, you’ll need Meta Business Suite or approved third‑party tools.
---
Scheduling Instagram Stories with Meta Business Suite
Meta Business Suite is Meta’s free, official tool for managing both Facebook and Instagram. It supports scheduling feed posts, ads, and Instagram Stories.
Step‑by‑Step Process
- Log into Meta Business Suite
- Visit business.facebook.com and choose your linked Instagram account.
- Create a New Story
- In the dashboard, select “Create Story” and choose Instagram, Facebook, or both.
- Upload Visual Content
- Add images or videos from your device. Apply text, stickers, or links as needed.
- Preview Your Story
- Check desktop and mobile previews for accuracy.
- Choose “Schedule”
- Click “Schedule” instead of “Publish Now,” then choose your date and time.
- Confirm Scheduling
- Select “Schedule Story” to set it for automated posting.
---
Using Third‑Party Tools to Schedule Instagram Stories
While Meta Business Suite is effective, some creators prefer tools offering advanced scheduling, analytics, and collaboration.
Popular Scheduling Tools
- Later – Visual content calendar with drag‑and‑drop ease.
- Buffer – Simple scheduling with solid analytics and multi‑account management.
- Hootsuite – Comprehensive platform for teams, ideal for bulk scheduling.
Here’s a quick comparison of features:
| Tool | Free Plan | Scheduling Support | Analytics | Ease of Use |
|---|---|---|---|---|
| Later | Yes | Stories & Feed | Basic | High |
| Buffer | Yes | Stories & Feed | Intermediate | High |
| Hootsuite | No | Stories & Feed | Advanced | Medium |
> Note: Due to Instagram API rules, some scheduling apps will send you a mobile push notification to finalize posting.
---
Best Practices for Preparing Stories in Advance
To make the most of scheduling, your Stories must meet Instagram’s formatting guidelines and engage viewers.
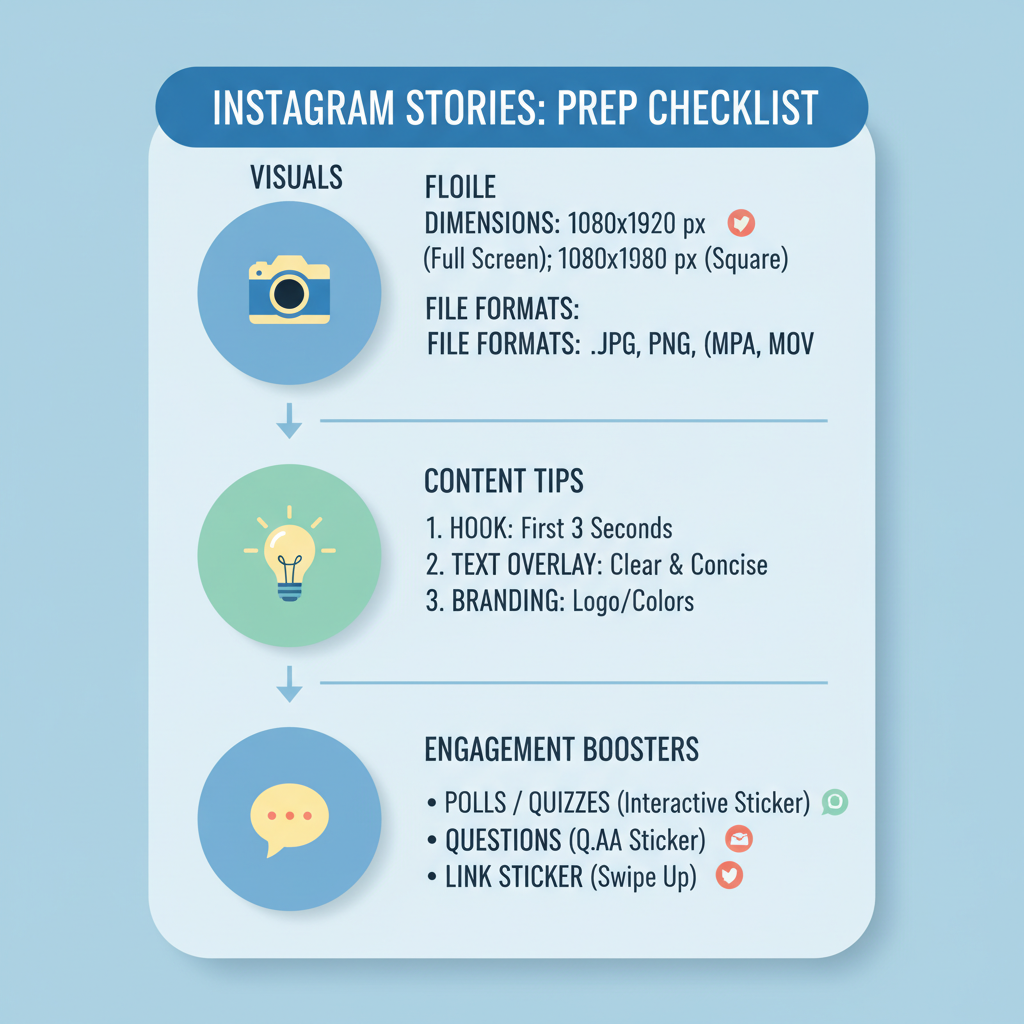
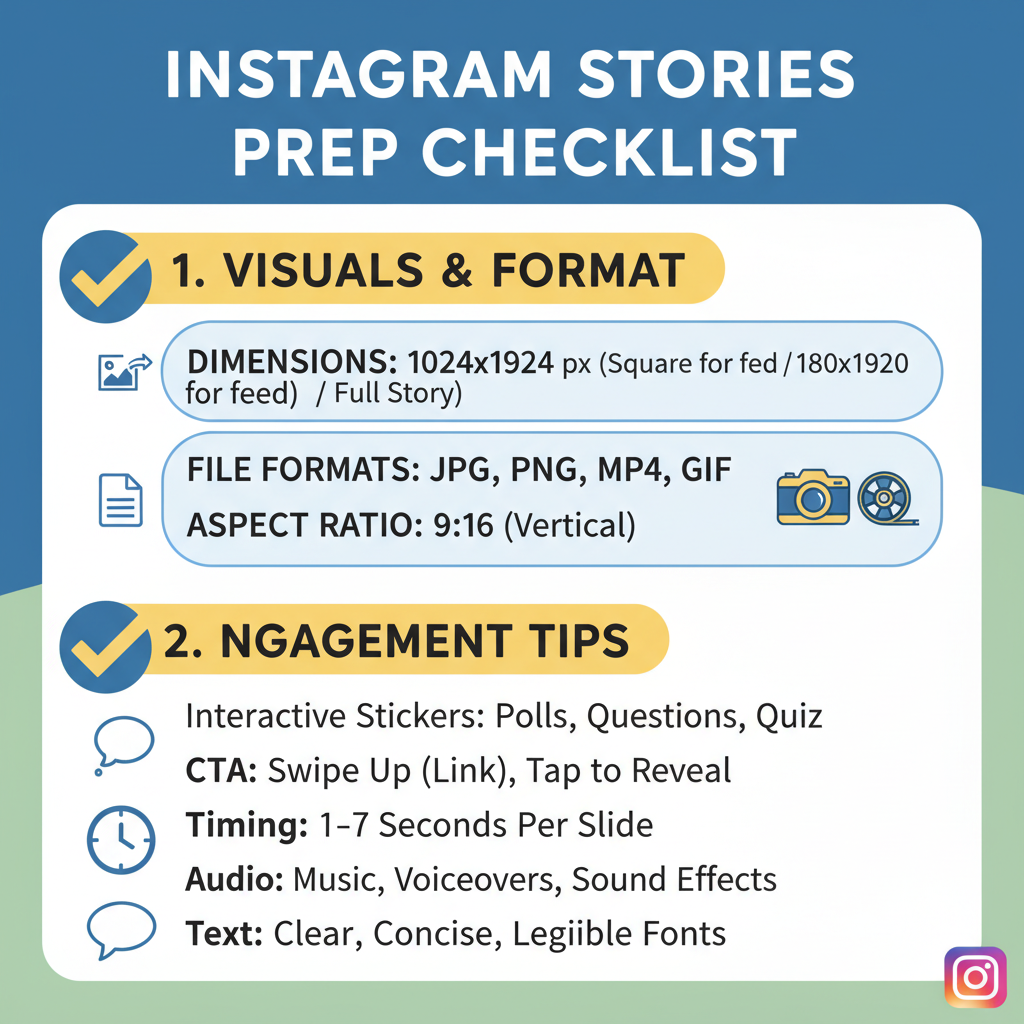
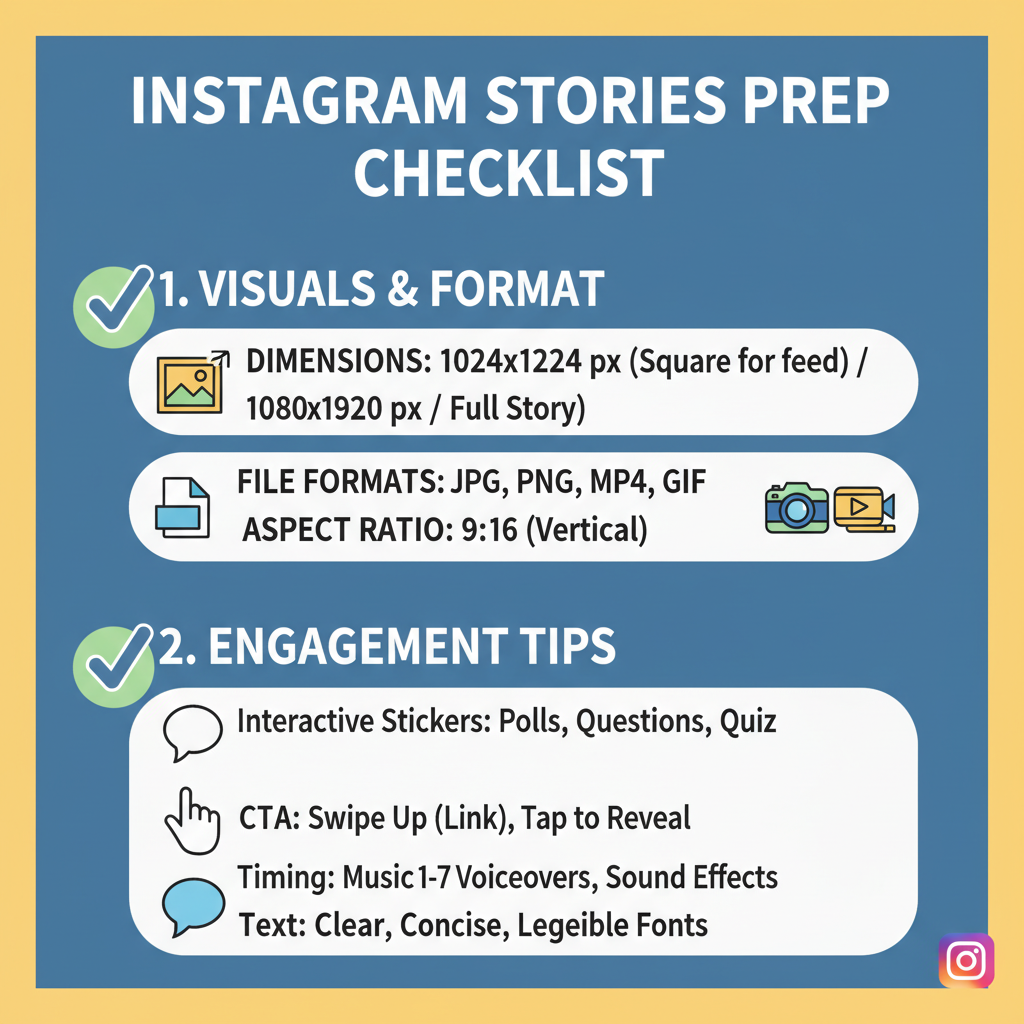
Recommended Specs
- Image: 1080 × 1920 px (9:16 ratio)
- File types: JPG or PNG for images; MP4 or MOV for video
- Video length: 15 seconds max per slide
Pro Creation Tips
- Use high‑resolution visuals to avoid blur
- Always include captions for accessibility
- Keep text inside safe zones to prevent cropping
---
Peak Times to Post for Higher Story Engagement
Timing can significantly influence Story visibility—even when scheduling. Knowing your audience’s habits is key.
General Best Times
- Weekdays: Between 11 a.m.–1 p.m. and 7 p.m.–9 p.m.
- Weekends: Late morning through early afternoon
Finding Your Optimal Time
- Check Instagram Insights → Audience → Most Active Times
- Test multiple posting windows over several weeks
- Compare story views and engagement metrics
---
Balancing Authenticity with Scheduled Stories
One concern with automation is losing the “live” feel. To keep authenticity:
- Blend scheduled posts with in‑the‑moment updates
- Write captions in your natural tone
- Use interactive stickers, polls, and Q&A features
- Stay ready to add trending or reactive content
---
Tracking the Success of Scheduled Instagram Stories
Posting at the right time is just step one. Measure performance to optimize future content.
Metrics to Watch
- Views: Unique accounts reached
- Completion rate: % of viewers who watched from start to finish
- Interactions: Replies, link clicks, sticker taps
- Exits / tap navigation: How users move through your Stories
Ways to Access Data
- From a live Story: swipe up → view insights
- From Meta Business Suite or third‑party dashboards
Regular evaluation will help refine your schedule and Story style.
---
Mistakes to Avoid When Scheduling Instagram Stories
Even experienced marketers can make these errors:
- Ignoring audience time zones – Match posting times to viewers, not yourself.
- Posting too many Stories – Avoid audience fatigue.
- Skipping interactive features – Engagement drives reach.
- Using low‑quality assets – Compression reduces clarity.
- Not reviewing scheduled posts – Always preview for layout and text fit.
---
Conclusion: The Smart Way to Schedule Instagram Stories
So, can I schedule a story on Instagram?
Yes—using Meta Business Suite or trusted third‑party platforms like Later, Buffer, or Hootsuite. The native Instagram app doesn’t yet allow it, but scheduling delivers clear benefits in consistency, engagement, and time management.
To choose the right method:
- Pick Meta Business Suite for an official, no‑cost tool
- Opt for third‑party apps if you need deep analytics and collaboration
- Keep a mix of scheduled and spontaneous posts for authenticity
By adding scheduling to your Instagram strategy, you’ll work more efficiently, build stronger engagement, and free yourself from the pressure of constant manual posting.
Next steps: Start by mapping out your Stories for the week, choose your scheduling platform, and track how your audience responds.


