Can You Schedule TikTok Videos? Yes—Here’s How (App, Desktop, and Pro Tools)
Learn how to schedule TikTok videos on the app, desktop, and with approved tools. Get limits, tips, troubleshooting steps, and a sample content calendar.

This guide walks you through all the ways to schedule TikTok videos using the mobile app, desktop uploader, and approved third-party tools. You’ll also find practical tips, limitations to watch for, troubleshooting steps, and a sample content calendar to stay consistent. Whether you’re a solo creator or part of a team, use this to streamline your TikTok workflow.
Can You Schedule TikTok Videos? Yes—Here’s How (App, Desktop, and Pro Tools)


If you’re wondering “can you schedule TikTok videos,” the short answer is yes. TikTok offers a native scheduler in both its mobile app and on desktop for many Creator and Business accounts, and there are approved third‑party tools that integrate via TikTok’s Content Marketing API.
Scheduling means your video and metadata are uploaded ahead of time and auto‑published from TikTok’s servers at your chosen time. Your phone doesn’t need to be online when the post goes live. Availability and limits vary by region, account type, and rollout stage, so you may not see every option yet.
Who typically has access
- Creator and Business accounts are most likely to see native scheduling options.
- Personal accounts may or may not have the feature; converting is free and reversible.
- Third‑party schedulers usually require Creator or Business status to connect.
How to Schedule Inside the TikTok App
When available, the scheduling toggle appears in the normal posting flow after you’ve selected or recorded a video.
- Create your post
- Tap + to create or upload a video.
- Edit clips, add effects, captions, stickers, and sounds.
- Set scheduling
- On the post screen (where you write your caption), look for a Schedule toggle or “Schedule video” option.
- Turn on Schedule and pick a date and time.
- Double‑check your time zone on the picker; TikTok typically uses your device or profile time zone.
- Review before confirming
- Preview the cover, caption, hashtags, mentions, link (if available), and privacy settings.
- Confirm scheduled publish.
- Find, edit, or cancel scheduled posts
- Go to your profile. Look for a Scheduled tab or a clock icon. Some accounts will see scheduled items in the Upload/Video Manager section.
- You can usually reschedule or cancel there. Changing the actual video file often requires deleting the scheduled post and re‑uploading.
Common limits in the app
- How far ahead: Typically a short window (often up to around 7–10 days), but this can change by region/rollout.
- Editable fields: Captions, time, and privacy may be editable; the video file usually is not.
- Feature parity: Not all features (e.g., Duet/Stitch settings) are always editable after scheduling.
Scheduling on Desktop via TikTok.com
Desktop is great for teams and longer captions.
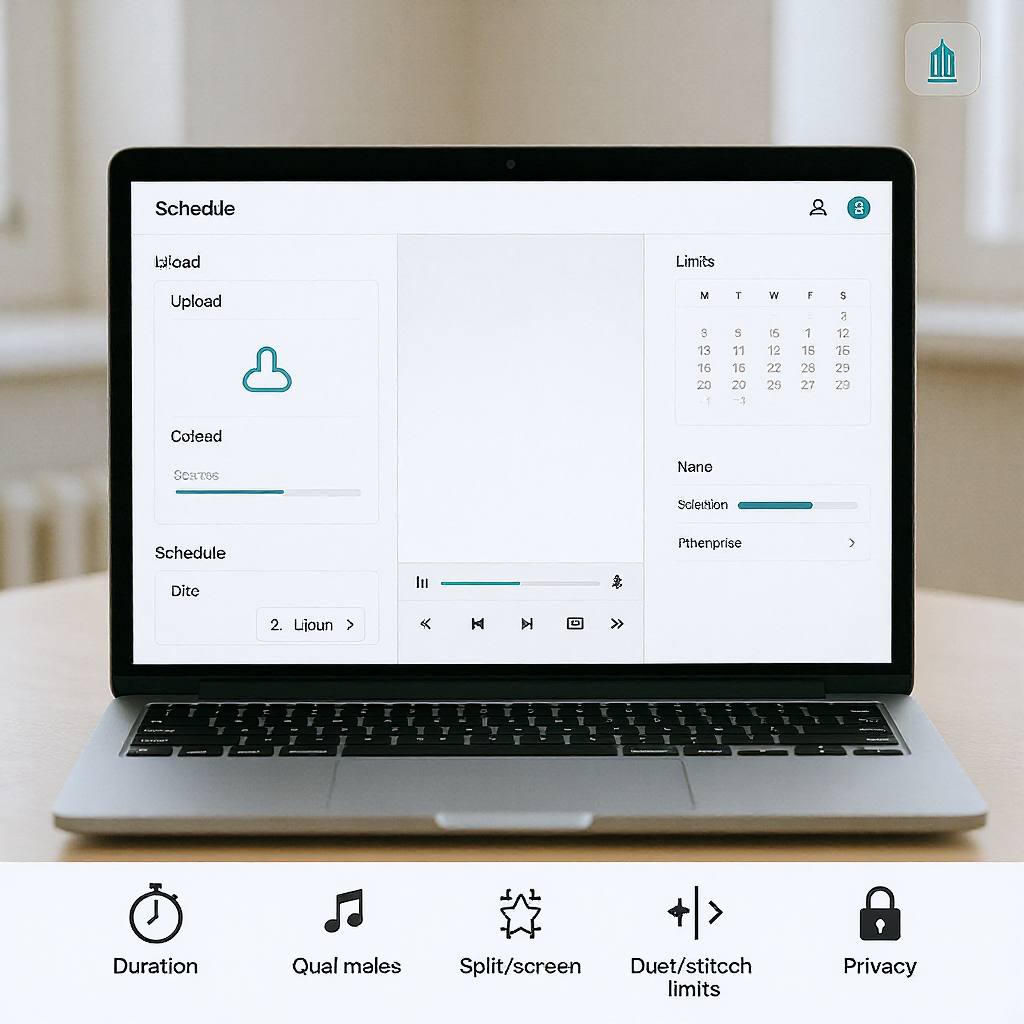
- Open the web uploader
- Visit tiktok.com and click Upload (or go to the Creator/Video Manager).
- Fill in details
- Upload your video.
- Add caption, hashtags, mentions, cover frame, and select privacy settings.
- Enable the Schedule option and pick your publish date/time.
- Understand limits and queues
- Native desktop scheduling also tends to have a short advance window (commonly up to ~10 days).
- Your scheduled videos will appear in the Video Manager/Content tab with status indicators and publish times.
Using Third‑Party Schedulers (via TikTok’s Content Marketing API)
Many teams prefer approved tools for workflows across multiple platforms. Popular options include Hootsuite, Later, Buffer, Sprout Social, Metricool, Loomly, and Planoly. Check the provider’s site for TikTok API support and plan requirements.
Benefits
- Centralized content calendars across all social channels.
- Bulk uploads and CSV scheduling for series or product drops.
- Approval workflows and role‑based permissions.
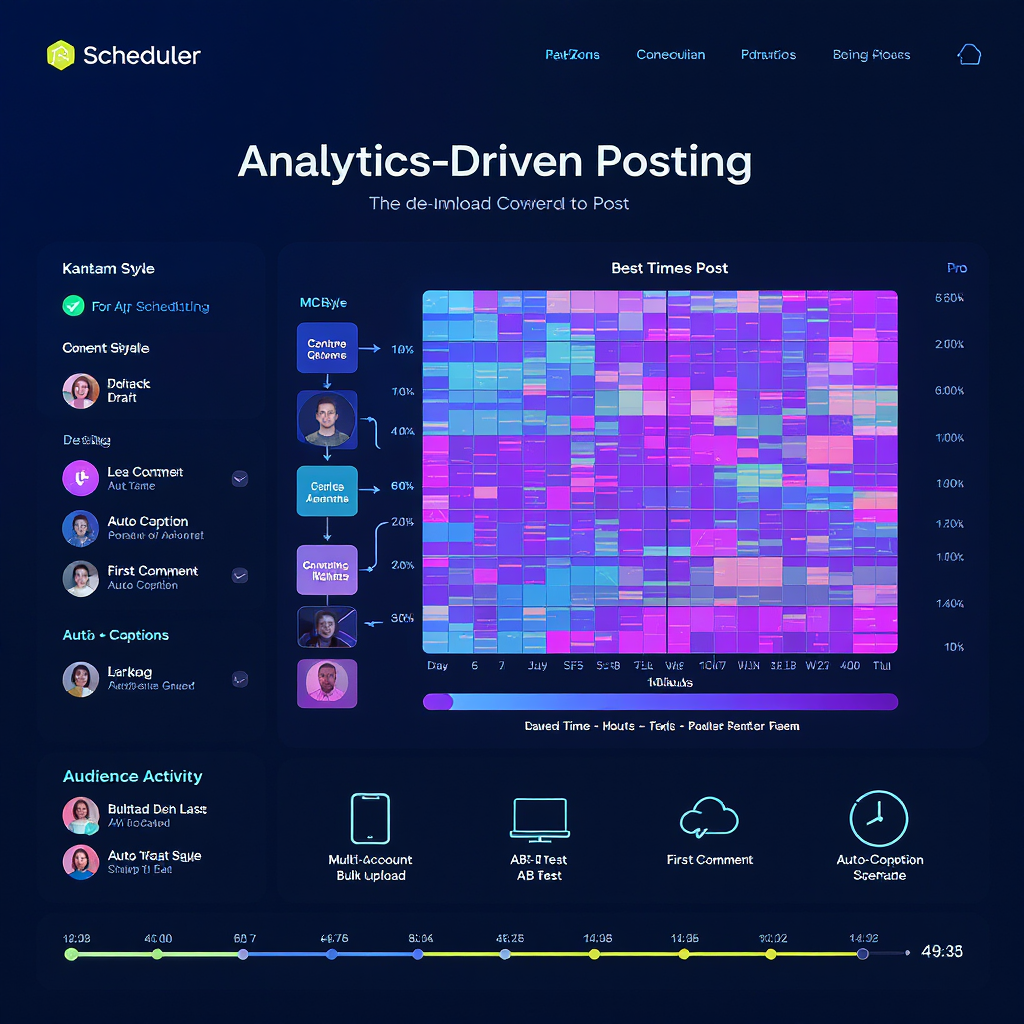
- Best‑time suggestions based on past engagement.
- UTM parameters and link tracking (for link-in-bio or campaign landing pages).
- Unified analytics and reporting.
Securely connect your TikTok
- In the scheduler, choose TikTok and authenticate via TikTok OAuth.
- Grant the requested permissions (upload/manage videos, read analytics, etc.).
- In TikTok settings, you can review or revoke app access at any time.
Example bulk upload CSV (check your tool’s exact template):
filepath,caption,publish_date,publish_time,privacy,hashtags
videos/launch_teaser.mp4,"Sneak peek drops Friday 👀",2025-09-19,14:00,public,"#newdrop,#fashion"
videos/bts_cut.mp4,"Behind the scenes 🎬",2025-09-20,10:30,public,"#bts,#creator"
Choosing the Best Times to Post
A schedule only helps if you hit audience hours. Use data, test, and iterate.
- Read your analytics: In TikTok Analytics (Creator tools), look at Follower activity by hour and day, plus video-level retention and completion rates.
- Account for time zones: If your viewers are spread out, favor the majority’s local evening peaks. Consider posting the same day at staggered times across weeks to compare.
- Test weekday vs. weekend: Run controlled experiments for 2–3 weeks. Hold content quality constant and vary time slots only.
- Build a cadence: For most accounts, 3–5 posts/week is sustainable. More is fine if quality and retention stay strong.
- Iterate from outcomes: Prioritize time windows that drive high 3‑second views, average watch time, and completions.
Creative and Metadata Checklist for Scheduled Posts
Use this as a pre‑schedule review:
- Hook in the first second: Motion, pattern interrupt, or a bold claim.
- On‑screen captions: Increase comprehension and silent‑view retention.
- Clear CTA: Comment a keyword, follow for part 2, or check the link in bio.
- Hashtags: Relevant, descriptive, and non‑spammy. Mix broad and niche.
- Cover frame: Pick a readable frame that communicates the topic.
- Sounds and licensing: Business accounts have music restrictions—choose from the Commercial Music Library or use original audio you have rights to.
- Accessibility: High‑contrast text, legible fonts, avoid flashing content.
- Follow‑ups: Plan a reply video or a part 2 to publish within 24–72 hours.
- Engagement plan: Be ready to respond to comments in the first hour after auto‑publish.
Limitations and Gotchas to Know Before You Schedule
- Editing after scheduling: Changing the video file itself usually requires deleting the scheduled post and re‑uploading. Captions or time may be editable.
- Feature availability: Duet/Stitch, location tags, and some effects or link options may behave differently when scheduled.
- Branded content: If required, ensure the branded content toggle/disclosure is set before scheduling.
- Music licensing: Business accounts cannot use many trending tracks. Test your chosen sound; some regions restrict audio at publish time.
- Private/draft behavior: Drafts are local to your device; drafts aren’t the same as scheduled posts. Scheduled posts are server‑side.
- Device independence: Your device doesn’t have to be online at publish time—scheduling is server‑side.
Troubleshooting the Scheduler
If you don’t see the feature
- Update the TikTok app.
- Switch to a Creator or Business account (Settings > Account > Switch).
- Try desktop: tiktok.com/upload or the Creator/Video Manager.
- Clear cache or reinstall the app.
- Use an approved third‑party scheduler while waiting for rollout.
If a scheduled post fails to publish
- Check whether the audio is restricted in your region/account type.
- Verify time zone settings in app/desktop and your device.
- Confirm your video meets TikTok’s specs (aspect ratio, duration, file size).
- Ensure account permissions are intact (especially for third‑party tools).
- Look for policy/Community Guidelines flags that might block publishing.
- Try rescheduling a few minutes ahead or re‑uploading the file.
Shared brand account issues
- Confirm you have posting permissions, not just viewer access.
- Avoid overlapping schedules that exceed tool account limits.
- Reconnect OAuth in your scheduler if tokens expired or roles changed.
Caption or sound mismatch
- Reopen the scheduled post to verify saved metadata.
- If edits won’t save, unschedule and re‑create the post to be safe.
FAQs
- Can personal accounts schedule? Some personal accounts do not have the scheduler. Switching to a Creator or Business account usually enables it if available in your region.
- How far ahead can you schedule? Natively, TikTok commonly limits scheduling to a short window (often around 7–10 days). Third‑party tools may allow longer planning horizons, but actual auto‑publish still follows TikTok’s platform limits.
- Does scheduling hurt reach? There’s no conclusive evidence that scheduling itself hurts reach. Performance depends more on content quality, audience fit, and engagement signals (watch time, replays, comments).
- Can you schedule photo posts/carousels? TikTok supports Photo Mode; some accounts and partner tools allow scheduling these. Check your app and tool for current support.
- What about TikTok LIVE? LIVE has separate event scheduling. It doesn’t schedule regular video posts. Create a LIVE event and promote with a teaser video if relevant.
- Will I receive notifications? You’ll typically get a notification when the post publishes. Plan to be available in the first 15–60 minutes to reply to comments.
Sample Workflow and Content Calendar

Batching and light structure keep you consistent without killing spontaneity.
Weekly workflow
- Monday: Brainstorm 10 hooks from audience questions and trends.
- Tuesday: Script bullets, film 5–8 short videos in one session.
- Wednesday: Edit, add captions, pick covers, write CTAs.
- Thursday: Schedule 3–7 days out. Leave 1–2 open slots for trend‑reactive posts.
- Daily: Engage for 15–60 minutes after each publish; pin top comments.
- Friday: Review analytics. Keep slots that performed; adjust times that didn’t.
Example one‑week calendar (adjust to your time zone and audience peaks):
| Day | Slot 1 | Slot 2 | Content Focus |
|---|---|---|---|
| Mon | 12:00 | 19:00 | Educational tip + reaction to weekend trend |
| Tue | 11:30 | — | Product demo with strong hook |
| Wed | 13:00 | 20:30 | Behind the scenes + quick FAQ |
| Thu | 12:30 | — | Customer story or stitch with creator |
| Fri | 16:00 | — | Announcement or teaser for weekend |
| Sat | 10:30 | — | Light, trend‑friendly post |
| Sun | 18:00 | — | Round‑up or myth‑busting |
Pro tips
- Name conventions: Include date and hook in your filename to avoid mix‑ups (e.g., 2025‑09‑20_bts_hook‑3.mp4).
- Time zone sanity check: Put your schedule into a shared calendar (Google/Outlook) with explicit time zones.
- Buffer time: Don’t schedule everything. Leave space for trend hijacks and timely replies.
- Post‑publish sprints: Schedule your own 20‑minute engagement window to boost early signals.
Bottom Line
Yes—can you schedule TikTok videos? Absolutely. Use the native app or desktop scheduler for simple needs, or upgrade to an approved third‑party tool for multi‑account calendars, bulk uploads, and approvals. Pair smart timing with great hooks and fast engagement, and your scheduled posts can perform just as well as live uploads—often better.


