Create Group in Facebook Page Step-by-Step Guide
Learn how to create and link a Facebook Group to your Page with admin permissions, boosting engagement and building a vibrant online community.
How to Create Group in Facebook Page for Maximum Engagement
If you are looking to create group in Facebook page, understanding the differences between Facebook Groups and Pages is the first step toward building a thriving online community. A linked group can enhance engagement, strengthen brand loyalty, and provide a space for deeper discussions beyond your Page’s public updates. This guide walks you through the benefits, requirements, steps, and best practices to ensure your group complements your Page and supports your overall social media strategy.
---
Understanding the Difference Between Facebook Groups and Facebook Pages
Before you create group in Facebook page, it’s essential to understand how Groups and Pages differ.
A Facebook Page is designed for brands, businesses, public figures, and organizations to communicate broadly with their audience. It’s public by default, serving as a storefront for updates, promotions, and announcements.
A Facebook Group, on the other hand, is made for more personal, interactive communities where members can share ideas, ask questions, and form deeper connections around a common interest. Groups can be public, closed, or private, depending on your needs.
In short:
- Page = Broadcast to followers, limited member interaction.
- Group = Direct engagement, interactive discussions, community building.

---
Benefits of Linking a Group to Your Facebook Page
Linking a group to your page can deliver multiple benefits:
- Stronger Engagement: Groups encourage members to post and comment, increasing activity and loyalty.
- Community Building: Your brand gains advocates when people feel part of a tight-knit community.
- Content Crowdsourcing: Get feedback, ideas, and user-generated content from active members.
- Retention: Members are more likely to remain connected due to the value of shared discussions.
- Visibility: Your page visitors can easily discover and join the group.
---
Check Eligibility: Page Admin Roles and Permissions Required
Not every page role can create group in Facebook page. You must hold specific admin rights.
Facebook Page roles include:
- Admin – Full access to manage the page and linked groups.
- Editor – Can create posts but cannot link or manage groups in some cases.
- Moderator – Limited capabilities, primarily to manage comments.
Only Admins can create and link a group from the page.
| Page Role | Can Create Linked Group? | Other Permissions |
|---|---|---|
| Admin | Yes | Edit settings, manage roles, link/unlink groups |
| Editor | No | Publish & edit posts |
| Moderator | No | Manage community interactions |
---
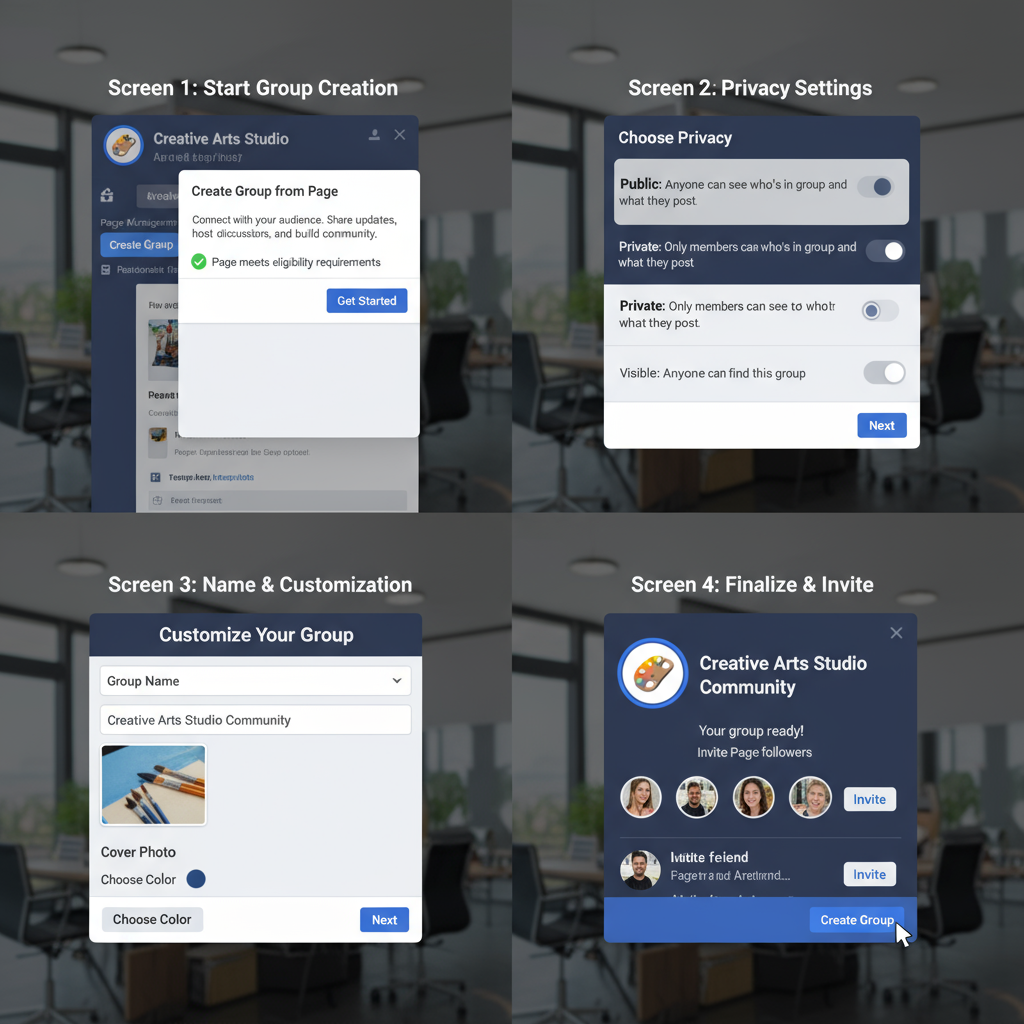
Step-by-Step Guide to Create a Group from Your Facebook Page
Follow this clear process to create group in Facebook page:
- Log in to Facebook and access your Page.
- Navigate to Settings in the left menu.
- Select Linked Accounts or Groups (depending on your interface).
- Click Create Linked Group.
- Choose your Page from the prompt to ensure the group is linked.
- Fill in the Group Name and select privacy settings.
- Add a short description for clarity.
- Click Create — your linked group is now live.
---
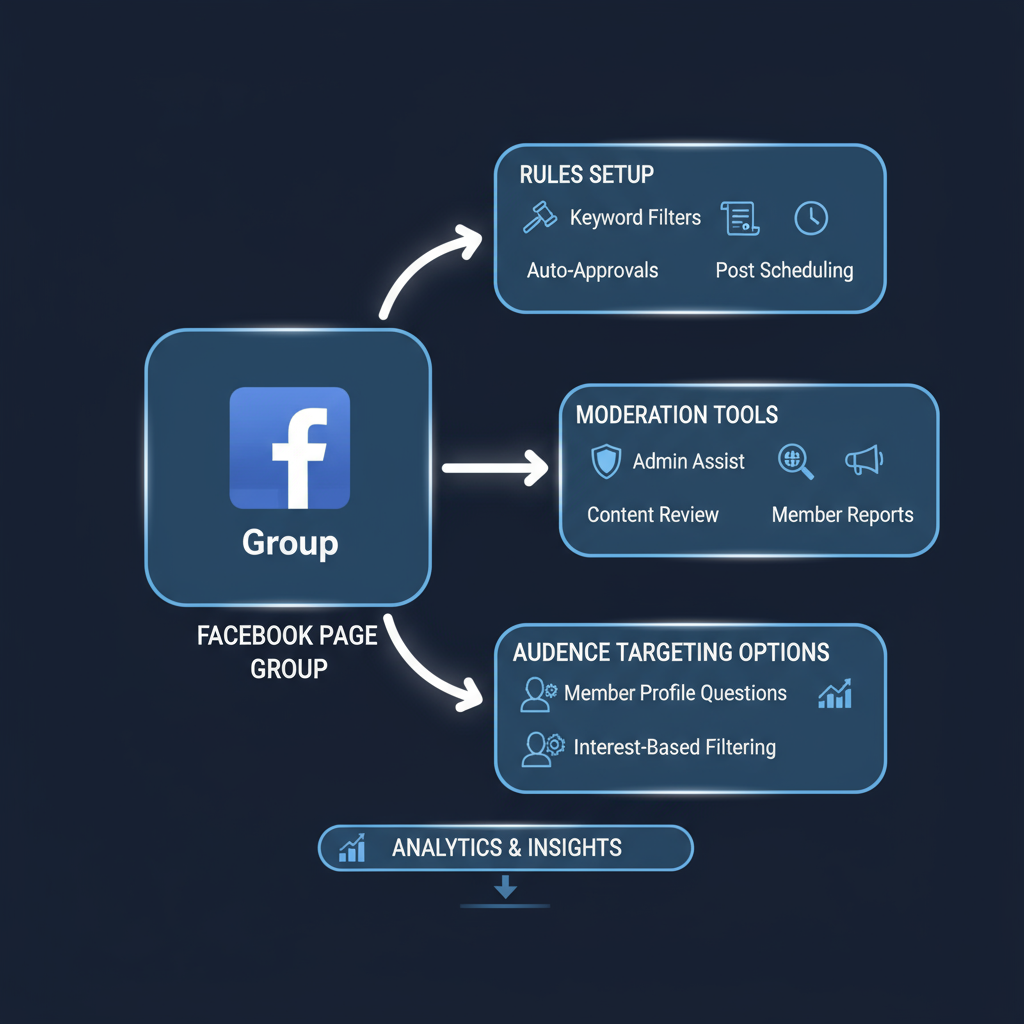
Customize Group Name, Privacy Settings, and Description for Your Audience
Customizing the group during creation is vital:
- Name: Make it relevant to your brand and topic. Example: “Healthy Living Community – By FitLife Page.”
- Privacy: Choose among:
- Public: Everyone can see posts and members.
- Private (Visible): Only members can see posts; group shows up in searches.
- Private (Hidden): Invitation-only, invisible to searches.
- Description: Outline purpose, topics covered, and benefits of joining.
Tip: Align your privacy choice with your brand strategy. Public groups can grow faster, while private groups foster exclusivity.
---
Add Cover Photo and Branding Consistent with Your Page
Visual branding reinforces recognition.
Steps:
- Go to your Group settings.
- Click Upload Cover Photo.
- Use an image that complements your Page’s brand colors, typography, and theme.
- Maintain quality — Facebook recommends 1640x856 pixels for cover images.
Consider adding a tagline or call-to-action on the cover image to motivate engagement.
---
Set Group Rules and Moderation Guidelines
Clear rules help maintain a positive and productive community environment.
Include:
- Respectful Communication: No harassment or hate speech.
- Relevant Content Only: Posts should align with group topics.
- No Spam: Prevent excessive promotion or irrelevant links.
- Privacy Respect: Do not share others’ personal information without consent.
Adding these in the Group Rules section keeps expectations transparent and simplifies moderation.
---
Invite Followers and Promote Group via Your Page Posts and Events
Once created, promote your group to encourage sign-ups:
- Share a Page post introducing the group, with a direct link.
- Create an Event for a live session and invite people to join the group for ongoing resources.
- Pin your group link to the top of your Page timeline.
- Use Facebook Stories to highlight group content.
---
Engage Members with Regular Value-Driven Content and Discussions
An active group thrives when members see consistent value:
- Weekly Discussion Threads: Create themed posts to spark conversation.
- Polls and Surveys: Gather feedback on products or services.
- Live Q&A Sessions: Host sessions with you or your team.
- Exclusive Content: Share behind-the-scenes insights or special offers.
A content calendar for your group helps maintain consistency.
---
Track Group Insights and Grow Community Through Collaborations
Facebook provides Group Insights for admins:
- Growth: View member trends.
- Engagement: Track post reactions, comments, and shares.
- Top Contributors: Recognize active members to encourage participation.
Collaborations with other groups/pages can also expand reach. Cross-promote with aligned communities to attract their followers.
---
Troubleshoot Common Issues in Group-Page Linking
You might encounter issues:
- Cannot Find Group Link Option: Ensure you are the page’s Admin.
- Group Not Showing in Page Tab: Check privacy settings; hidden groups may not display.
- Members Cannot Post: Review group posting permissions in settings.
Simple fixes often involve adjusting settings or reviewing your page role permissions.
---
Best Practices for Managing Both Page and Linked Group Efficiently
Handling both requires organization:
- Schedule Content: Use Facebook’s scheduling tools to plan posts in both spaces.
- Delegate Roles: Assign moderators for the group to manage daily conversations.
- Integrate Themes: Keep consistent topics and branding between Page and Group.
- Monitor Activity: Respond promptly to questions and posts to boost engagement.
By following these practices, you’ll strengthen the relationship between your page audience and group members — leading to a vibrant, loyal community.
---
Final Thoughts
Learning how to create group in Facebook page is more than technical steps; it’s about strategically expanding your brand’s community space. When your page followers transition into group members, they become active participants rather than passive viewers — leading to lasting engagement, valuable feedback, and measurable growth.
Start by clarifying your group’s focus, set clear rules, and maintain consistent branding. With thoughtful promotion and active moderation, your linked group can become an invaluable extension of your Facebook presence. Take the first step today, and build the community your audience is looking for.