Edit an Instagram Shared Reel to a Different Part of the Video: What You Can and Can’t Do
Learn how to pick a different part of a video for Instagram Reels, set a Story preview start, and what you can and can’t edit after posting in 2025.

This guide explains how Instagram handles editing and resharing Reels in 2025, and where the platform draws the line after a post goes live. You’ll learn how to select a different segment before posting, how to choose a preview start point when sharing to Stories, and practical workarounds if your Reel is already published. The goal is to help you put the exact moment you want in front of viewers without sacrificing quality or engagement.
Edit an Instagram Shared Reel to a Different Part of the Video: What You Can and Can’t Do
If you searched “edit Instagram shared reel to a different part of video,” you’re likely trying to do one of three things:
- Trim your own Reel to a different section before you post it.
- Change the part of the clip that a Reel shows after it’s already published.
- Reshare someone else’s Reel but start the share at a specific moment.
This guide clarifies what’s possible in 2025, what isn’t, and the cleanest workflows to get exactly the moment you want in front of your audience—without tanking quality or engagement.
---
What “Shared Reel” Really Means
“Shared Reel” can mean different things depending on context. Here’s the intent behind each scenario:
- Editing your own Reel before posting
- You can choose any segment(s) of your video, trim, split, reorder, add effects, and then publish.
- Changing a Reel after it’s published
- You can edit metadata (caption, tags, cover, etc.), but you cannot replace or re-trim the underlying video clip.
- Resharing someone else’s Reel (Story, feed, or Remix)
- You can choose where a Story preview starts and add Story elements, but you cannot alter the creator’s video when you post it to your feed or in a Remix beyond what the format allows.
---
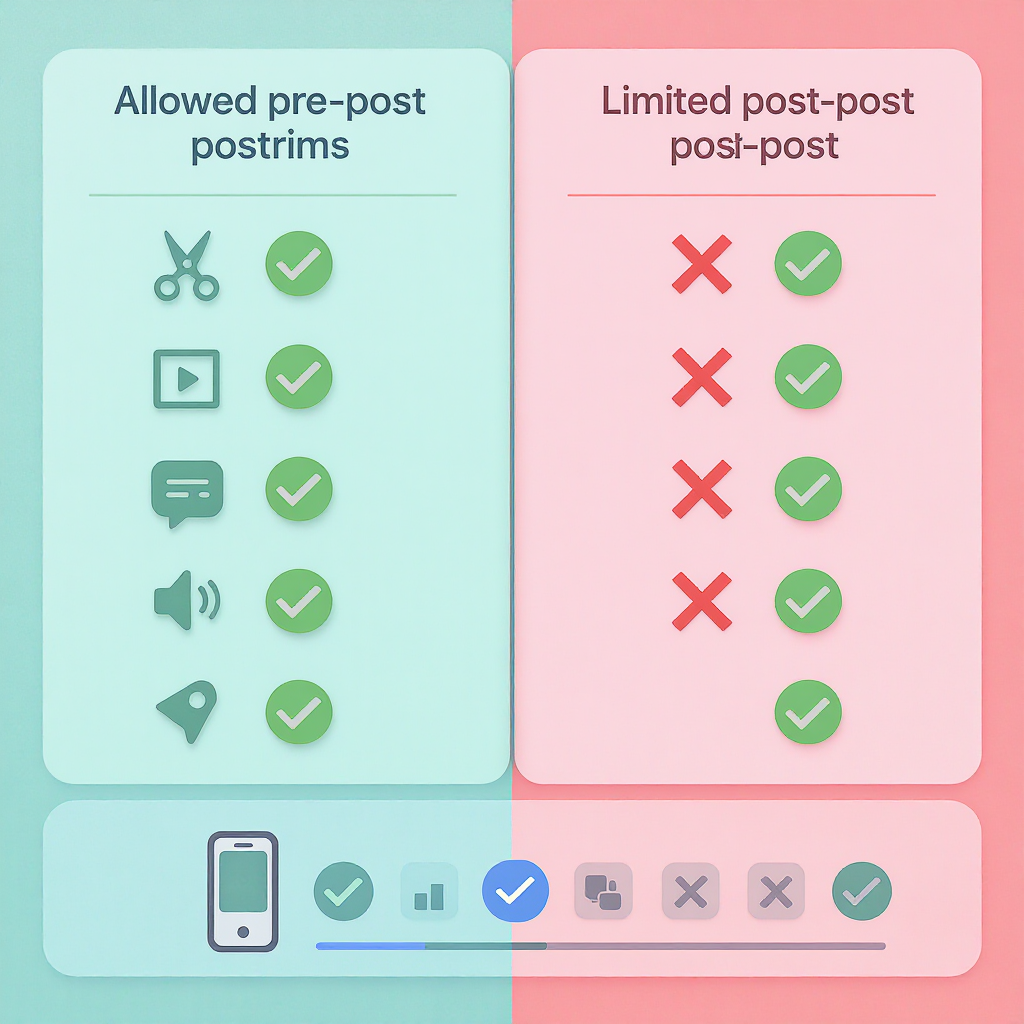
Current Limitations (2025): What You Can and Can’t Edit After Publishing
Instagram still does not offer a “replace video” option for published Reels. This is partly to prevent bait-and-switch content and preserve the integrity of views and comments already earned.
Here’s what you can edit post-publish versus what you cannot:
| After Publishing a Reel | Editable | Not Editable |
|---|---|---|
| Your Reel | Caption, location, people tags, product tags, hashtags in caption, cover/thumbnail (available to most accounts as of 2025), adding/removing collaborators, alt text, fundraiser | The video/audio content, clip order and length, music selection and start time, effects/transitions, layout, Remix layout |
| Sharing someone else’s Reel | Story start point (preview), Story text/stickers/drawings, your Remix clip (if using Remix) | Their original video/audio or edits, their caption or tags |
If you need a different part of the video to be the actual Reel, you must create a new Reel from that section and repost.
---
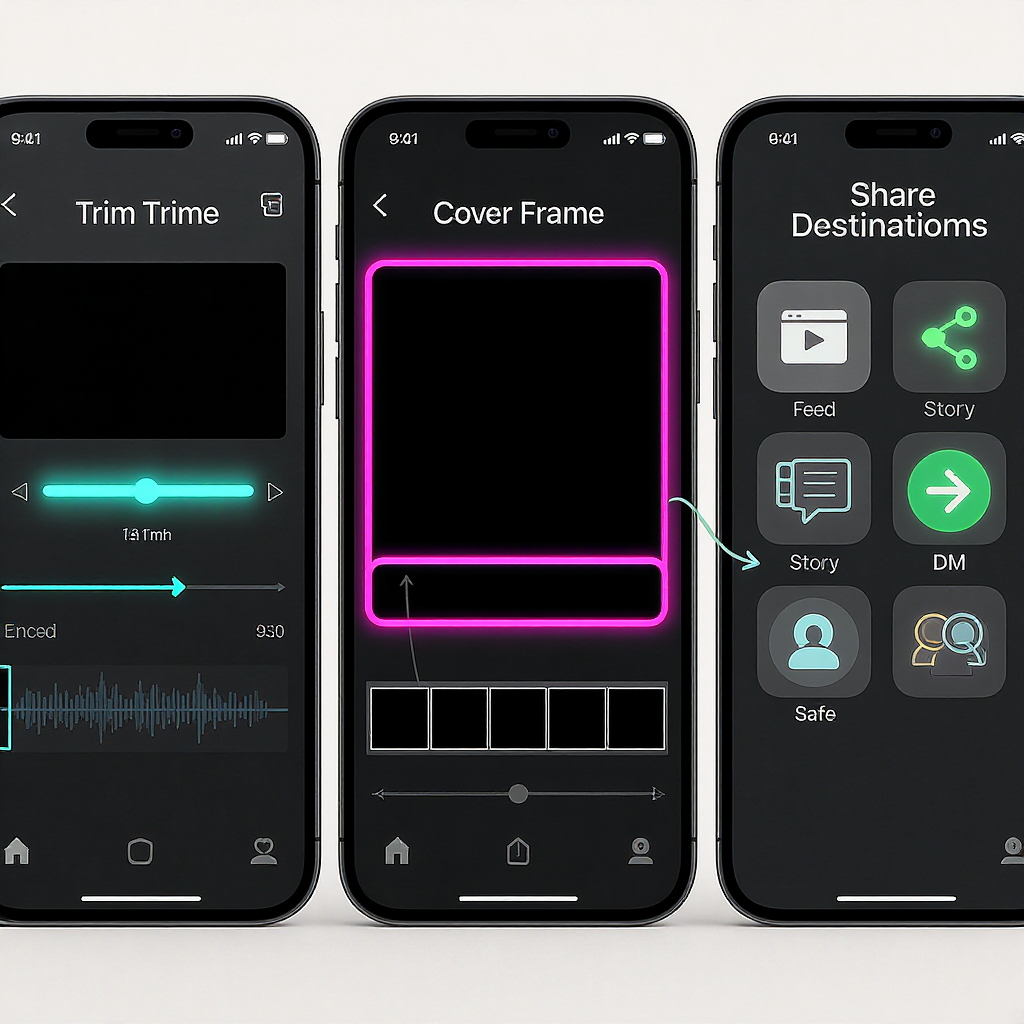
Before Posting: Choose a Different Section of Your Video (iPhone and Android)
You’ll get the cleanest results if you pick the right segment(s) before publishing. The process is very similar on iOS and Android.
- Open the Reels composer
- Tap the plus (+) and choose Reel (or swipe to the Reels tab and tap the camera).
- Import from your camera roll or record directly.
- Import a long clip
- Tap the gallery icon, select your long video.
- Instagram will load a timeline with trim handles.
- Trim with in/out handles
- Drag the left/right handles to set a new start and end.
- Aim for 5–15 seconds for punchy moments, though Reels can be longer.
- Use Adjust Clips (sometimes labeled Edit Clips)
- Tap Adjust Clips/Edit Clips to open a timeline editor.
- Split: Select the clip > Split to break it at a precise point.
- Reorder: Press and hold segments to move them around.
- Delete: Remove filler moments between the highlights.
- Fine-tune with audio and beats
- Tap the music icon to align your segment with the beat.
- Check the preview with sound on and off to ensure the segment stands alone.
Pro tips:
- Zoom into the timeline (pinch, if available) for frame-accurate trims.
- If you need exact timecodes or sub-frame precision, see the “Use a video editor” section below.
---
Sharing a Different Part When Resharing Someone Else’s Reel to Your Story
When you share a Reel to your Story, you can’t edit the creator’s content, but you can choose where the Story preview starts and decorate your Story.
Steps:
- Open the Reel > tap the paper airplane (Share) > Add to Story.
- In the Story composer, scrub to a specific moment:
- Drag the seek bar at the bottom (or tap and hold on the reel sticker and slide) to set the starting point for the preview.
- Your Story will play a short segment starting there (up to 15 seconds on many accounts; some variants preview 5–10 seconds).
- Trim Story length if needed:
- Tap length options (if available) or duplicate the Story to continue a longer preview in the next Story card.
- Add Story elements:
- Stickers, captions, drawings, polls—these layer over your Story, not the original Reel.
- Post. Viewers can tap the Reel sticker to open the full original Reel.
Important limits:
- You cannot cut or alter the original Reel when you post it to your feed or as a Remix. Remix allows you to add your clip alongside or after theirs, but their portion remains intact.
---
If Your Reel Is Already Posted: Practical Workarounds
You can’t swap the video inside a published Reel, but you have options.
- Duplicate from a Draft (if you still have one)
- If the draft contained your source footage, open it, adjust the trims to the different section, and publish as a new Reel.
- Re-import the original footage
- Use the original camera file (best) to rebuild the Reel with the new segment.
- Keep the same caption/hashtags if they’re still relevant.
- Download and re-edit externally
- Download your posted Reel only if you’ve lost the source. Note: in-app downloads are often watermarked or compressed.
- Trim in an editor (CapCut, InShot, VN), export with the recommended settings below, then repost.
Preserve quality and avoid watermarks:
- Always keep a high-quality master file outside Instagram.
- In Instagram settings, enable “Save original videos” so IG camera captures save to your device (helpful for recorded Reels).
- Avoid downloading your own published Reel if you can—this typically carries compression and sometimes a watermark or missing audio source attribution.
- If you must download, consider using your original audio page again when reposting to preserve discoverability tied to that audio.
---
Use a Video Editor for Precision (CapCut, InShot, VN)
For exact timecodes, clean cuts, and advanced controls, use a dedicated editor before you upload to Instagram.
Suggested workflow:
- Import your master clip.
- Set your project to vertical 9:16.
- Trim to the exact in/out frames; add micro crossfades only if needed (hard cuts are usually best for Reels).
- Check sync: If using on-camera speech, lock the edit to the waveform peaks.
- Add subtitles in-editor for accessibility and retention.
Recommended export settings:
| Parameter | Recommendation | Notes |
|---|---|---|
| Resolution | 1080 × 1920 (9:16) | 4K vertical is okay but IG will downscale |
| Frame rate | 29.97 or 30 fps (or 60 fps) | Match source when possible |
| Codec | H.264 (High profile) | CBR or high VBR |
| Bitrate | 12–20 Mbps (1080p30) | Higher bitrate preserves detail pre-IG compression |
| Audio | AAC, 128–320 kbps, 44.1/48 kHz | Mono or stereo ok |
| Color | Standard (sRGB/Rec.709) | Avoid extreme LUTs that crush detail |
Optional advanced export with FFmpeg:
ffmpeg -i input.mp4 -vf "scale=1080:1920:force_original_aspect_ratio=decrease,format=yuv420p" \
-r 30 -c:v libx264 -preset slow -profile:v high -level 4.1 -b:v 16M -pix_fmt yuv420p \
-c:a aac -b:a 192k -ar 48000 output_for_reels.mp4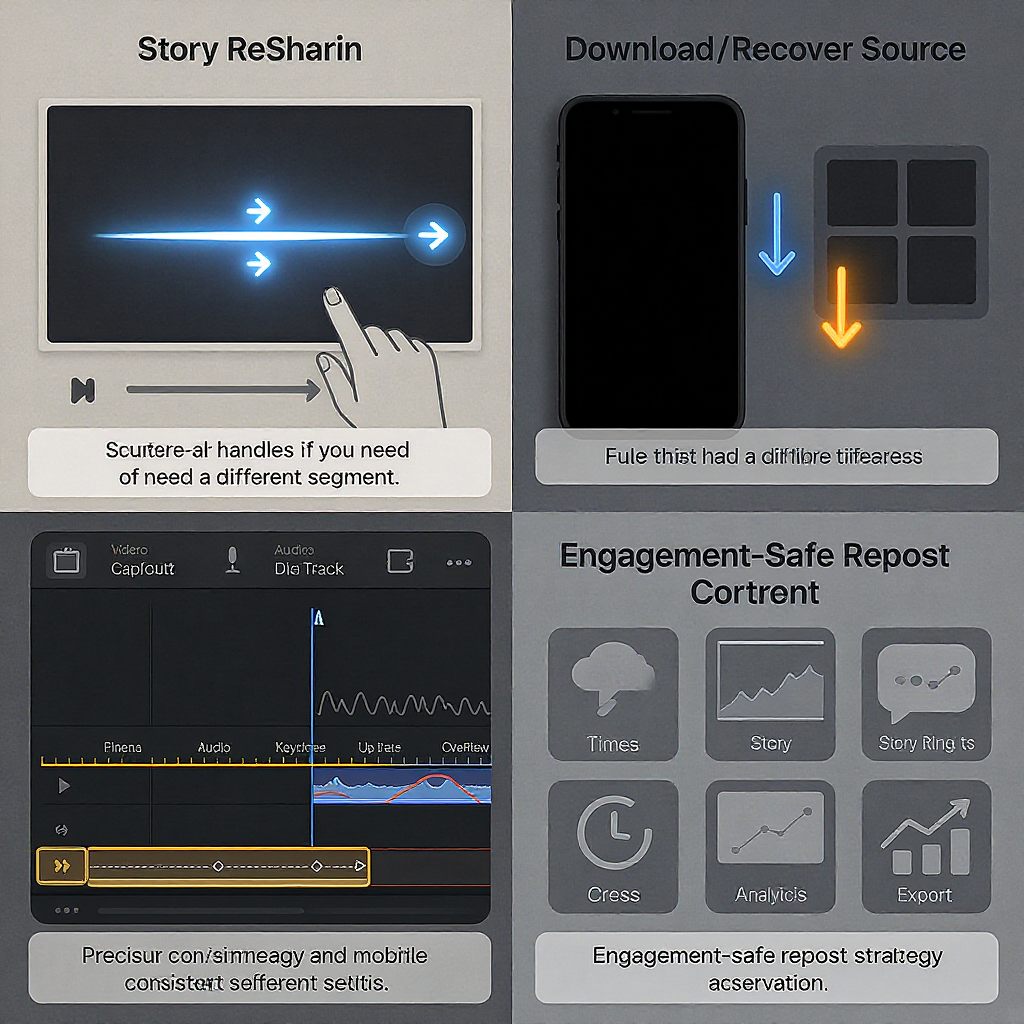
---
Minimize Engagement Loss When You Must Repost
If you’re replacing a published Reel with a new version focusing on a different segment, carry momentum forward:
- Pin a top comment on the old Reel:
- “Updated clip with the best moment is here → @yourhandle” and tag the new Reel or reference it clearly.
- Edit the old caption:
- Add: “See the tighter cut here: check our latest Reel.”
- Notify collaborators:
- Remove or re-invite collaborators appropriately so they can re-share the new post.
- Reuse or save the original audio:
- Tap the audio page on your first Reel and use the same audio for the new one to inherit search/association.
- Schedule at a strong time:
- Post when your audience is most active to counteract any algorithmic reset.
- Retag people and products:
- Restore product tags and mentions to keep shoppability and partner visibility.
---
Troubleshooting Common Issues
- “Adjust Clips” or trim handles are missing
- Update the Instagram app; features can vary by version.
- Try tapping the back arrow to the clip timeline or look for “Edit Clips” wording.
- Audio desync after trimming
- In external editors, unlink and relink audio; align to waveform peaks.
- Export at the same frame rate as your source to avoid jitter.
- Video too long or black bars
- Ensure 9:16 aspect ratio. Use “Fill frame” or crop.
- Keep under current Reel duration limits (check your app; limits can vary by region/account).
- Low quality after export
- Increase bitrate; avoid double compression (don’t download and re-upload compressed files).
- Ensure good upload bandwidth; upload over Wi‑Fi.
- Stuck processing
- Force-close and reopen IG; try a smaller file or slightly lower bitrate.
- Clear app cache, ensure device storage isn’t full.
---
FAQ Quick Hits
- Can you replace the video in a published Reel?
- No. You cannot swap or re-trim the clip once it’s live. Create and post a new Reel.
- Will deleting and reposting hurt reach?
- Deleting removes all engagement. Reposting starts fresh; reach can still be strong if the cut is better and you post at a good time. Consider leaving the old Reel up and directing viewers to the new one.
- Can you edit the Reel cover without changing the clip?
- For most accounts in 2025, yes: Edit > Edit cover lets you choose a new frame or upload an image. If you don’t see it, your account may not have the feature yet.
- How is sharing to Story different from sharing to feed for choosing a specific moment?
- Story: you can pick the starting moment of the preview and add Story elements. Feed: you cannot change the creator’s clip or start point; it posts as-is (unless you’re creating a Remix, which adds your clip but doesn’t alter theirs).
---
Bottom Line
- If you want a different part of your video to be the Reel, select and trim that segment before publishing—or repost a new Reel built from that section.
- Post-publish edits are for metadata (caption, cover, tags, collaborators), not the video itself.
- For resharing someone else’s Reel, you can choose the Story preview’s start point, but you cannot change their content.
- Use a proper editor and export settings to keep your repost crisp, and apply engagement-preserving tactics when you must post a new version.
Summary
You can’t swap the video in a published Reel, but you can fully control trimming before posting and choose a preview start time when sharing to Stories. If you need a different section after posting, rebuild and repost with strong export settings, then redirect viewers from the original. Preserve quality by editing from master files, and maintain momentum with smart reposting and engagement tactics.