Editing Instagram Story After Posting: Tips and Workarounds
Learn what you can and can’t edit in Instagram Stories after posting, plus step-by-step reposting fixes, archive use, and creative workarounds.
Editing Instagram Story After Posting: Tips and Workarounds
Instagram Stories are a dynamic content format that lets you engage followers in real time. However, a common user problem is editing an Instagram Story after posting — whether due to a typo, missing tag, incorrect sticker, or forgotten location. In this guide, you’ll learn exactly what Instagram allows after a Story is live, how to fix mistakes quickly, and proven workarounds that maintain your reach and engagement.

---
Instagram's Limits on Editing Posted Stories
Once a Story is published, Instagram does not allow direct editing of most creative elements, including:
- Text captions
- Stickers (location, hashtags, GIFs)
- Interactive polls or questions
- Mentions (@username)
Even small tweaks require deleting and reposting the Story. Post-publication, the only permitted actions are:
- Hide Story from specific users via Story settings
- Add to / remove from highlights
- View Story insights (views, interactions)
These limits exist to preserve authenticity and the chronological nature of Stories.
---
Editing vs. Deleting and Reposting
It’s crucial to distinguish between editing a live Story and deleting & reposting it with changes.
| Editing | Deleting & Reposting |
|---|---|
| Change a live Story without losing reach or stats | Remove original Story and publish updated version |
| Not supported, except hiding viewers or changing highlights | Fully supported; can correct text, stickers, interactive elements before reposting |
| No change in audience engagement metrics | View count and engagement reset |
Since editing isn’t possible, reposting is generally the only way to make significant corrections.
---
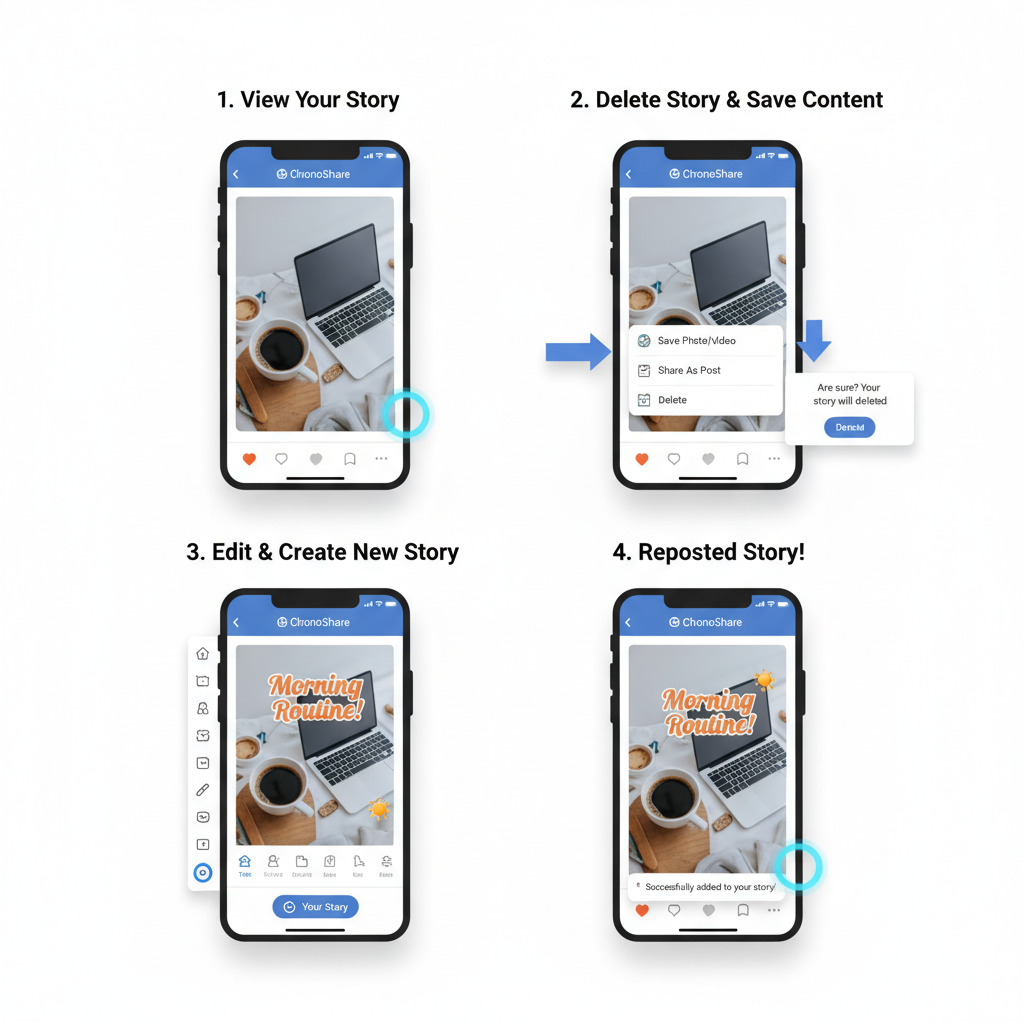
Step-by-Step: Remove and Repost With Changes
Here’s how to correct a Story without losing its feel:
- Download the Story first to avoid recreating assets from scratch.
- In the Story, tap the three dots and choose Delete.
- Open the saved media in Stories.
- Apply fixes — update text, stickers, polls, or tags.
- Publish the corrected version.
This preserves your original visuals while allowing edits.
---
Saving Original Story Content for Re-Editing
To save a live Story for later:
- View your Story, tap the three dots (More), and select Save Photo/Video.
- For multiple slides, choose Save Story to download as a single file.
- Re-import into the Stories editor for updates.
This is essential for flowing corrections into existing media instead of starting over.
---
Using Archive and Highlights to Update Content Later
Enable Story Archive for automatic saving:
- Go to `Profile > Archive` to locate past Stories.
- Download and repost archived content with edits.
- Use Highlights to keep evergreen Stories prominent, removing outdated slides and adding refreshed ones.
Highlights are ideal for content that evolves — like product information or event details.
---
Creative Workarounds for Story Mistake Fixes
When deleting isn’t ideal (for example, a Story has high engagement), try:
- Overlay Fixes: Post a correction slide with transparent text/image overlay.
- Follow-Up Slide: Add another Story slide explaining or updating the previous one.
- Pinned Feed Post: Create a pinned post in your feed linking to the correct information.
These methods keep engagement intact while addressing errors.
---
Tips to Avoid Errors Before Posting Stories
Prevent mistakes with a simple workflow:
- Use Draft Mode: Save and review Stories before publishing.
- Preview Thoroughly: Check text, stickers, polls, and tags in the preview.
- Get a Second Opinion: Share draft screenshots for proofreading.
- Test Interactives: Ensure polls/quizzes are accurate.
A pre-post checklist is the easiest way to avoid edit headaches.
---
Best Practices for Maintaining Engagement After Reposts
Since reposts reset engagement stats, combat losses by:
- Informing Followers: Mention “Updated Story” in captions.
- Adding Engagement Hooks: Polls, sliders, Q&As in the repost.
- Posting at Peak Times: Use Insights to identify optimal hours.
These keep audiences involved even after content correction.
---
Common Pitfalls When Correcting Posted Stories
Watch out for:
- View Loss: All metrics reset on deletion.
- Flow Disruption: Removing a slide may confuse viewers.
- Notification Fatigue: Frequent reposts can annoy followers.
- Brand Inconsistency: Different styles for the same content can harm professionalism.
Plan corrections to minimize negatives.
---
Conclusion: Quick Corrections Without Losing Your Audience
Instagram doesn’t support editing a posted Story directly, but you can use downloading, archiving, highlights, and overlays to manage fixes. By following best practices and a correction checklist, you’ll preserve engagement and keep your content professional.
---
Fast Correction Checklist
- Download Story before deletion
- Apply edits in Stories editor
- Retrieve content from archive if needed
- Consider using overlays or follow-up slides
- Communicate updates to your audience
- Plan repost timing for maximum reach
- Review interactive features before posting
---
Summary:
Editing Instagram Stories after posting isn’t possible, but by reposting with changes, using archives, and applying creative overlays, you can quickly fix mistakes while protecting engagement. Start implementing these techniques today to keep your Instagram content sharp and follower trust high.