Flyer Dimensions in Pixels for Print and Digital Design
Learn common flyer sizes in pixels for print and digital, DPI standards, and how to set bleed and margins for sharp, professional designs.
Introduction to Flyer Dimensions in Pixels
Creating effective promotional materials starts with understanding the relationship between flyer dimensions in pixels and their physical sizes. Pixels matter as much as inches—especially if you want your design to look crisp whether printed on paper or displayed on a screen. For print, pixel dimensions must correspond to the physical paper size at a specific DPI (dots per inch). For digital, the same flyer may be optimized for a lower resolution to keep file sizes manageable and load times fast.
Designers often switch between inches, centimeters, and pixels, but nailing your pixel dimensions ensures you avoid blurry text, distorted images, or poor print quality.

In this guide, you’ll learn the most common flyer sizes, how to convert them into pixel dimensions for different DPIs, and best practices to ensure your flyers look professional across print and digital formats.
---
Common Flyer Sizes in Inches and Their Pixel Equivalents
In print design, we measure physical size (inches/mm) and then multiply by the DPI to get pixels.
Pixels = Inches × DPIFor example, an 8.5 × 11 inch flyer at 300 DPI:
Width: 8.5 × 300 = 2550px
Height: 11 × 300 = 3300px
Why 300 DPI for Print and 72 DPI for Screen?
- 300 DPI: Industry print standard for sharp, high-quality results.
- 72–96 DPI: Common for web/digital graphics, reducing file size for faster load times.
---
Popular Flyer Formats and Pixel Dimensions
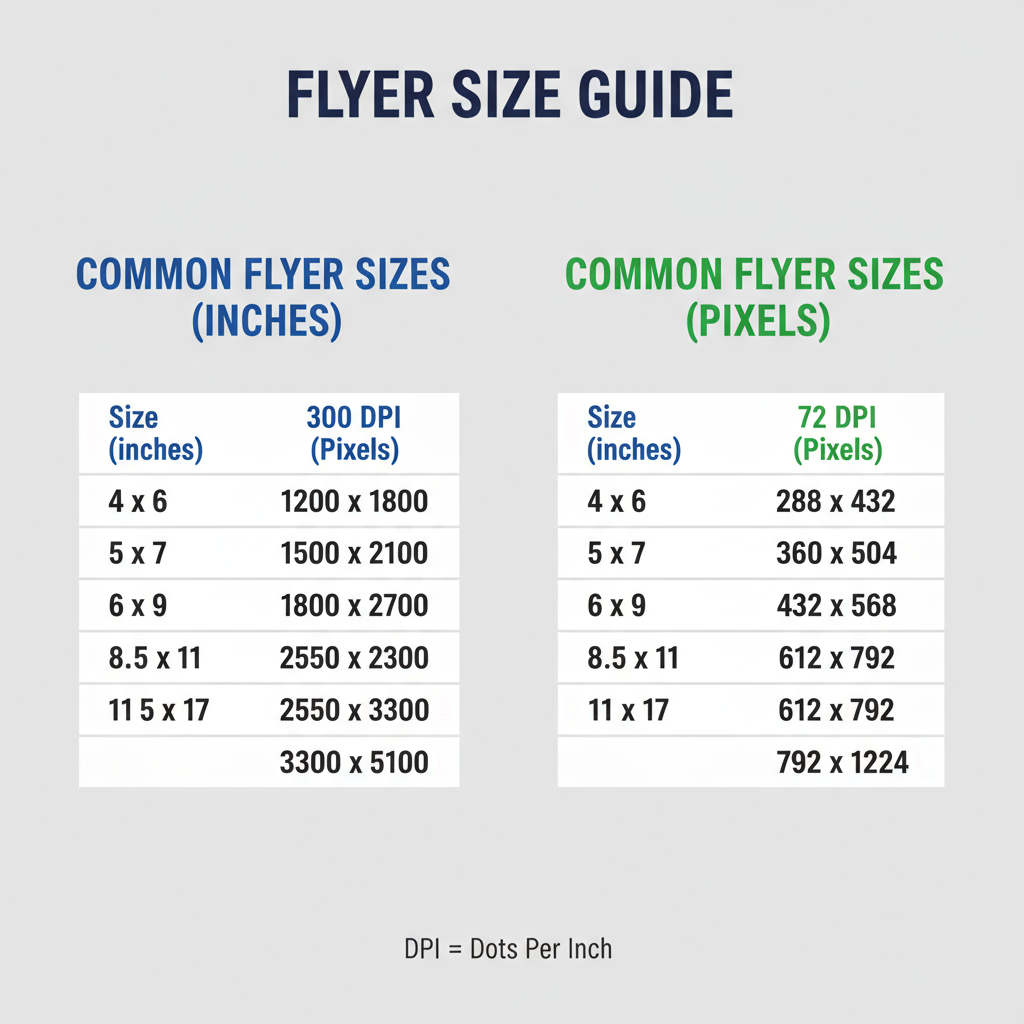
Below are four standard sizes, converted into pixels for both 300 DPI (print) and 72 DPI (digital preview).
| Flyer Format | Inches (W × H) | Pixels @300 DPI | Pixels @72 DPI |
|---|---|---|---|
| A4 | 8.27 × 11.69 | 2481 × 3508 | 596 × 842 |
| US Letter | 8.5 × 11 | 2550 × 3300 | 612 × 792 |
| Half Sheet | 5.5 × 8.5 | 1650 × 2550 | 396 × 612 |
| DL | 3.9 × 8.3 | 1122 × 2480 | 281 × 709 |
These conversions are essential when setting up artboards in design tools such as Adobe Illustrator, Photoshop, or Affinity Designer.
---
Choosing the Right Pixel Dimensions for Print vs Digital
When your flyer is for print, always start with the physical measurements and multiply by 300 DPI (or higher) to ensure sharp text, rich colors, and no pixelation.
For digital distribution (email, social media, websites), export a reduced-resolution version—usually at 72 or 96 DPI—to keep files lightweight while maintaining on-screen clarity.
Pro tip: Always design at high resolution for print, then downsample duplicates for web sharing.
---
Understanding Resolution (DPI) and Its Impact
DPI (Dots Per Inch) or PPI (Pixels Per Inch) measures the density of detail. Higher DPI means more detail, but also larger file sizes.
Effects of DPI:
- Higher DPI (300+): Crisp details, larger files, higher system demands.
- Lower DPI (72–150): Smaller files, faster performance, but poor quality when printed larger.
---
Designing Flyers with Correct Bleed and Margin Settings
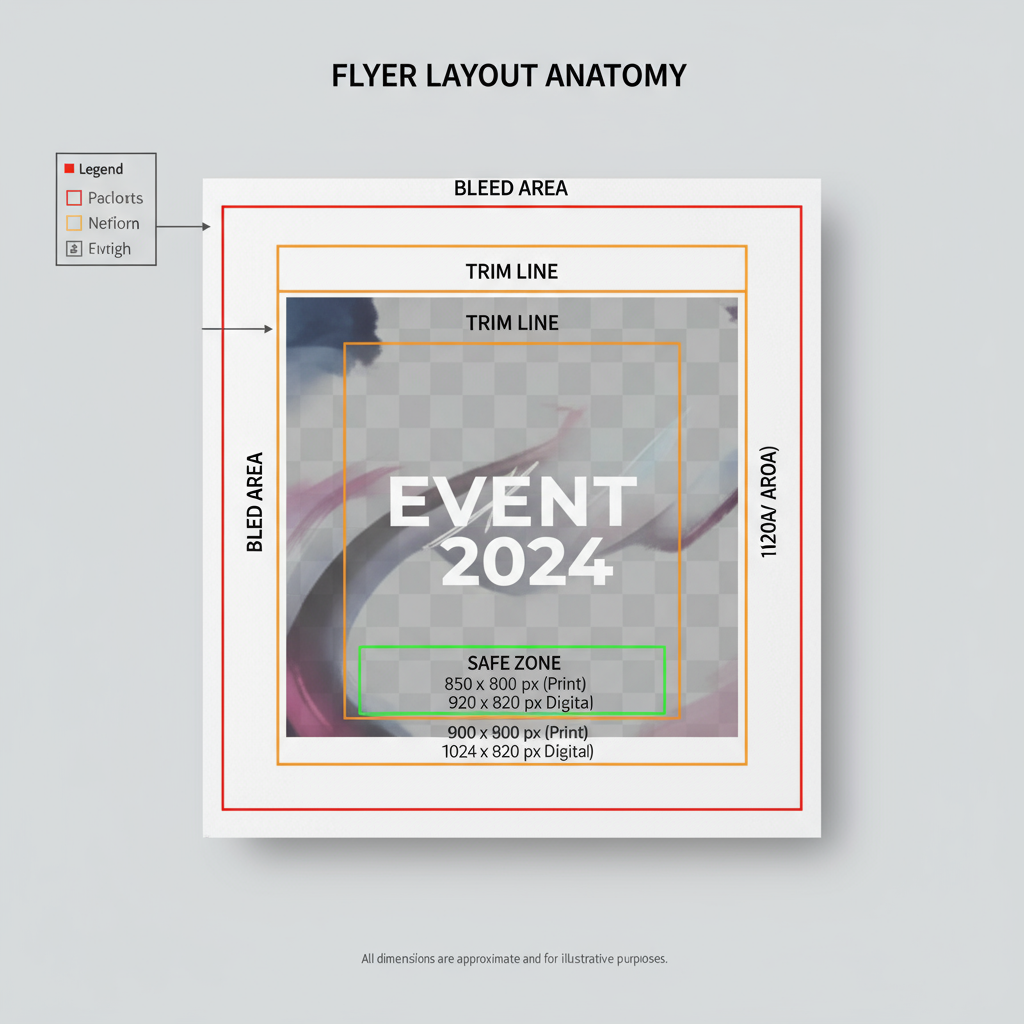
Bleed is the extra image/background area beyond the trim edge, ensuring no unwanted white borders post-cutting.
Standard bleed: 0.125 inches on each side.
Pixel Conversion for Bleed:
At 300 DPI, 0.125 inches = `0.125 × 300 = 38 pixels`.
For a US Letter flyer (8.5 × 11 inches) with bleed:
- Full size in inches = 8.75 × 11.25
- Pixels = 2625 × 3375 @300 DPI
Margins are safe zones from the trim line that keep key elements from being cut off. Standard margins: 0.25 inches (75 pixels at 300 DPI).
---
Resizing Existing Designs Without Quality Loss
Resizing rules vary by file type:
- Vector (AI, SVG, EPS, PDF): Infinitely scalable with no loss—ideal for flyers.
- Raster (JPG, PNG, PSD): Made of pixels; enlarging can cause blurriness.
Raster resizing tips:
- Use resampling methods like Bicubic Smoother for enlargements.
- Keep a master copy at the highest resolution possible.
---
File Formats and Color Modes
For Print:
- Formats: PDF (with embedded fonts), TIFF, PSD.
- Color Mode: CMYK for accurate print reproduction.
For Web/Digital:
- Formats: JPEG (small file sizes), PNG (supports transparency), optimized PDF.
- Color Mode: RGB for correct on-screen colors.
Always export print files at 300 DPI and web files at 72–96 DPI.
---
Common Mistakes to Avoid
- Designing at low resolution—blurry prints result.
- Omitting bleed and margins—causes cut-off elements.
- Using the wrong color mode—RGB in print can yield inconsistent colors.
- Over-compressing images—JPEG artifacts reduce quality.
- Enlarging raster images beyond their original size—creates pixelation.
---
Quick Reference Chart for Standard Flyer Pixel Sizes
Here’s a handy cheat sheet:
| Size Name | Inches (W × H) | Print (300 DPI) | Digital (72 DPI) |
|---|---|---|---|
| A4 | 8.27 × 11.69 | 2481 × 3508 | 596 × 842 |
| Letter | 8.5 × 11 | 2550 × 3300 | 612 × 792 |
| Half Sheet | 5.5 × 8.5 | 1650 × 2550 | 396 × 612 |
| DL | 3.9 × 8.3 | 1122 × 2480 | 281 × 709 |
---
Conclusion
Mastering flyer dimensions in pixels is essential for producing designs that remain sharp and professional in both print and digital formats. Start by defining the physical paper size, calculating the correct DPI, applying bleed and margin standards, and choosing the right file formats and color modes. Designing in high resolution ensures flexibility—allowing you to create a print-perfect file and then export lighter versions for web use.
By following these best practices and using the reference charts provided, you can streamline your design process, avoid costly errors, and present marketing materials that stand out.
Ready to perfect your next flyer? Start by setting up your artboard with the exact pixel dimensions you need, and let your creativity take it from there.

