How to Make a Draft Step by Step for Writing Projects
Learn a step-by-step method to create effective drafts, from topic selection and research to outlining and free writing for clear, compelling content.
How to Make a Draft Step by Step for Writing Projects
Creating a draft is one of the most important stages in any writing project. In content creation, from essays and blog posts to professional emails, learning how to make a draft effectively can significantly improve the quality and clarity of your final work. In this guide, we will explore a proven, step-by-step method to draft your writing, ensuring that your ideas are organized, compelling, and ready for refinement.

---
What Is a Draft and Why It Matters
A draft is an initial version of a writing project—a rough blueprint before fine-tuning begins.
The purpose of a draft is to put your ideas onto the page without the pressure of perfection. It acts as:
- A thinking tool — allowing you to work through your logic.
- A planning framework — giving shape and sequence to your ideas.
- A feedback vehicle — something you can share early for comments.
By embracing the draft phase, you give yourself the freedom to experiment and develop your voice before locking in a polished product.
---
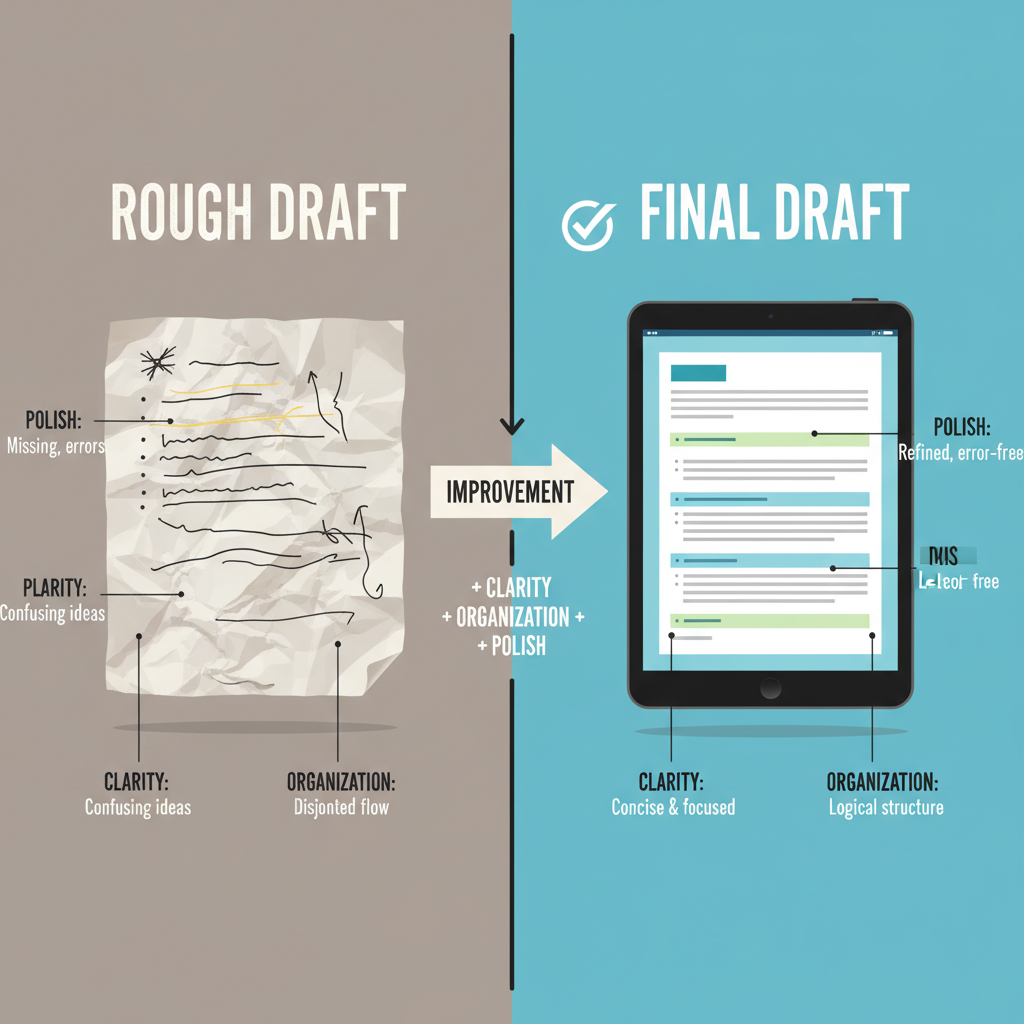
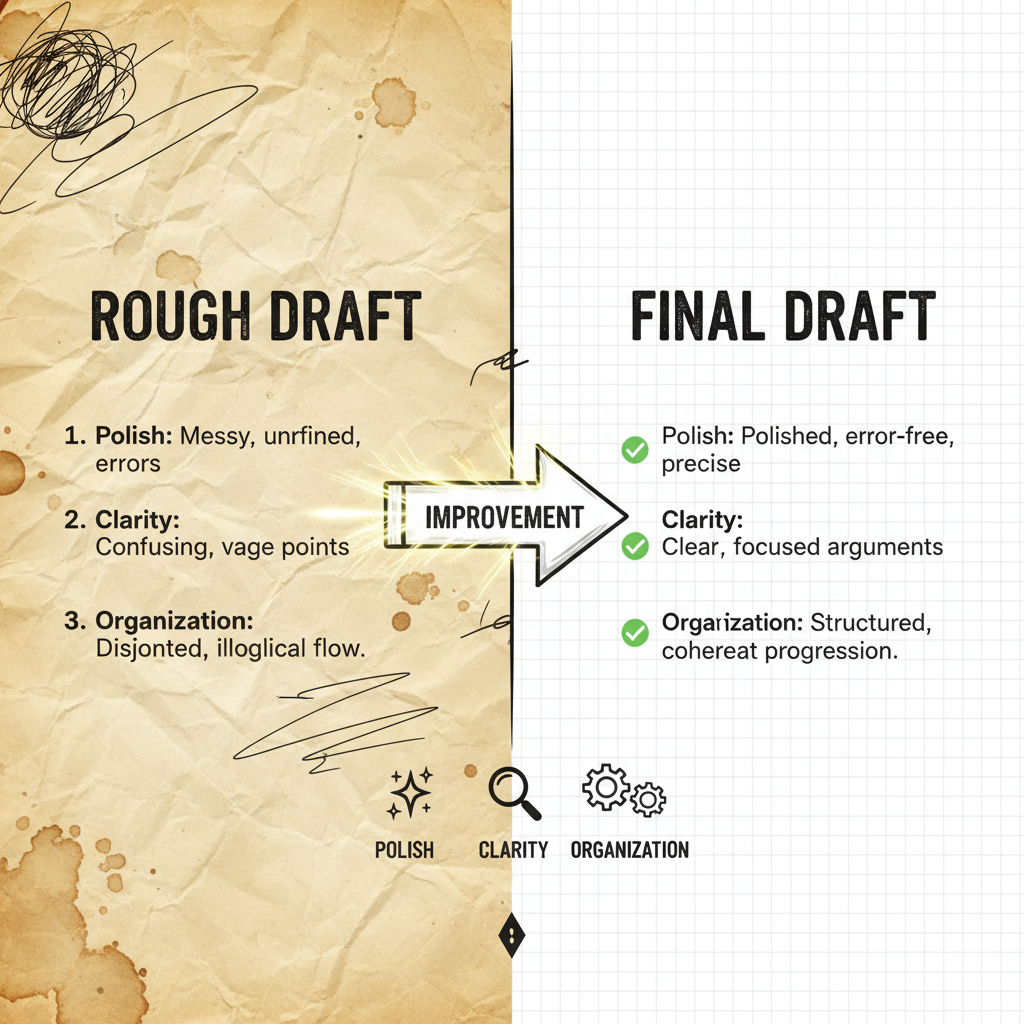
Rough Draft vs. Final Draft
It’s important to distinguish between a rough draft and a final draft.
| Aspect | Rough Draft | Final Draft |
|---|---|---|
| Purpose | Capture ideas freely | Present polished, refined work |
| Focus | Flow of ideas, basic structure | Clarity, tone, grammar, formatting |
| Errors | Allowed and expected | Minimized or eliminated |
| Audience | Mainly yourself or close reviewers | Intended end readers |
---
Step 1: Select Your Topic and Identify Your Audience
Begin by picking a clear and specific topic—broad topics tend to feel overwhelming and lack focus. Narrow topics make for easier drafting and stronger arguments.
Next, know your audience:
- Are they beginners or experts?
- Do they expect formal or conversational language?
- Will they want detailed explanations or quick summaries?
Understanding your readers helps you determine tone, depth, and vocabulary from the outset.
---
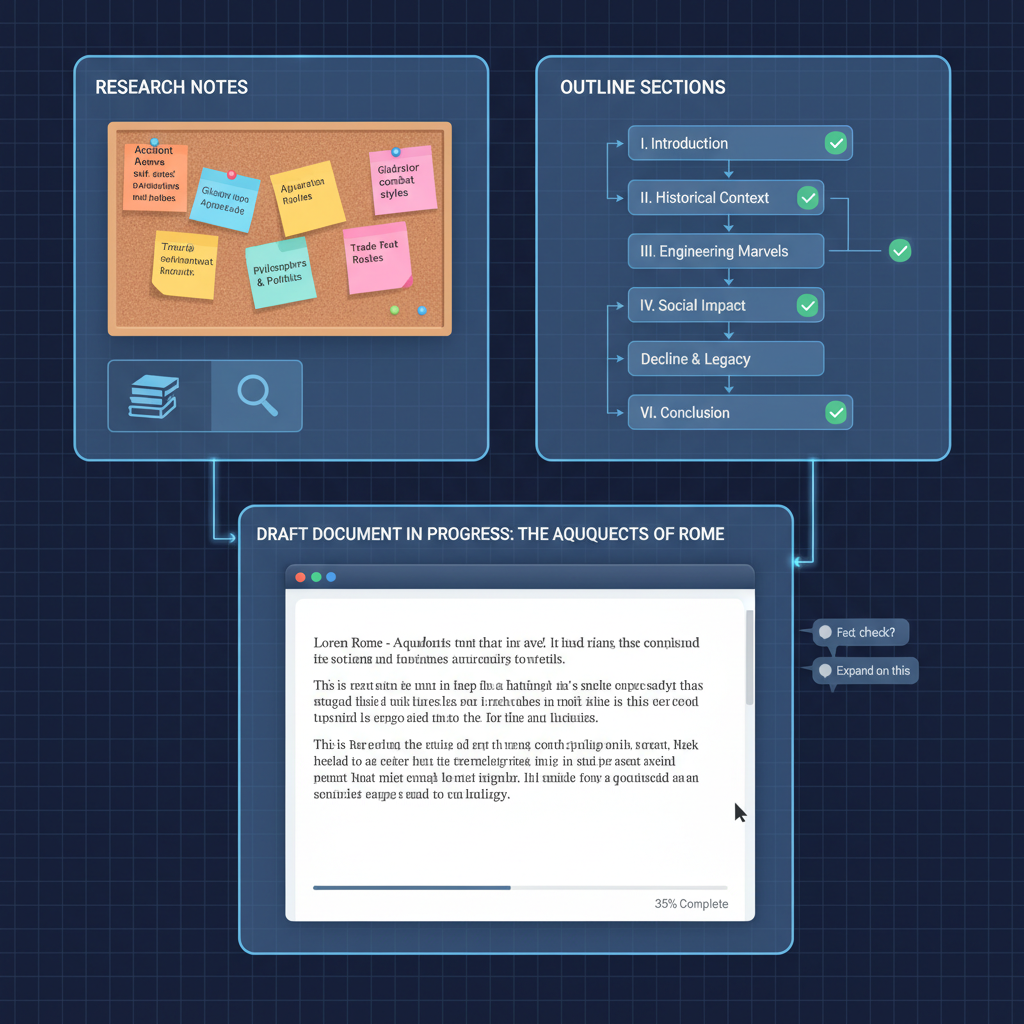
Step 2: Conduct Research and Gather Key Points
Before writing, collect background information, statistics, or real-life examples to support your arguments.
Tips for effective research:
- Use credible sources: books, reputable websites, academic journals.
- Summarize findings in bullet points for quick reference.
- Keep citations handy to save time later.
Research not only builds authority in your writing but also gives your draft factual support.
---
Step 3: Create a Clear Outline with Headings and Subpoints
An outline acts like a roadmap before your drafting journey begins. It ensures that you don’t lose track of your argument as you write.
A typical outline format might look like:
- Introduction
- Hook
- Background
- Thesis statement
- Body Paragraph 1
- Topic sentence
- Evidence/example
- Explanation
- Body Paragraph 2
- Conclusion
- Summary
- Closing thought
---
Step 4: Write Freely Without Worrying About Grammar or Spelling
When you start your rough draft, your goal is idea capture, not error elimination. Give yourself permission to type continuously without overusing the backspace key.
Why this helps:
- Thoughts flow naturally.
- Creativity is uninterrupted.
- Focus remains on the message rather than mechanics.
---
Step 5: Structure Paragraphs Effectively
For clarity and readability, each paragraph should typically follow a mini-structure:
- Introduction sentence — sets up the main idea.
- Supporting sentences — provide details or evidence.
- Concluding sentence — wraps up the thought and links to the next paragraph.
This consistent approach guides the reader smoothly through your reasoning.
---
Step 6: Avoid Self-Editing During the First Pass
Trying to perfect grammar and word choice too soon can slow you down. Remember: your first draft is for organizing your thinking, not showcasing flawless writing.
Instead:
- Place temporary markers like `[add example here]`.
- Keep moving forward until all planned points are addressed.
---
Step 7: Take a Break Before Reviewing
Once the rough draft is done, step away for a few hours or even a day.
Benefits:
- You return with a fresh perspective.
- Errors and gaps stand out more clearly.
- Mental energy is restored for revision.
---
Step 8: Revise for Clarity, Coherence, and Flow
Revision means rethinking rather than just tidying up.
Ask yourself:
- Is the argument logical and well-supported?
- Are paragraph transitions smooth?
- Is section order effective?
Don’t shy away from restructuring or rewriting entire sections if needed.
---
Step 9: Proofread for Grammar, Spelling, and Formatting
After revisions, focus on language and presentation:
- Fix grammar and spelling mistakes.
- Maintain consistent headers, formatting, and numbering.
- Ensure all citations are correctly formatted.
Tools like Grammarly, Hemingway, or built-in spell checkers can help streamline final checks.
---
Tips to Overcome Writer’s Block During Drafting
Writer’s block is common; try these:
- Freewriting: Write nonstop for 10–15 minutes without worrying about quality.
- Mind mapping: Visually brainstorm ideas.
- Change environment: New settings spark creativity.
- Set small goals: Aim to write one paragraph at a time.
- Use prompts: Start with a relevant question or statement.
---
Examples of Drafts for Different Formats
| Format | Draft Characteristics |
|---|---|
| Essay | Intro with thesis, 3–5 body paragraphs, conclusion; citations noted but not cleaned up |
| Blog Article | Catchy title placeholder, subheadings, casual tone, examples drawn from research or experience |
| Greeting, main point clearly stated early, short body paragraphs, call-to-action in closing |
---
Tools and Resources for Drafting
Leverage technology and templates to save time:
- Word processors: Microsoft Word, Google Docs (collaboration, track changes)
- Note-taking apps: Evernote, Notion (organize research)
- Outline tools: Workflowy, MindMeister (visualize structure)
- Grammar checkers: Grammarly, ProWritingAid (clean up later drafts)
- Templates: Essay outline forms, blog post structures, email scripts
---
Final Thoughts: Turning a Draft into Polished Work
Creating a draft is about momentum, not perfection. By following these steps, you’ll progress from a blank page to a coherent, well-structured document that captures your ideas effectively.
Over time, your rough drafts will become stronger, making revisions faster and easier. Separate creation from correction: write first, improve later.
Summary:
- Define topic and audience.
- Research and outline thoroughly.
- Write freely, structure logically.
- Step away, revise, proofread.
Ready to refine your writing skills? Start your next project with this drafting approach, and watch your ideas turn into impactful final pieces!