Step-by-Step Guide to Add Effects on Instagram Story
Learn how to add and customize effects on Instagram Stories with step-by-step instructions, creative tips, and tools to boost viewer engagement.
Step-by-Step Guide to Add Effects on Instagram Story
Instagram Stories are one of the most effective ways to communicate visually and create engaging content. Adding effects — often referred to as filters — can instantly enhance your photos or videos and give them a distinctive style. In this guide, you’ll learn how to add effects on Instagram Story with a clear step-by-step process, creative tips, and practical advice to help your stories stand out and reach more viewers.

---
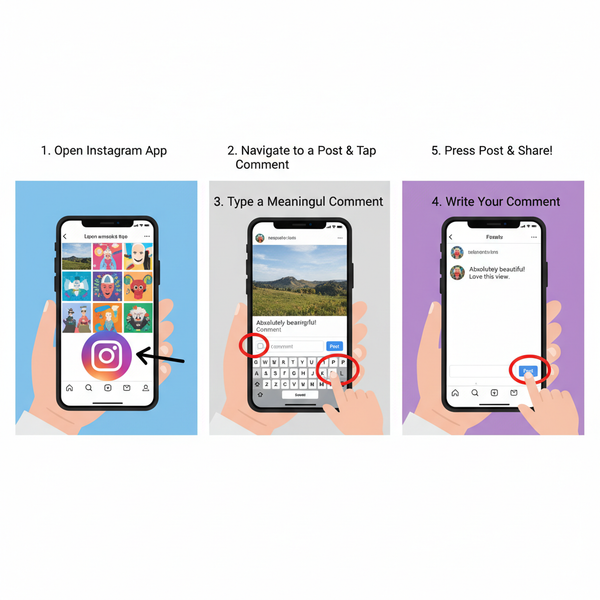
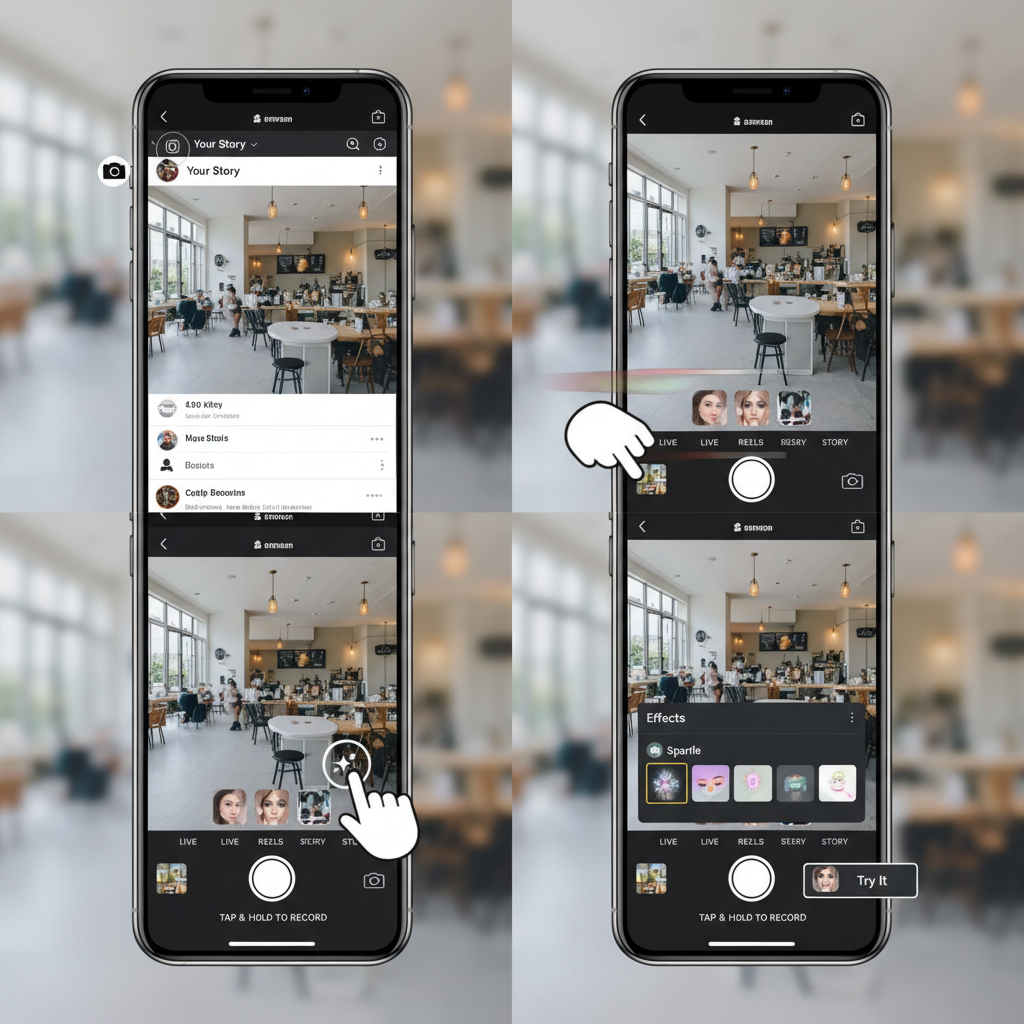
1. Open Instagram and Access the Story Camera
The first step is to launch the Instagram app and open the Stories camera.
How to do it:
- Open Instagram on your mobile device.
- Swipe right from your feed or tap the "+" icon next to your profile picture.
- Select Story from the options.
This opens the camera interface where you can directly capture photos or videos for your story.
---
2. Swipe to Choose a Mode
Instagram offers multiple shooting modes to suit your creative intent.
Popular modes include:
- Normal: Standard photo or video capture.
- Boomerang: A looped motion capture.
- Hands-Free: Start recording without holding the shutter button.
- Layout: Combine capture frames into a collage format.
Swipe horizontally along the bottom menu to choose your mode before adding an effect.
---
3. Tap the Effects Icon
Once you’ve selected your shooting mode, locate the Effects icon (sparkle-shaped or face-shaped) near the shutter button.
Tapping the icon opens a carousel displaying your available effects.
---
4. Browse Through Trending and Saved Effects
Instagram organizes effects to help inspire creativity:
- Trending: Community-popular filters.
- Saved: Effects you’ve bookmarked for reuse.
These categories make it easy to decide if you want a playful, dramatic, or thematic filter.
---
5. Use the Search Function
If you have a specific effect in mind:
- Scroll to the end of the effects carousel and tap Browse Effects.
- Enter relevant keywords (e.g., “vintage,” “sparkle,” “neon”) into the search bar.
You can discover effects from creators worldwide using targeted searches.
---
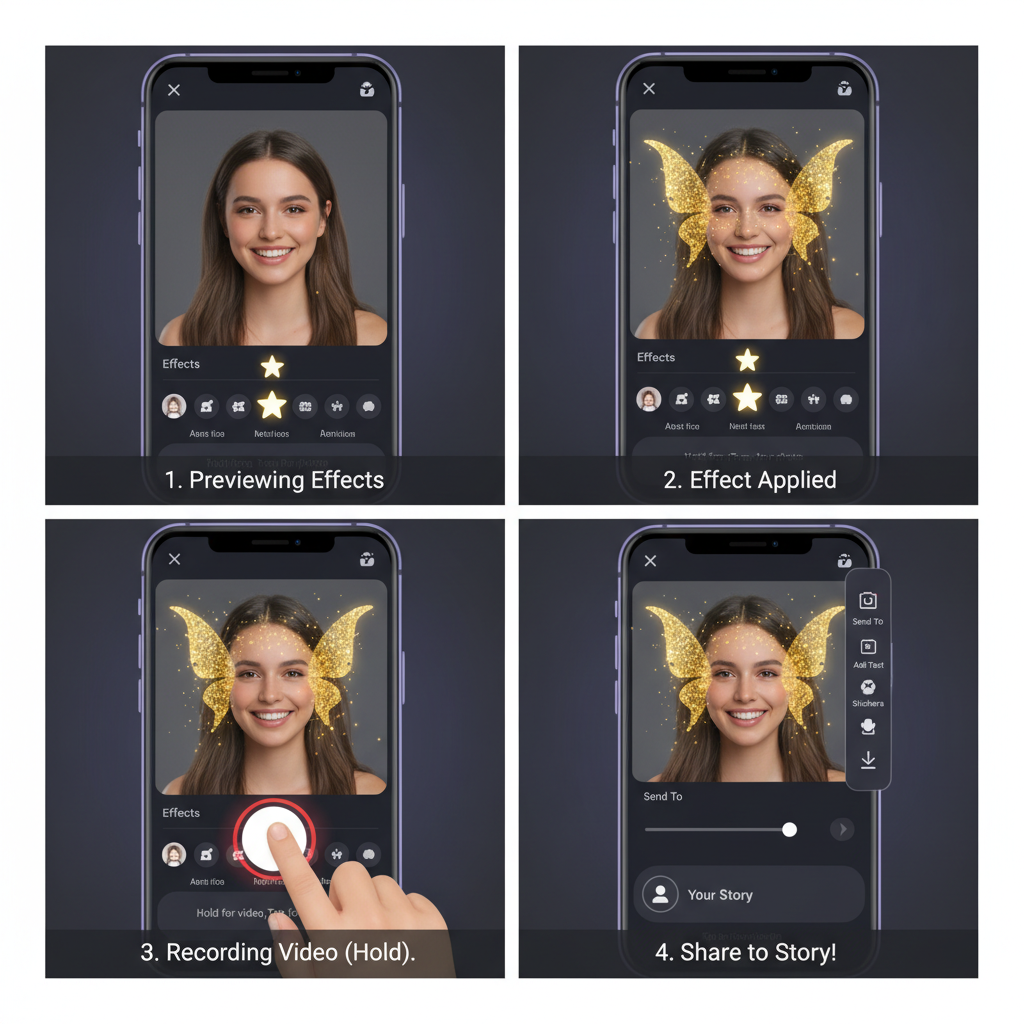
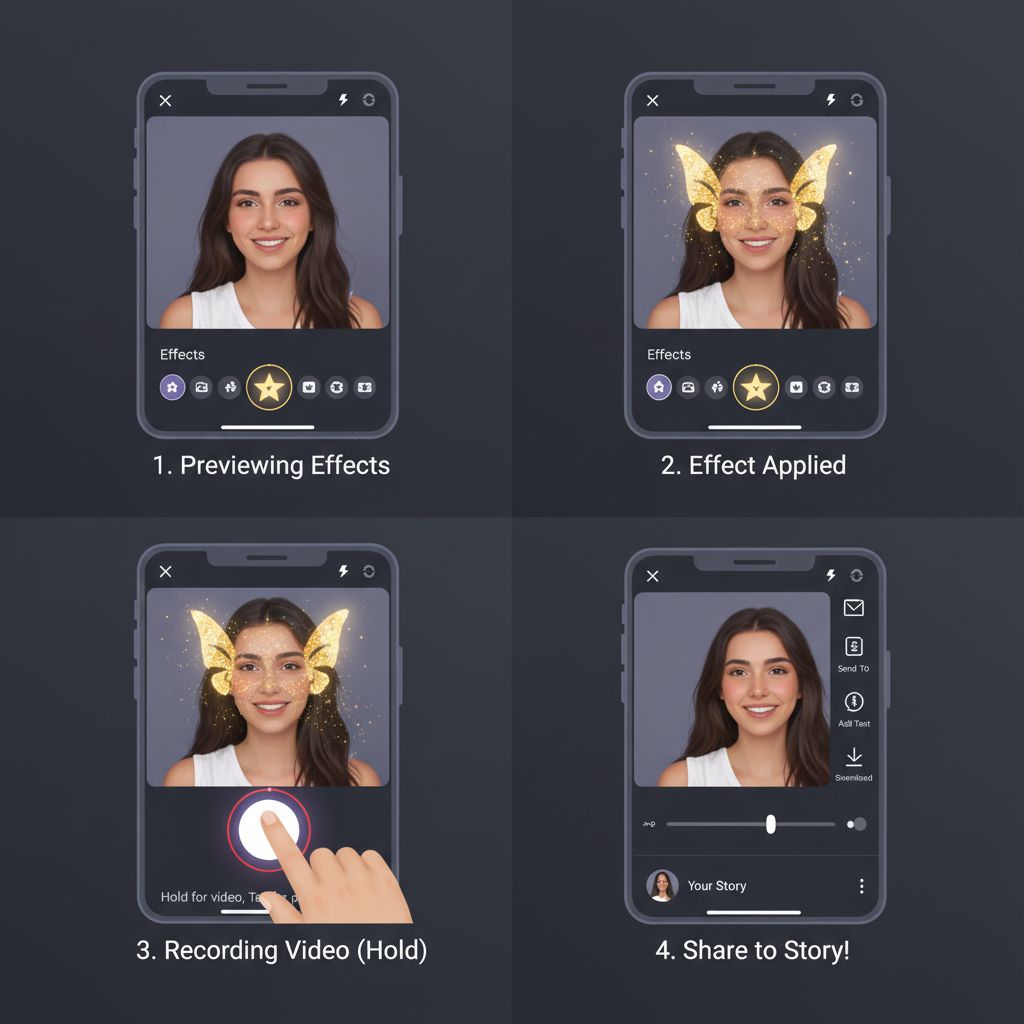
6. Tap on an Effect to Preview
Preview an effect by tapping its thumbnail. Your camera will immediately display it live on the preview screen.
Experiment with lighting, movement, and backgrounds to test how the effect behaves.
---
7. Capture Photos or Videos with Effects
There are two capture methods:
- Hold to Record: Create short video clips.
- Tap Once: Capture still images.
Effects are applied live and instantly style your content during recording or capture.
---
8. Adjust Effect Intensity
Many effects allow adjustments:
- Slider Controls: Change strength or opacity.
- Interactive On-Screen Elements: Switch colors, patterns, or animations.
Tweaking intensity can help balance a filter’s impact.
---
9. Save Favorite Effects
To save time in future stories:
- Tap the effect name while previewing.
- Select Save Effect.
Your saved effects will appear in your effects carousel for quick access.
---
10. Combine Effects with Stickers, Text, and Music
After recording, enrich your story with additional creative tools:
- Stickers: Quizzes, polls, GIFs, or location tags.
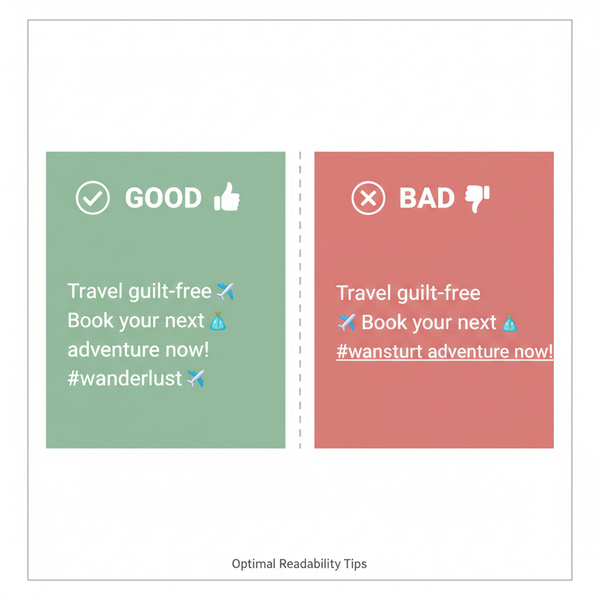
- Text Overlays: Use different fonts and colors to deliver your message.
- Music: Choose tracks from Instagram’s library to set the mood.
Layering these elements can significantly boost audience engagement.
---
11. Test Lighting and Angles
Effects respond differently to lighting setups:
Tips:
- Use natural light for crisp results.
- Avoid harsh backlighting unless going for silhouette effects.
- Try various angles to make the most of each effect.
---
12. Upload or Share Your Story
Once you’re happy with your content:
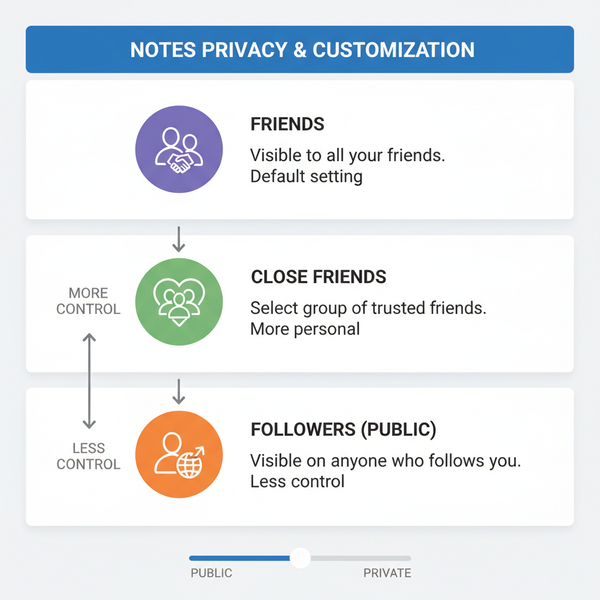
- Post to Your Story for all followers.
- Share to Close Friends for limited visibility.
- Send via Direct Messages for targeted sharing.
Choose the option that fits your audience strategy.
---
13. Monitor Engagement
Track viewer reactions to see which effects work best:
- Swipe up on your story while it’s active to reveal:
- View counts
- Replies
- Shares
Analyzing these metrics helps refine your storytelling approach.
---
Quick Reference Table: Effects Workflow
| Step | Action | Purpose |
|---|---|---|
| 1 | Open Instagram Story Camera | Access capture interface |
| 2 | Select Shooting Mode | Decide video/photo style |
| 3 | Tap Effects Icon | Open effects carousel |
| 4 | Browse or Search Effects | Find desired look |
| 5 | Preview Effect | Test before recording |
| 6 | Capture Content | Apply effects live |
| 7 | Adjust Intensity | Fine-tune visuals |
| 8 | Save Favorites | Fast future access |
| 9 | Add Stickers/Text/Music | Enhance engagement |
| 10 | Test Lighting/Angles | Optimize appearance |
| 11 | Upload or Share | Reach desired audience |
| 12 | Monitor Engagement | Analyze performance |
---
Expert Tips for Creative Effects Use
Think About Storytelling
Ensure every effect supports the narrative or mood you want to convey.
Avoid Overuse
Flashy effects can overwhelm content — balance minimal visuals with stylized ones.
Ride the Trends
Participating in trending effect challenges can expand reach and boost discoverability.
Experiment Regularly
Keep testing new combinations of effects and creative tools to maintain freshness.
---
Summary and Next Steps
Mastering how to add effects on Instagram Story allows you to express creativity, connect with viewers, and boost engagement. By following these steps, experimenting with adjustments, and combining effects with other Instagram tools, your stories will stand out visually and emotionally. Start applying these tips today, test different styles, and watch your audience interaction grow.