Step-by-Step Guide to Add Image to Instagram Story
Learn how to add images to Instagram Stories with step-by-step instructions, creative tools, and tips to enhance engagement and visual quality.

Step-by-Step Guide to Add Image to Instagram Story
Instagram Stories are one of the most engaging features on the platform, offering a quick, creative way to share visuals with followers. Knowing how to add image to Instagram story lets you elevate your content and make it stand out — whether you are posting a candid shot, a product showcase, or an event recap.
In this detailed walkthrough, you’ll learn the process from opening the Instagram app to publishing your story, with expert tips for maintaining high-quality images, enhancing visuals with interactive elements, and tracking performance through Story Insights.

---
Open Instagram and Navigate to the Home Feed
Launch the Instagram app on your smartphone.
Upon opening, you’ll land on the home feed, displaying posts from the accounts you follow.
At the top of your screen, you’ll see profile icons. The first icon on the far left is Your Story — tap it or swipe from here to begin creating a new Story.
---
Swipe Right or Tap the "+" Icon to Start a Story
You can open the Story creation interface in two ways:
- Swipe right from any point on the home feed.
- Tap your profile picture with a "+" sign, then select Story.
Either option leads you to the interface where you can choose between capturing a photo or selecting from your gallery.
---
Choose “Camera” or “Gallery” Option from the Bottom Menu
In the story creation screen, you will see these options at the bottom:
- Camera: Take a new photo on the spot.
- Gallery (Camera Roll on some devices): Import a saved image from your phone.

Select the one that best suits your content and workflow.
---
Select an Image from Your Phone’s Gallery or Take a New Photo
When using Gallery, scroll through and tap on your chosen image.
If using the Camera, align your subject and use the capture button.
Consider the following before confirming your choice:
- Adequate lighting to prevent graininess.
- High resolution for sharpness.
- Vertical framing (Instagram Stories use a 9:16 aspect ratio).
---
Adjust Image Placement with Pinch, Drag, and Rotate
Instagram provides intuitive gesture controls to fine-tune image position:
- Pinch to zoom in/out.
- Drag to move the image.
- Rotate using two-finger twists to set its angle.
Experiment until the image looks well-positioned against the frame.
---
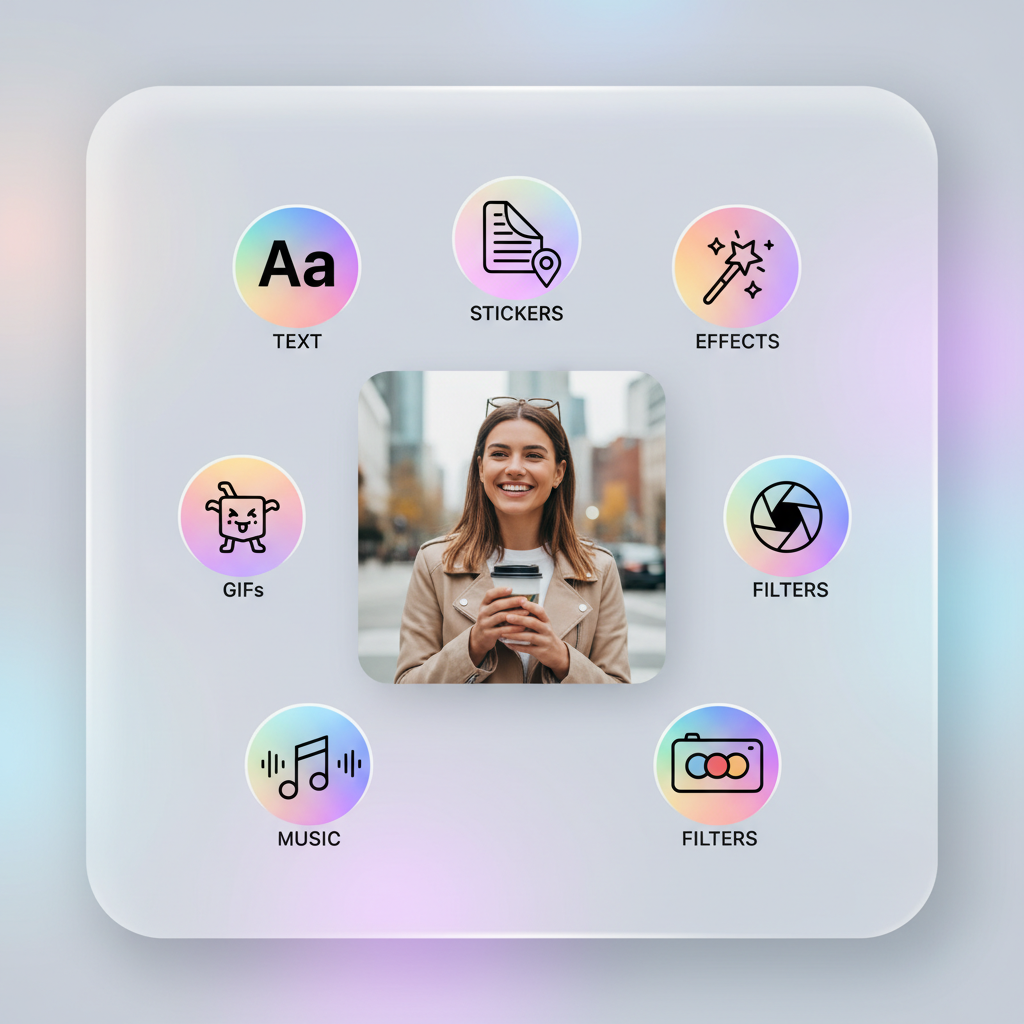
Add Text, Stickers, GIFs, or Music
Customize your image with creative additions:
- Tap the Aa icon to insert text.
- Use the Sticker icon to add polls, hashtags, countdowns, questions.
- Search and attach GIFs for animation.
- Add Music to create an audio backdrop.
These elements boost engagement and make your Story more interactive.
---
Apply Filters or Effects
Enhance your image’s tone and style with filters:
- Color overlays for mood.
- Face filters for selfies.
- Artistic effects for special styles.
Scroll horizontally across effects to preview each.
---
Add Multiple Images with "Add from Camera Roll"
You can add more images to your story via stickers:
- Tap the Sticker icon.
- Search for Camera Roll or Photo.
- Select additional images to include.
This method lets you create layered or collage-style visuals without leaving the current Story.
---
Explore Layout Mode for Collage-Style Stories
Use Instagram’s Layout mode for structured collages:
- Access Layout from the left-hand menu in the Story screen.
- Choose from 2, 3, or 4 grid presets.
- Fill each slot with images from either Camera or Gallery.
Ideal for branded showcases, sequential tutorials, or mood boards.
---
Mention Other Users Using @username Tag
To mention accounts:
- Tap the Aa text tool.
- Type `@` followed by their username.
- Select from the drop-down list.
This notifies them and may lead to higher reach through shares.
---
Review Your Story and Adjust Privacy
Before posting:
- Tap the settings icon to select privacy preferences.
- Hide the Story from specific accounts if needed.
- Set whether replies are allowed.
These controls tailor audience interaction and protect privacy.
---
Publish Your Story
Posting options include:
- Your Story — visible to all followers.
- Close Friends — shown only to selected contacts.
Stories stay live for 24 hours unless saved to Highlights.
---
Tips for Maintaining Image Quality
Ensure your visuals remain sharp:
- Aim for at least 1080px x 1920px resolution.
- Avoid unnecessary compression.
- Use quality editing apps like Lightroom or VSCO.
- Prioritize steady and bright lighting.
---
Creative Ideas for Engaging Image Stories
Boost appeal with varied formats:
- Behind-the-Scenes glimpses.
- Detailed product close-ups.
- Event or travel highlights.
- Countdown teasers.
- User-generated content for community bonding.
---
Track Engagement Using Story Insights
Creator and Business accounts can access Insights:
| Metric | Description |
|---|---|
| Views | Number of unique viewers |
| Replies | Messages received directly from Story |
| Swipe Ups | Click-throughs via link sticker |
| Shares | Times your Story was sent to others |
| Exits | Instances where viewers left before completing |
Review these metrics to refine your strategy.
---
Summary and Next Steps
Mastering how to add image to Instagram story helps you create eye-catching and interactive content that strengthens your online presence. From precise image placement to using creative tools like Layout mode and stickers, you can keep your audience engaged and coming back for more.
Experiment with different styles, monitor your Story analytics, and incorporate feedback to continually improve. Ready to upgrade your Instagram? Start adding more polished and creative image Stories today to connect with followers and grow your brand.