How to Add Photo on Instagram Story Step-by-Step Guide
Learn step-by-step how to add a photo to your Instagram Story, customize it with text, stickers, filters, and boost engagement with tagging and hashtags.

How to Add Photo on Instagram Story – Step-by-Step Guide

Instagram Stories are one of the most engaging features on the platform, offering a creative way to share photos and moments that expire after 24 hours. In this comprehensive tutorial, you'll learn how to add photo on Instagram Story and optimize your posts for maximum visibility and aesthetic appeal.
---
Understanding Instagram Story Basics
Instagram Stories appear at the top of the feed, allowing you to post ephemeral content that vanishes within 24 hours. They support photos, videos, and interactive elements to encourage user engagement.
Key advantages of Stories:
- Temporary format for spontaneous sharing.
- Interactive tools like polls, stickers, and question boxes.
- Audience controls to choose who can view your content.

---
Step 1: Check App Version and Update If Necessary
Before adding a photo:
- Open your device’s app store.
- Search for “Instagram.”
- Tap Update if prompted.
Keeping the app current helps:
- Unlock latest creative tools.
- Reduce technical glitches.
- Maintain security and performance.
---
Step 2: Open Instagram and Access the Story Camera
To begin:
- Launch Instagram.
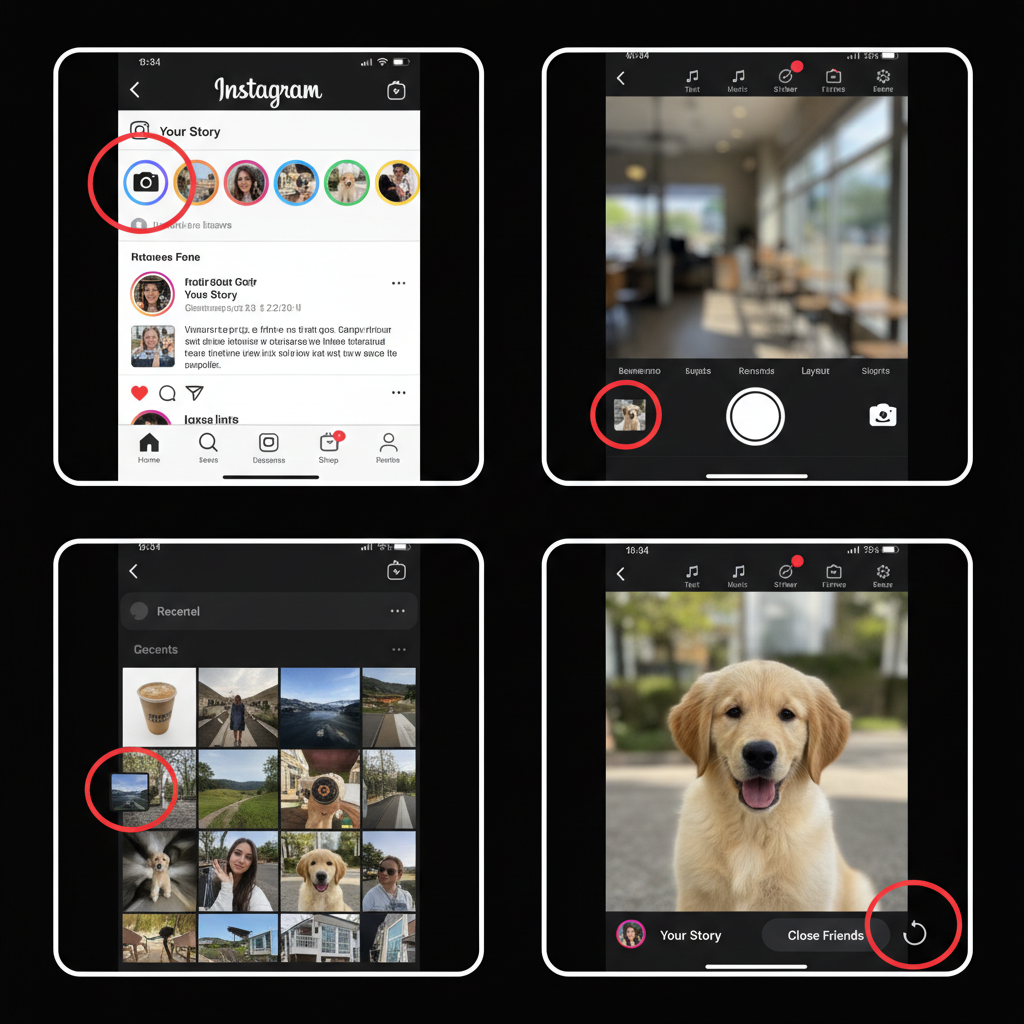
- Tap the camera icon on the top-left of the feed.
- Or, swipe right from the home feed.
Tip
If the camera doesn’t open, verify app permissions for camera and photos.
---
Step 3: Select a Photo from Camera Roll
Posting an existing image:
- On the Story Camera screen, swipe up.
- Choose a photo from your gallery.
- Tap the image to proceed to editing.
Ideal for sharing stored, high-quality shots.

---
Step 4: Take a New Photo Using the In-App Camera
For live moments:
- Use the Story Camera.
- Tap the large shutter circle to capture a picture.
- Adjust zoom or switch between front/rear cameras before shooting.
---
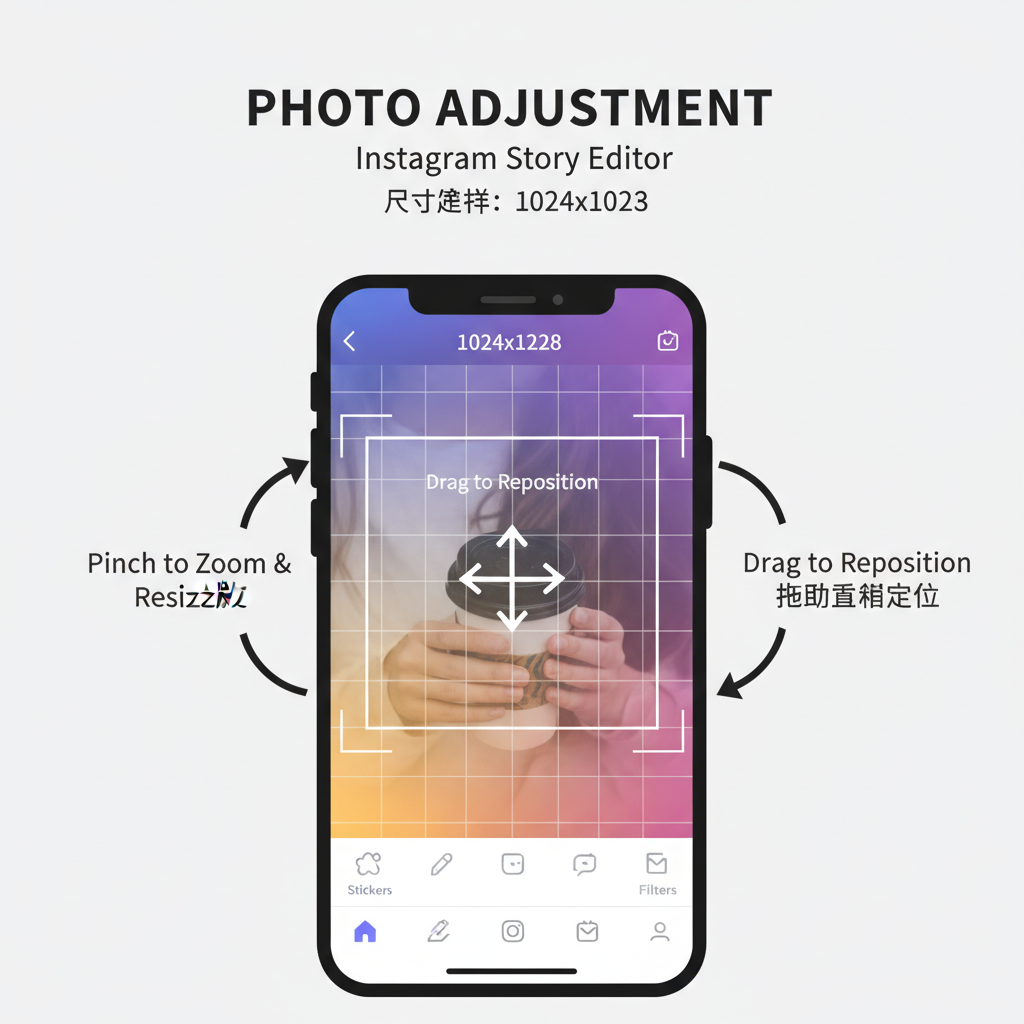
Step 5: Resize and Reposition the Photo
Enhance your layout:
- Pinch fingers together to shrink.
- Spread to enlarge.
- Drag to move the photo within the frame.
Perfect for combining images with background graphics.
---
Step 6: Add Text, Stickers, and Emojis
Boost interaction:
- Use the Aa text tool for quotes or captions.
- Add stickers like polls, dates, GIFs.
- Insert emojis for extra personality.
Quick Example
TAP Aa -> Type "My Perfect Sunset" -> Change Font Style -> Adjust Color---
Step 7: Apply Filters or Effects
Instagram offers unique visual enhancements:
- Color washes.
- AR masks and effects.
- Mood-specific filters.
To use:
- Swipe left or right on the edit screen.
- Select your preferred style.
---
Step 8: Tag and Hashtag for Visibility
Increase reach:
- Use @mention to tag accounts.
- Add hashtags for trending topics or campaigns.
Advantages:
- Appear in hashtag Stories.
- Higher chance of discoverability.
- Encourage cross-engagement.
---
Step 9: Choose Audience Settings
Control visibility:
- Tap Close Friends for limited viewers.
- Leave unchecked for a public Story.
---
Step 10: Post the Story and Confirm Upload
Finish by:
- Tapping Your Story for all followers.
- Or selecting Close Friends for private sharing.
Monitor upload status—weak connections may delay posting.
---
Step 11: View and Monitor Engagement Metrics
After posting:
- Tap your profile pic to view.
- Swipe up to check:
- Viewer count.
- Who viewed the Story.
- Engagement actions.
---
Troubleshooting Common Upload Issues
Common problems:
- Connection errors: Switch Wi-Fi/data and retry.
- File format issues: Use supported JPEG/PNG images.
- Gallery access blocked: Update permissions in settings.
---
Best Practices for Aesthetic and Engagement
Composition Tips
- Apply the rule of thirds for balance.
- Maintain consistent filters.
- Use contrasting text colors for readability.
Engagement Hacks
- Utilize interactive stickers.
- Employ countdowns for promotions.
- Combine photo and video content.
---
Summary Table: Steps at a Glance
| Step | Action | Purpose |
|---|---|---|
| 1 | Update Instagram App | Access latest tools, improve stability |
| 2 | Access Story Camera | Initiate Story creation |
| 3 | Select or Capture Photo | Choose content for your Story |
| 4 | Resize & Position | Frame creatively for impact |
| 5 | Add Text/Stickers | Engage audience visually |
| 6 | Apply Filters/Effects | Enhance visual quality |
| 7 | Tag & Hashtag | Boost Story reach |
| 8 | Choose Audience | Control visibility |
| 9 | Post & Confirm | Publish successfully |
| 10 | Monitor Engagement | Analyze performance data |
---
By following these optimized steps, you can add photo on Instagram Story effectively and creatively. Whether for casual sharing or strategic branding, using filters, tags, and interactive elements helps draw viewers in. Start experimenting today, track engagement trends, and refine your style to make every Story a compelling visual update that resonates with your audience.


