How to Cancel Meta Verified Subscription on Facebook Guide
Learn step-by-step how to cancel your Meta Verified subscription on Facebook via mobile or desktop, plus what happens after ending the service.
How to Cancel Meta Verified Subscription on Facebook (Full Guide)
If you’ve subscribed to Facebook’s Meta Verified program for the blue badge, account support, and added credibility — but now want to stop — you’re not alone. In this detailed how to cancel Meta Verified subscription Facebook guide, we’ll explain what Meta Verified is, why people cancel it, and exactly how to end your subscription on mobile or desktop. We’ll also cover what happens afterward, troubleshooting tips, and free alternatives to keep your account secure.

---
What is Meta Verified and How It Works on Facebook
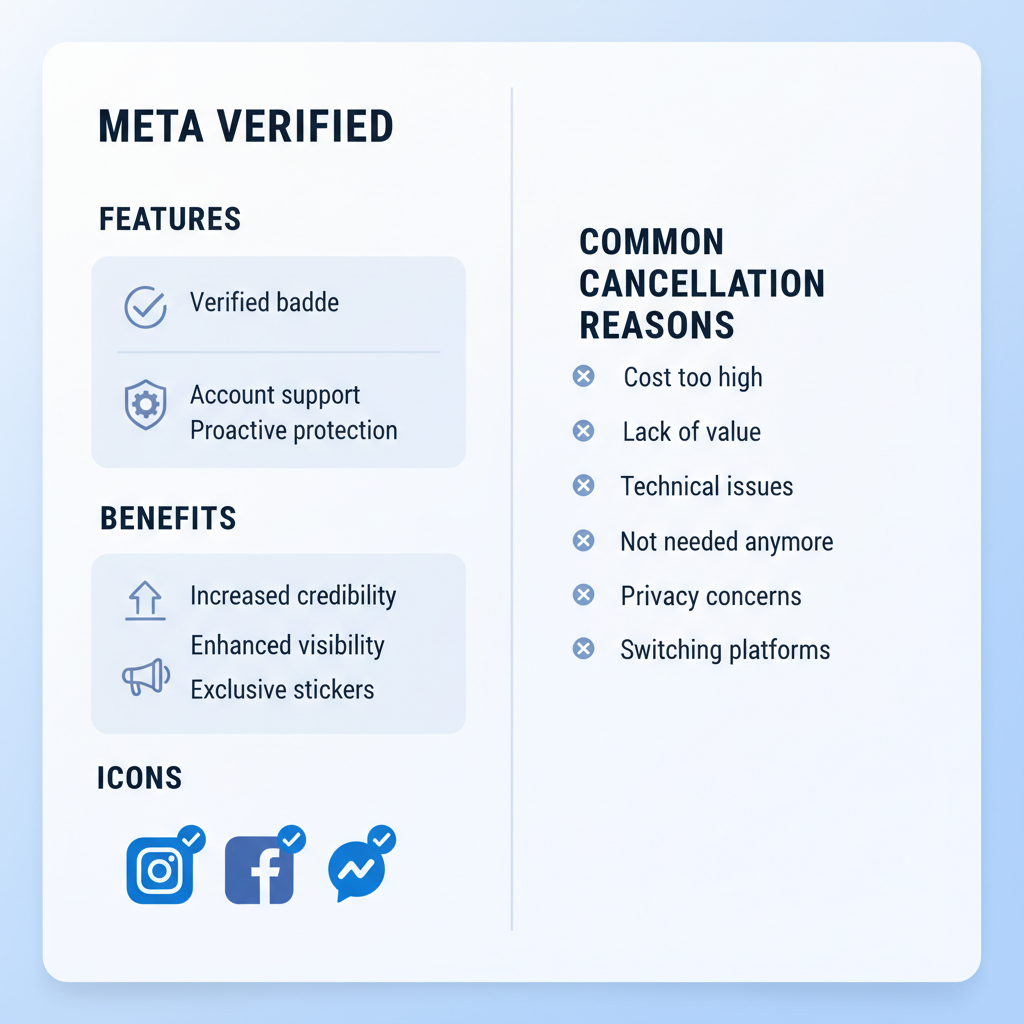
Meta Verified is Facebook’s paid verification service, allowing users to verify their identity using a government-issued ID. Approval brings a blue verification badge and perks such as:
- Direct access to human support for account issues
- Added impersonation protection measures
- Greater visibility in certain Facebook features
It renews monthly, billing your chosen payment method through the App Store, Google Play, or Facebook’s own payment processor.
---
Common Reasons for Canceling Meta Verified
While the service has benefits, many users choose to downgrade or cancel. Frequent reasons include:
- Cost Concerns – Avoiding ongoing monthly fees
- Short-Term Use – Needed only for a campaign or promotion
- Priority Changes – Shifting away from brand growth activities
- Feature Dissatisfaction – Not finding perks worth the price
- Account Changes – Moving to another profile or page
---
Things to Know Before You Cancel
Before you initiate cancellation, review these important considerations:
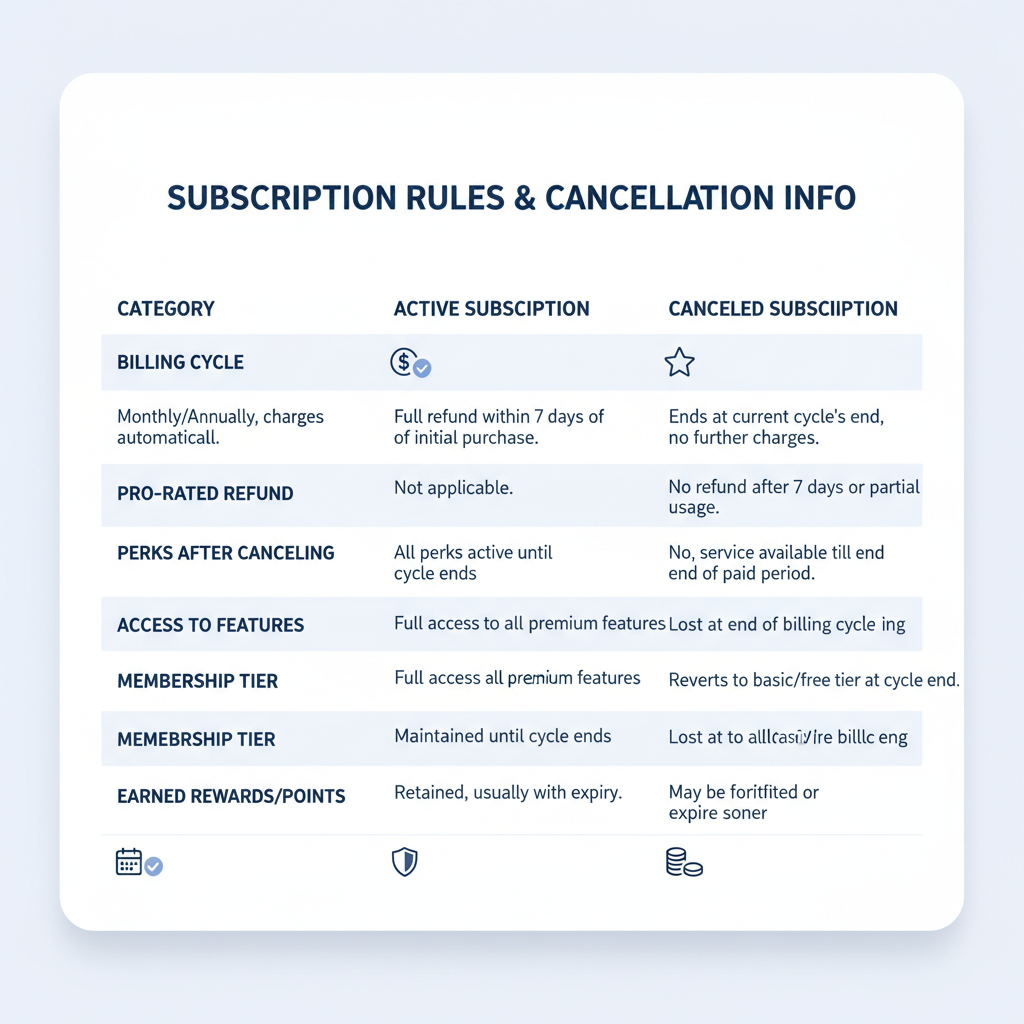
Billing Cycle Rules
Your billing is monthly. Canceling mid-cycle typically means your badge and perks remain until the billing period ends.
Refund Policy
Facebook generally does not issue partial refunds; you simply use the benefits until the subscription date expires.
Loss of Perks
Once ended, you’ll lose the blue badge and associated benefits like priority support.
---
How to Cancel Meta Verified on Mobile (iOS & Android)
Your cancellation path depends on how you purchased the subscription.
iOS (Apple App Store) Purchases
- Open Settings on your iPhone/iPad
- Tap your Apple ID name
- Select Subscriptions
- Pick Meta Verified or Facebook Meta Verified
- Tap Cancel Subscription and confirm
Android (Google Play Store) Purchases
- Open Google Play Store
- Tap profile icon → Payments & subscriptions
- Choose Subscriptions
- Locate Meta Verified
- Tap Cancel Subscription and complete prompts
Direct Facebook App Purchases
- Open Facebook app
- Tap ☰ menu icon
- Go to Settings & privacy → Settings
- Tap Payments → Subscriptions
- Select Meta Verified, then tap Cancel subscription
---
How to Cancel Meta Verified on Facebook Desktop
For subscriptions purchased via the web:
- Log into Facebook.com
- Click your profile picture → Settings & privacy
- Open Settings
- In the left sidebar, click Payments → Subscriptions
- Find Meta Verified, then click Manage → Cancel subscription and confirm

---
Confirming Your Cancellation
After the cancellation process:
- Check Billing Records in your app store or Facebook payments to see “Canceled” or expiration date
- Look for an Email Confirmation from Facebook or your payment provider
- Watch Your Profile Badge – the blue check disappears after your plan ends
---
After Cancellation – What Changes
Here’s what to expect once your subscription lapses:
- Verification Badge Removed from your page or profile
- Perks End such as priority support and proactive impersonation protection
- No Automatic Renewals – charges stop unless you re-subscribe
---
Cancellation Troubleshooting Tips
If you run into issues:
- Match Purchase Platform – Cancel on the same service (Apple, Google, web) you used to sign up
- Update Payment Info if errors occur during cancellation
- Log into the Correct Account to find the subscription details
- Seek Support Help through Facebook Help Center or your app store
---
Free Alternatives to Maintain Security and Audience Trust
You can still have a safe, credible presence without a paid badge.
Security Steps:
- Activate Two-Factor Authentication
- Use strong, unique passwords
- Monitor active logins regularly
- Avoid suspicious links
Building Trust:
- Post quality content consistently
- Engage authentically with followers
- Guide users to your official profile from other channels
- Maintain consistent branding
| Feature | Meta Verified | Free Alternative |
|---|---|---|
| Verification Badge | Blue check mark on profile | No badge, build trust through branding consistency |
| Direct Account Support | Priority access to human support | Facebook Help Center & community forums |
| Impersonation Protection | Advanced proactive monitoring | Manual fake account reporting |
| Increased Visibility | Potentially higher search reach | Optimize content for organic reach |
---
Final Tips for Account Authenticity After Ending Meta Verified
Even without the badge, your online identity can stay strong:
- Keep security settings up-to-date
- Be open about your identity in interactions
- Inform followers if your badge disappears to avoid confusion
With consistent engagement and robust security practices, you’ll maintain a professional and trustworthy Facebook presence — subscription or not.
---
Summary:
Canceling your Facebook Meta Verified subscription is straightforward when you follow the correct platform’s process. Now that you know how to cancel Meta Verified subscription Facebook offers and what happens after, you can decide if it’s right to continue or move on. Keep your profile secure and your audience engaged with free best-practice methods.
Call to Action: Ready to take control of your Facebook experience? Review your subscriptions today and decide if Meta Verified still meets your needs — or switch to free authenticity and security tactics that work.