Image Size Check Guide for Web and Print Quality
Learn how to check image size, resolution, and file weight on different devices to ensure web performance and print quality.

Introduction: Why Image Size Check is Essential for Quality and Performance
Whether you are creating a website, posting on social media, or preparing graphics for print, conducting an image size check is a vital step. Large, unoptimized images can slow down website loading times, harm SEO rankings, and frustrate users. On the other hand, undersized or low-resolution images can appear pixelated or blurry in print, damaging the final product’s professional appearance.
By regularly checking and optimizing image dimensions, resolution, and file size, you can ensure high-quality visuals, efficient bandwidth usage, and a better overall user experience.
---
Understanding Key Image Size Terms
Before learning how to check your images, it’s important to understand some fundamental concepts.
Pixels
Pixels are the smallest units of a digital image. Dimensions are given in pixel width × pixel height (e.g., 1920×1080 px).
Resolution
For digital images, resolution often refers to pixel dimensions. In printing, it relates to DPI/PPI (dots or pixels per inch), describing pixel density.
DPI / PPI
DPI (dots per inch) applies to print media, while PPI (pixels per inch) is used for screen displays. Higher DPI results in finer detail for printed work.
File Size
Measured in KB or MB, file size is the storage space an image occupies. A big file doesn’t always mean better quality—it may simply have inefficient compression.
---
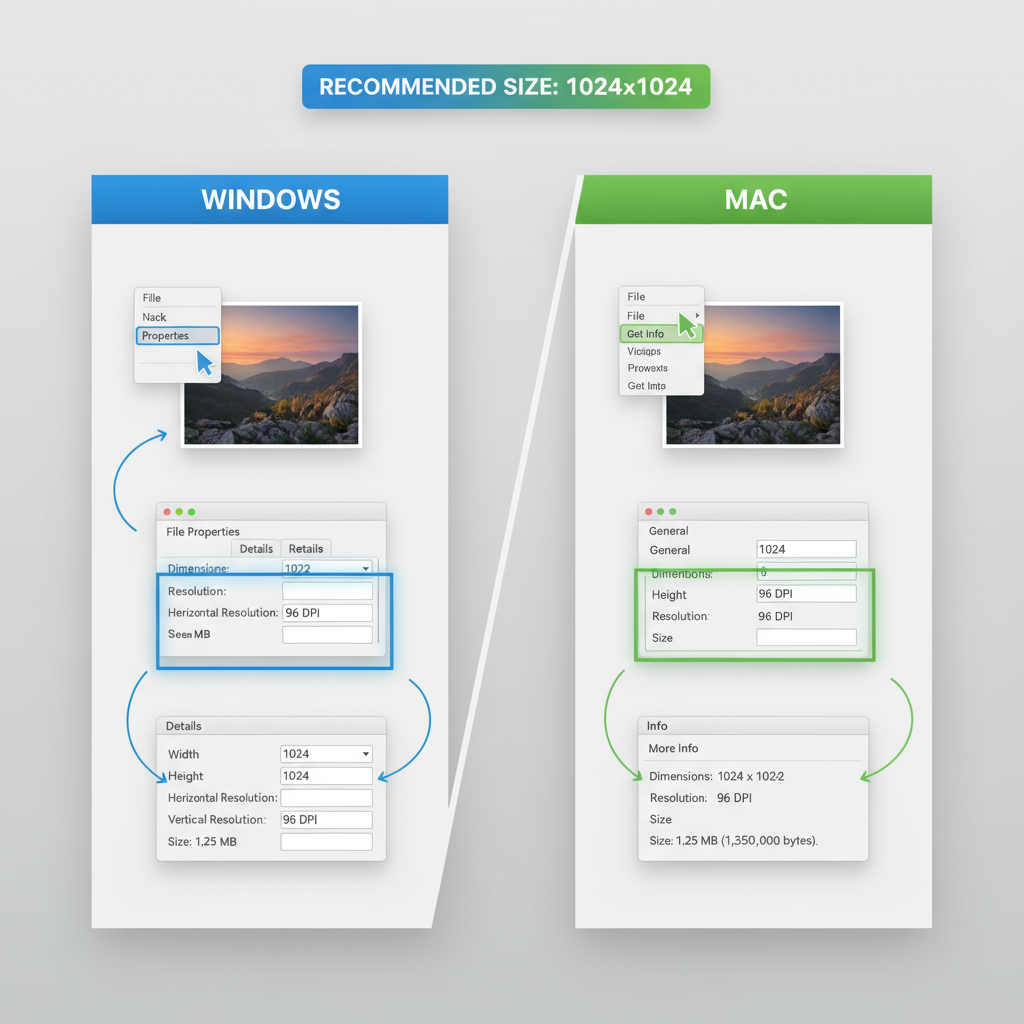
How to Check Image Size on Windows
Checking image size on Windows is straightforward:
- Right-click the image file.
- Select Properties.
- Open the Details tab to find Dimensions (width × height in pixels) and Horizontal/Vertical resolution (DPI).
Quick Tip: Hover over an image in File Explorer to see resolution in a tooltip.
---
How to Check Image Size on Mac
macOS offers multiple methods to access image information:
- Get Info: Right-click the image, choose Get Info, and find dimensions in the More Info section.
- Preview Inspector: Open the file in Preview, navigate to Tools > Show Inspector (`Command+I`), and check the “i” tab.
---
Checking Image Size Online Using Free Tools
If you prefer not to use desktop software:
- Upload the image to a trusted online tool (e.g., Simple Image Resizer, ImageMagick demos).
- View the displayed width, height, DPI, and file size.
- Some tools allow instant resizing.
> Privacy Note: Avoid uploading sensitive images to public online platforms.
---
Using Image Editors like Photoshop or GIMP
Advanced software offers detailed image size insights and editing capabilities.
Photoshop
- Go to Image > Image Size to view dimensions, DPI, and print size.
- Uncheck “Resample” to adjust DPI without altering pixel count.
GIMP
- Open Image > Scale Image to see and adjust dimensions and resolution.
Python Example with Pillow:
from PIL import Image

with Image.open("photo.jpg") as img:
    print(f"Dimensions: {img.width}x{img.height}px")
    print(f"Format: {img.format}")
---
Checking Image Size on Mobile Devices
Smartphones make it easy to inspect image sizes.
iOS
- In the Photos app, tap the “i” icon (iOS 15+) for resolution details.
- Or use third-party apps like Metapho for deeper metadata insight.
Android
- In Google Photos, swipe up on the image for size info.
- In Gallery, use “Details” or “Info” options.
---
Best Practices for Website Image Dimensions
Properly optimized images improve speed, SEO, and UX:
- Resize to match maximum display needs—avoid oversized uploads.
- Use efficient formats like WebP.
- Implement responsive images with `srcset` and `sizes`.
- Target sub-200 KB file sizes without noticeable quality drop.
---
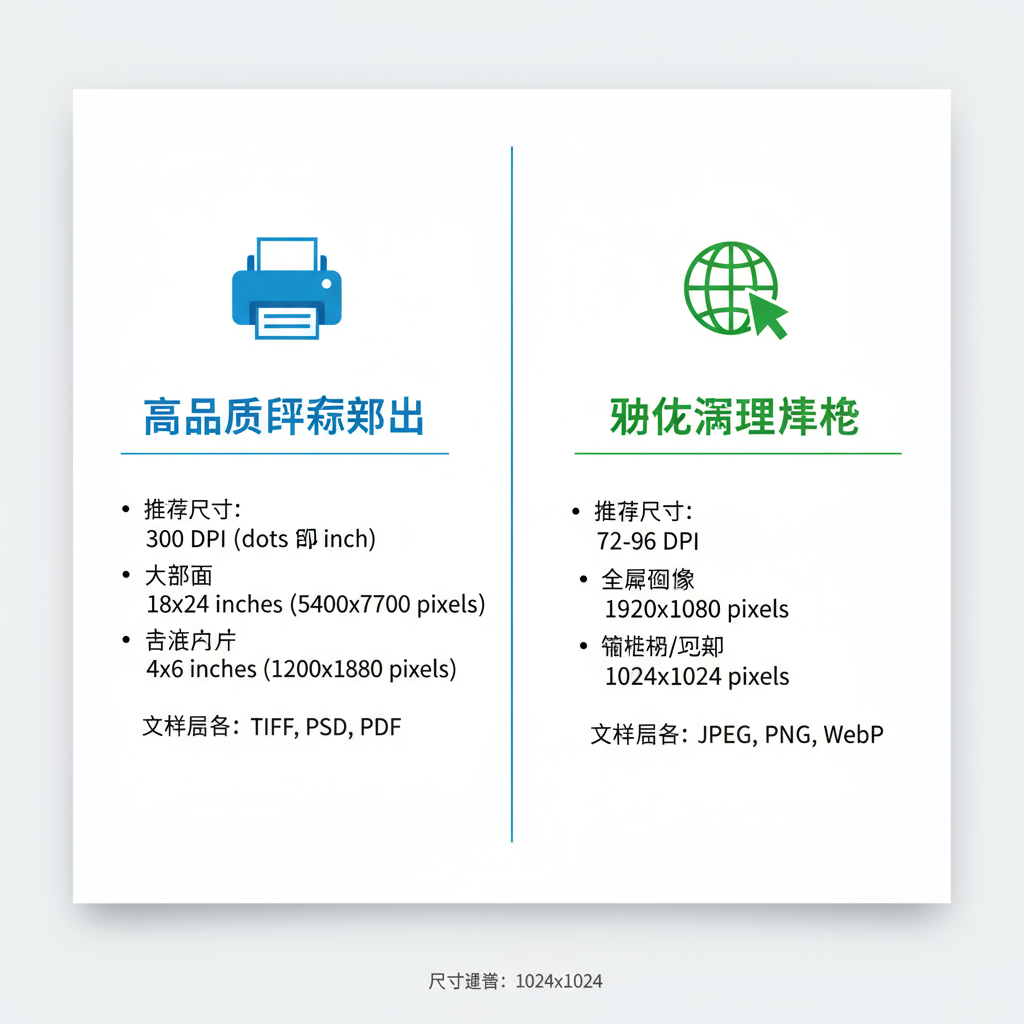
Recommended Resolutions for Common Print Sizes
Aim for at least 300 DPI for crisp prints.
| Print Size | Recommended Resolution | Pixel Dimensions (at 300 DPI) |
|---|---|---|
| 4 × 6 in | 300 DPI | 1200 × 1800 px |
| 5 × 7 in | 300 DPI | 1500 × 2100 px |
| 8 × 10 in | 300 DPI | 2400 × 3000 px |
| 11 × 14 in | 300 DPI | 3300 × 4200 px |
---
Troubleshooting Common Image Quality Issues
A large image file may still look poor due to:
- Low resolution: Few pixels despite large file size.
- Over-compression: JPEG artifacts reduce clarity.
- Upscaling: Enlarged low-res photos won’t gain true detail.
---
Tools for Batch Image Size Check and Processing
If you manage many images, consider batch tools:
- IrfanView (Windows): Batch resize and metadata review.
- XnConvert: Cross-platform metadata and resize options.
- ImageMagick: Command-line powerhouse;
identify -format "%f: %wx%h\n" *.png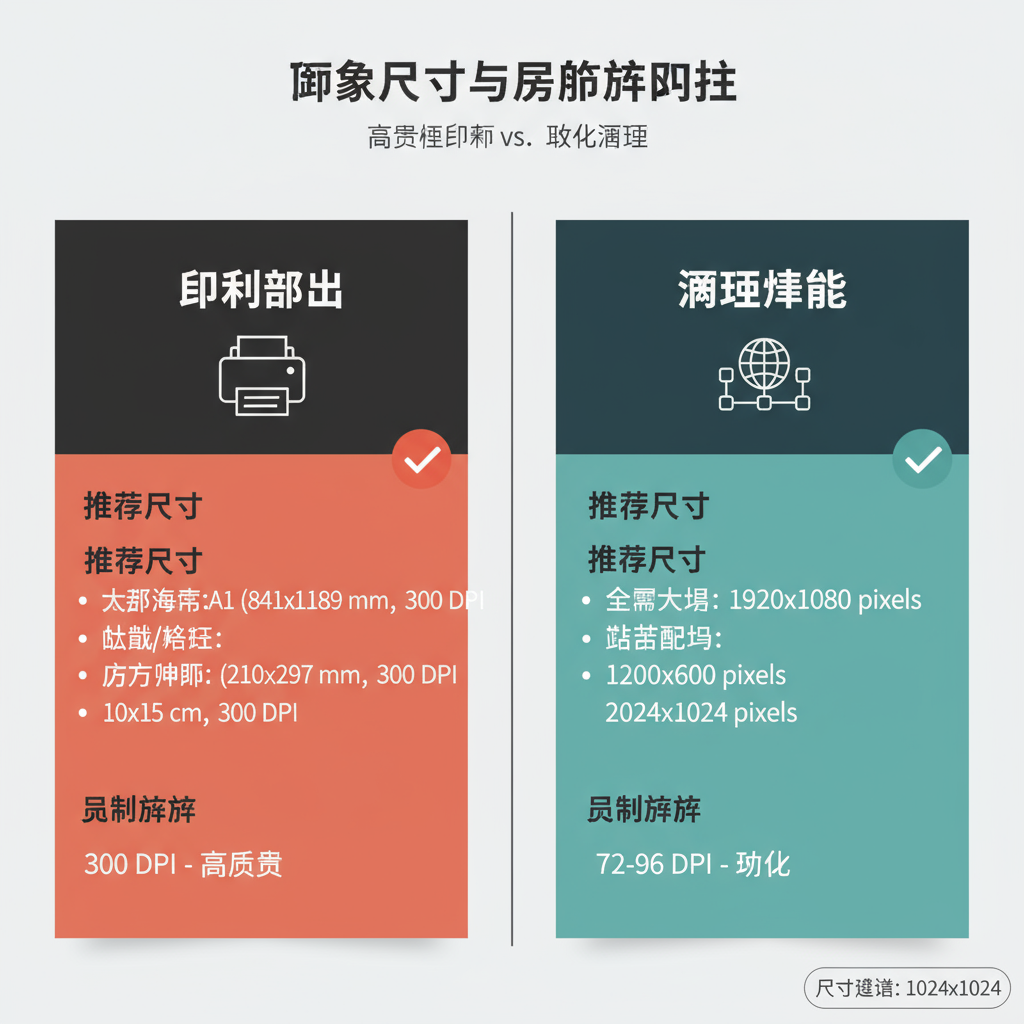
---
Conclusion: Professional Results Through Image Size Checks
Consistently checking image size helps ensure visuals meet technical and aesthetic requirements:
- Match pixel dimensions to display or print needs.
- Verify DPI for print projects.
- Optimize file sizes for web without losing quality.
- Select the right format for each image type.
- Test on target platforms before final use.
By making image size check a regular part of your creation process, you’ll enhance both performance and presentation. Start applying these tips now to create faster-loading web pages, sharper prints, and a more professional digital presence.