Step-by-Step Guide to Create a Group from a Facebook Page
Learn how to create and link a Facebook Group to your Page with step-by-step instructions, tips for moderation, and strategies to boost engagement.

Understanding Facebook’s Page–Group Linking Feature
Linking a Facebook Group to a Facebook Page is a powerful feature for businesses, brands, and organizations aiming to create deeper connections with their audiences. This integration allows your public-facing Page to host and manage a dedicated community space where members can engage in discussions, ask questions, and share ideas—separately from your regular Page posts.
When a group is linked to your Page, it appears on the Page’s Groups tab, and administrators can moderate and post as the Page itself, avoiding the need to switch to a personal profile. This capability is especially valuable for driving ongoing engagement and building brand loyalty.
---
Benefits of Creating a Group from a Facebook Page
Creating and linking a group to your Facebook Page offers multiple advantages:
- Enhanced Community Building – Foster genuine two-way conversations with your audience.
- Increased Engagement – Members can post daily, share stories, and interact with each other.
- Greater Reach & Visibility – Highly active groups often appear more prominently in News Feeds.
- Niche Conversations – Develop sub-groups targeting different audience segments or interests.
- Boosted Brand Loyalty – Offer exclusive perks or early updates to group members.
---
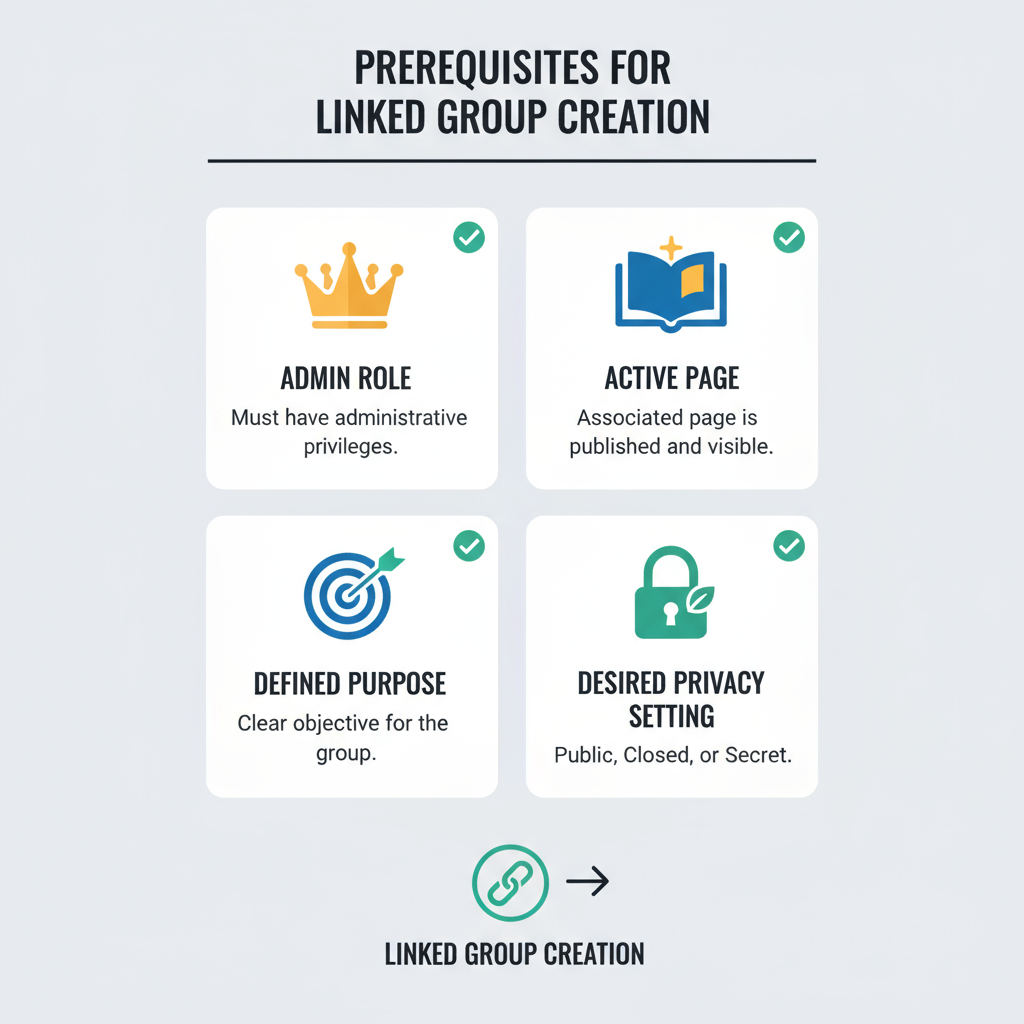
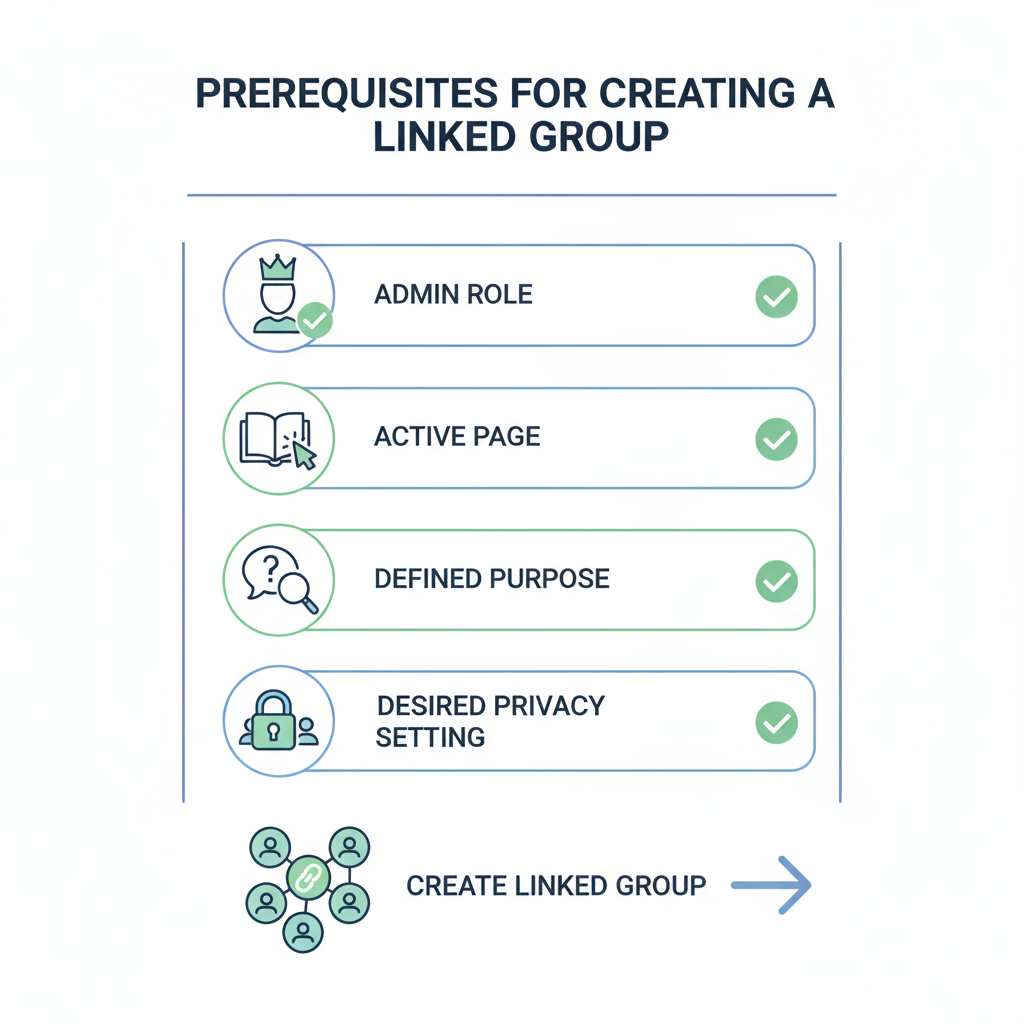
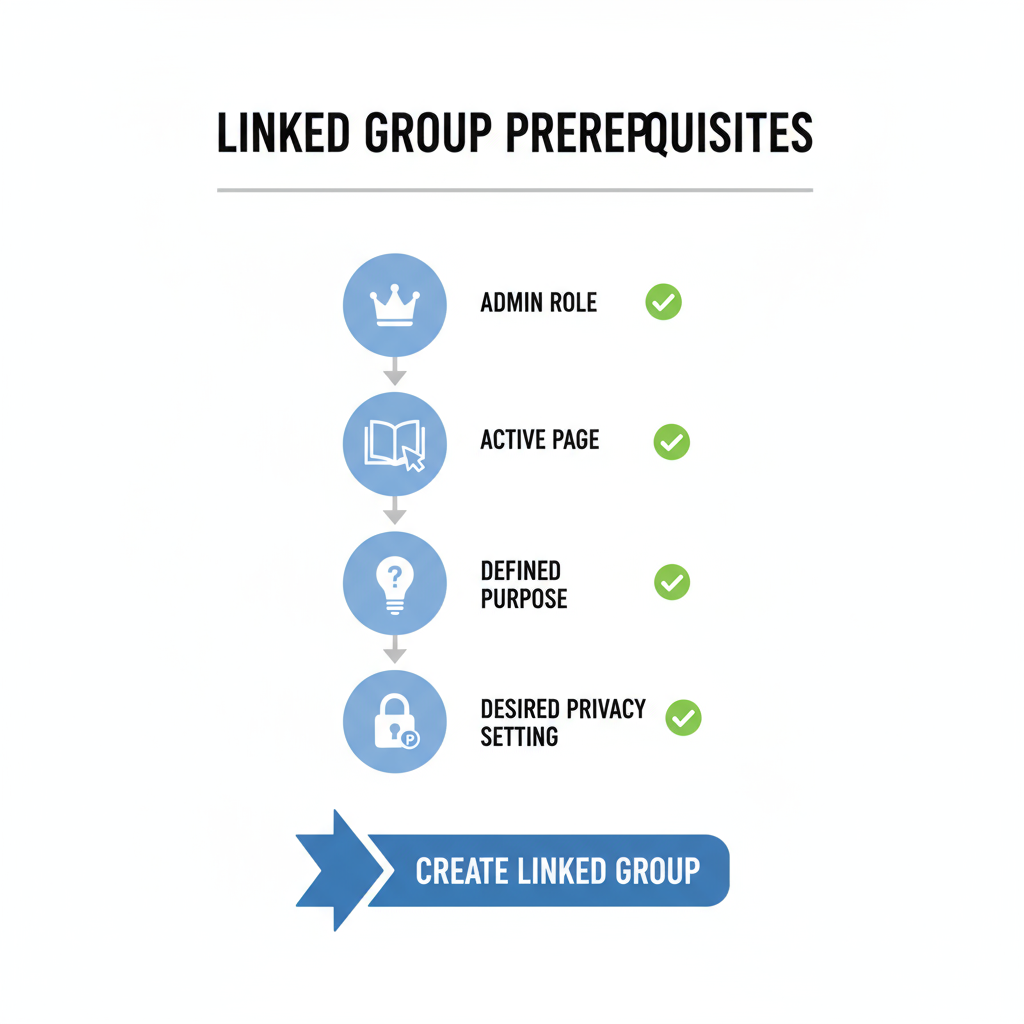
Prerequisites Before You Create a Group
Before setting up your group, ensure you meet these requirements:
- Page Admin Role – Only admins have the ability to create a linked group.
- Clear Group Guidelines – Set rules to manage member expectations and keep discussions civil.
- Content Plan – Decide on regular themes, resources, or discussions to maintain engagement.
---
Step-by-Step Guide: How to Create a Group from a Facebook Page
Follow these steps to learn how to create a group from a Facebook Page and link them seamlessly.
1. Navigate to Your Facebook Page Settings
- Log in to Facebook and head to your Facebook Page.
- Click Settings from the dashboard menu (desktop) or the “More” menu (mobile).
2. Access the “Groups” Tab
- In the Page sidebar, locate and select Groups.
3. Click “Create Linked Group”
- Select Create Linked Group in the Groups section.
- Your posts within the group will appear from the Page identity.
4. Set Group Name and Privacy Settings
- Choose a relevant Group Name.
- Set Privacy to:
- Public – Anyone can see members and posts.
- Private – Only members can view posts; non-members must request to join.
5. Add Group Description, Rules, and Cover Image
- Write a concise and appealing description about your group's purpose.
- Draft rules to uphold community standards.
- Upload a professional cover image reflecting your brand.
6. Link Group to Page for Easier Management
- Link the group to your Page identity for streamlined moderation and posting.
---
Group Moderation Features & Best Practices
Facebook equips admins with numerous tools for effective group moderation.
Key Features:
- Post approval workflows.
- Membership request screening.
- Keyword alerts for flagged topics.
Best Practices:
- Apply rules consistently.
- Greet new members with welcome posts.
- Encourage organic member engagement while guiding discussions.
---
Customizing Group Settings for Member Experience
Tailor your group settings to deliver a richer member experience:
- Welcome Posts – Use pinned posts to introduce newcomers.
- Keyword Alerts – Keep an eye on sensitive or trending topics.
- Post Approvals – Screen new posters or sensitive subjects.
- Learning Units – Organize educational content in the Guides section.
- File Sharing – Allow members to exchange resources.
---
Promoting Your New Group via Your Page
Promotion fuels growth for your linked group:
- Pin an Announcement – Include a join link in a prominent Page post.
- Share Facebook Stories showcasing group highlights.
- Cross-post engaging content between your Page and group.
---
Maintaining Active Engagement
To keep members interested, focus on regular, interactive content:
- Conduct polls to gain feedback and spark discussions.
- Host live sessions for Q&A or special announcements.
- Share behind-the-scenes content or product previews.
- Celebrate milestones and recognize top contributors.
---
Monitoring Analytics to Improve Group Performance
Use Group Insights to review performance and adjust strategies:
- Track member growth trends.
- Identify peak engagement days and times.
- Recognize and encourage top contributors.
- Adapt your content plan based on analytics for better results.
---
Common Mistakes to Avoid
Avoid these errors when linking a group to your Page:
- Ignoring moderation – Leads to spam and low-quality discussion.
- Excessive self-promotion – Balance promotional with value-driven content.
- Overlooking member feedback – Engaged members expect a response.
- Inconsistent posting – Declining engagement often follows inactivity.
---
FAQs About Page–Group Integration on Facebook
Q: Can I link an existing group to my Page?
A: Yes. Go to the Page’s Groups section and choose “Link Your Group.”
Q: Can other admins also manage the group?
A: Any Page admin automatically has group admin rights.
Q: What happens if I unlink the group?
A: The group will remain active but will no longer be displayed on the Page.
Q: Can one Page link to multiple groups?
A: Yes, you can link several groups to a single Page for different topics or products.
---
Quick Reference Table: Group Privacy Options
| Privacy Setting | Who Can See Group Content | Who Can Join | Search Visibility |
|---|---|---|---|
| Public | Anyone | Anyone | Searchable by everyone |
| Private | Only members | Request or invite only | Searchable, but content hidden |
---
Summary & Next Steps
By leveraging Facebook’s Page–Group linking feature, you can build a thriving, engaged community that amplifies your brand’s voice and cultivates loyalty. Follow the creation steps, apply consistent moderation, and track analytics to continually refine your approach.
Ready to get started? Link your first group to your Facebook Page today and start fostering deeper relationships with your audience.