Create and Optimize 110x110 Images for Web and Social Media
Learn how to design, format, and compress high-quality 110x110 pixel images for web and social media to ensure clarity, fast loading, and SEO impact.

Create and Optimize 110x110 Images for Web and Social Media
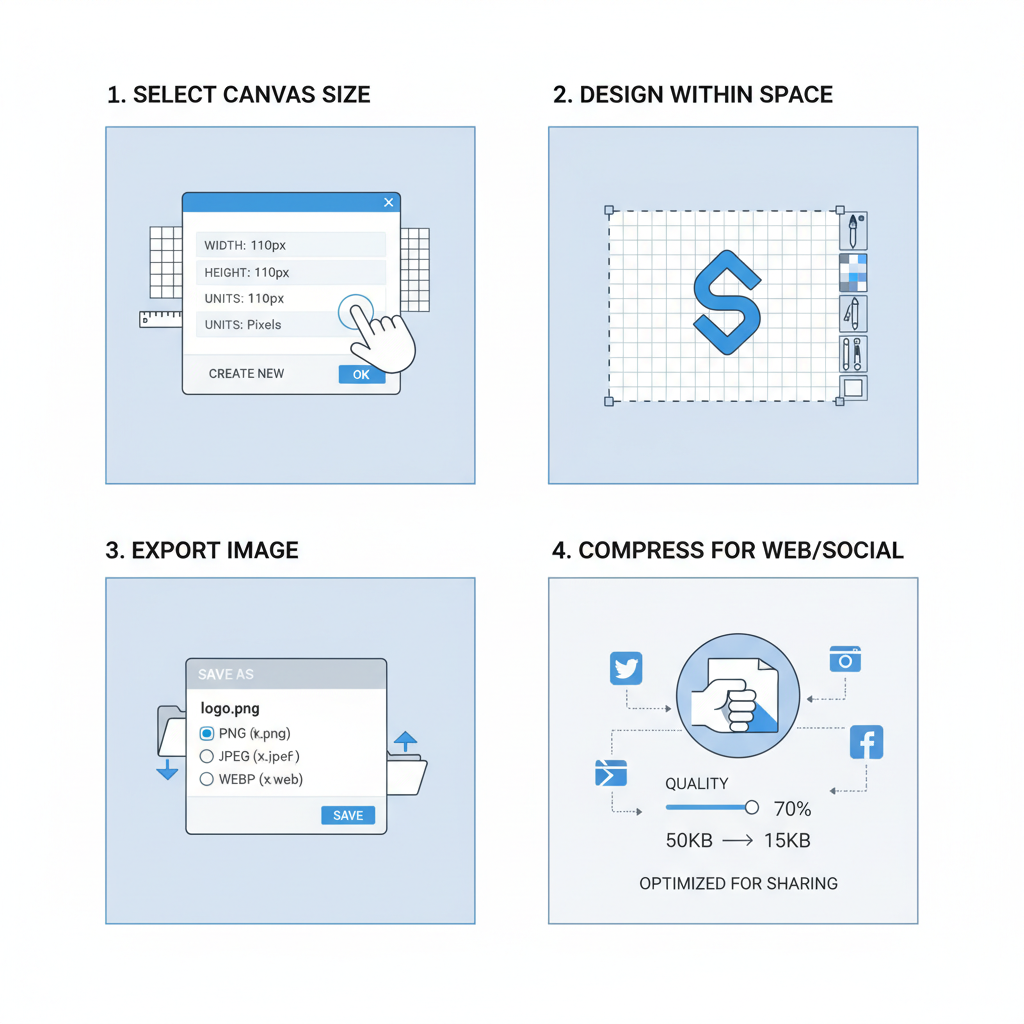
Creating a 110x110 image might seem straightforward, but producing high-quality results that remain sharp across all devices requires intentional design and optimization. These compact graphics—often used as icons, thumbnails, or avatars—play a vital role in UI clarity and brand consistency. In this guide, you'll learn the essentials for planning, designing, and optimizing 110x110 pixel images so they look their best for websites and social media platforms while aiding SEO.
---
Understanding the Purpose and Use Cases of 110x110 Images
A 110x110 pixel image fits neatly between icon size and small-thumbnail proportions. Common use cases include:
- Profile avatars for forums or chat applications
- Thumbnail previews in gallery or article lists
- Buttons and clickable icons in UI design
- Social media graphics for compact preview windows
Because these images are often seen briefly, clarity, recognizability, and proper optimization make a significant difference to user experience.
---
Choosing the Right Software or Online Tool
You don’t need enterprise-grade tools to create professional-looking 110x110 images, but choosing the right features will help.
Popular choices include:
- Adobe Photoshop – Full-featured with pixel-perfect control
- GIMP – Free and open source, ideal for most image tasks
- Affinity Designer – Affordable vector/raster hybrid
- Canva – Simple online editor with templates
- Figma – Vector-first, also great for web workflows
Web-specific tools:
When selecting software, consider your need for vector support, advanced export settings, and integration with your asset management workflow.
---
Setting Up the Correct Canvas Size and Resolution
Starting correctly avoids blurry or poorly scaled assets.
- Canvas Dimensions: 110 px × 110 px
- Resolution (DPI): 72 DPI for standard web; for high-DPI screens, design at 220×220 px then scale down
- Color Mode: RGB for screen viewing
Pro tip: Work at larger scales (e.g., 220×220 or 330×330) to refine details, then downsample using high-quality export settings.
---
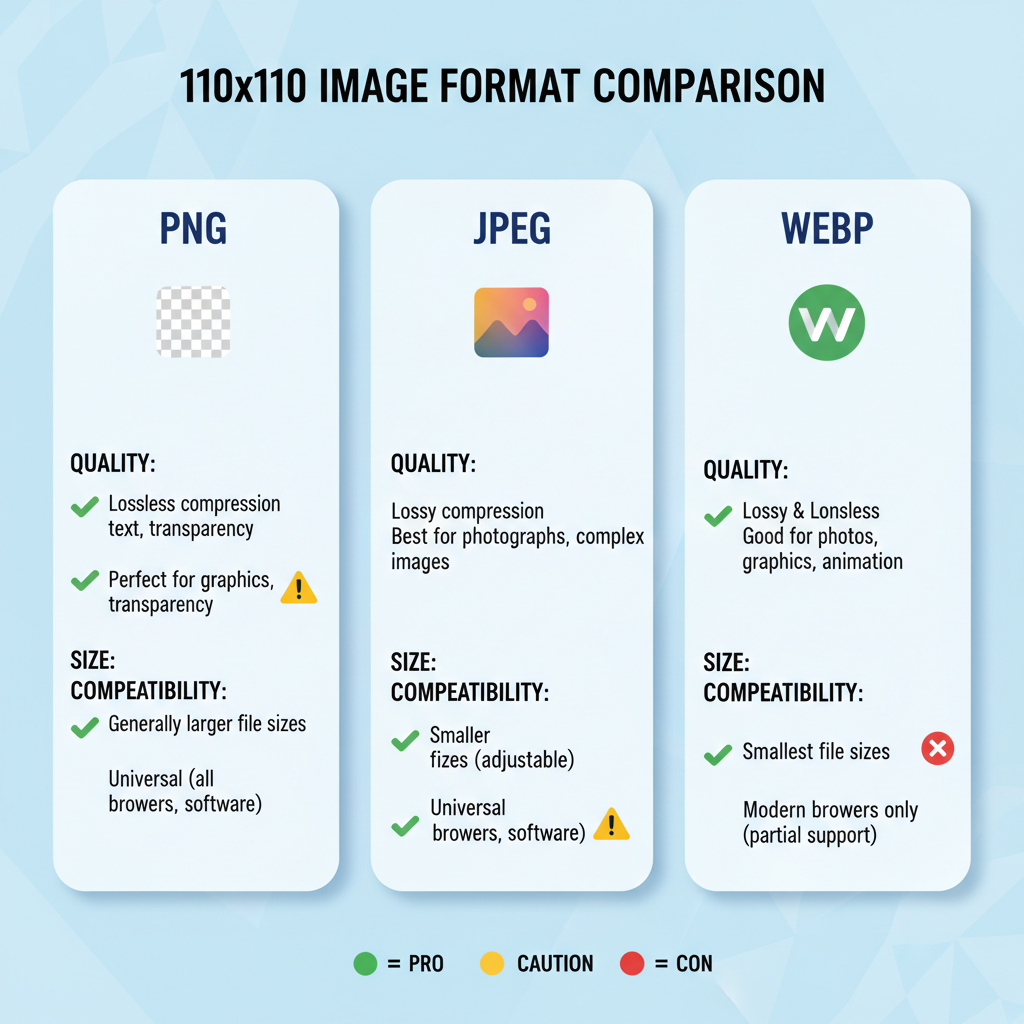
Selecting File Formats: PNG, JPEG, WEBP
Choosing the right format depends on the image content.
| Format | Best For | Benefits | Drawbacks |
|---|---|---|---|
| PNG | Icons, text-heavy images, graphics needing transparency | Lossless quality, supports alpha channels | Larger file sizes than JPEG |
| JPEG | Photos or gradients without transparency | Smaller size with moderate quality | Lossy compression may cause artifacts |
| WEBP | Mixed graphic and photo content | Efficient compression, supports transparency | Older browsers may lack support |
---
Design Tips for Small-Scale Images
At 110x110 pixels, every pixel counts:
- Keep it simple: Minimize clutter for recognizability
- High contrast: Distinguish elements clearly against varied backgrounds
- Readable typography: Use bold fonts; avoid intricate scripts
- Border or padding: Cushion elements from edges
- Test at actual size: Zoom out to catch scaling flaws
---
Compress Without Losing Quality
Optimizing file size without degrading quality ensures faster load times.
Recommended tools:
- TinyPNG / TinyJPG
- ImageOptim (Mac)
- Squoosh (web app by Google)
- OptiPNG (command line)
Compression workflow example:
optipng -o7 avatar.pngThis applies optimized compression without visible quality loss.
---
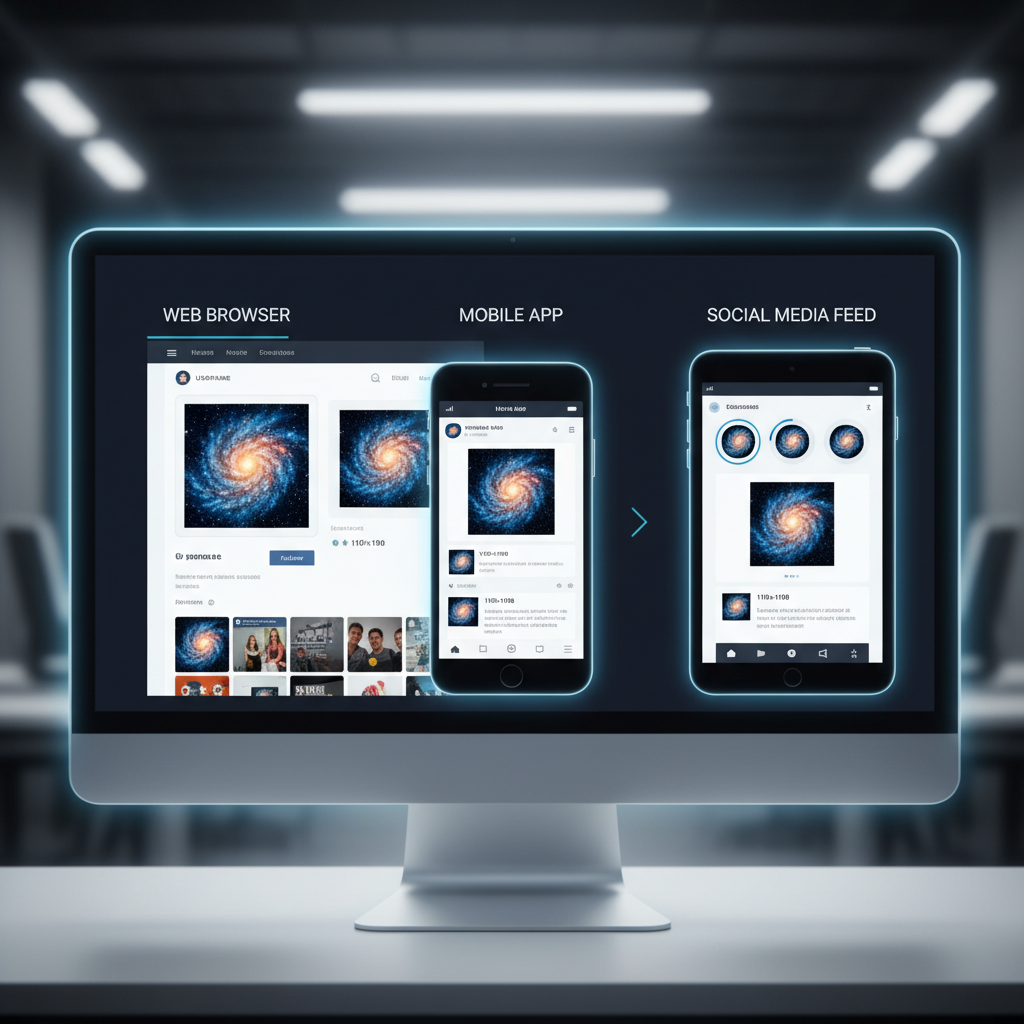
Ensuring Cross-Platform Compatibility
A solid 110x110 image looks great everywhere:
- Desktop browsers
- Mobile UIs
- Retina and 4K displays
Tips:
- Export a 2x resolution version for high-DPI
- Use `srcset` to deliver correct sizes responsively
Example:
---
Using Alt Text and Descriptive Filenames for SEO
Search engines rely on metadata:
- Alt Text: Plainly describe content
- Example: `"Company logo in blue circle"`
- Filename: Include relevant keywords with hyphens
- Example: `profile-avatar-110x110.png`
This can boost visibility in image search results.
---
Testing the Image in Context
Before publishing:
- Preview in situ: Check on your site or UI
- Test on multiple themes: Dark and light backgrounds
- Verify load speeds: Use browser dev tools to measure asset load
---
Common Mistakes to Avoid
- Adding excessive detail: It will disappear at small resolutions
- Wrong format choice (e.g., JPEG for transparency)
- Upscaling from low resolution: Causes blurring
- Forgetting padding: Elements can appear cut off
---
Accessibility Considerations for Small Graphics
Even small images must be accessible:
- Strong contrast for visibility
- Alt attributes for screen reader users
- Adequate clickable area in UI design for touch devices
---
Advanced Techniques: Vector Design & SVG Exporting
Vectors allow perfect scaling:
Advantages of SVG:
- Sharp at any size
- Smaller files for simple graphics
- Editable directly in code
Example SVG workflow in Illustrator:
- Create a 110×110 artboard
- Design in vector format
- Export as SVG
- Provide PNG/JPEG fallbacks
---
Final Checklist Before Uploading and Publishing
Verify every 110x110 image meets these:
- Canvas size correct (or 2x for retina)
- Optimal file format selected
- Compression applied without quality loss
- High contrast and clarity
- SEO-friendly alt text and filename
- Cross-device tested
- Accessibility considered
Following this checklist ensures your small-scale assets are sharp, fast-loading, and brand-consistent online.
---
By thoughtfully designing and optimizing 110x110 pixel images, you enhance both user experience and SEO performance. With clarity, contrast, and smart file choices, these small but impactful graphics can strengthen your brand's visual presence across websites and social media. Ready to improve your visuals? Start creating a polished 110x110 image today.