Edit Overlays on Instagram for Stories and Reels
Learn how to edit Instagram overlays for Stories and Reels, from choosing tools to creating PNGs, boosting engagement, and reinforcing brand identity.
Edit Overlays on Instagram for Stories and Reels
If you want your Instagram Stories and Reels to captivate viewers, learning how to edit overlays on Instagram is essential. Overlays—be they text, icons, frames, or animated graphics—can transform ordinary content into visually striking posts that convey your message clearly and reinforce your brand identity. This guide explains what overlays are, how to use them effectively for both photos and videos, and the best tools and techniques to boost engagement.

---
Understanding What Overlays Are and Why They Boost Engagement
Overlays are supplementary visual elements layered over your main image or video. They serve strategic purposes including:
- Highlighting important text or calls-to-action
- Creating depth and visual interest
- Reinforcing brand colors and logos
- Adding decoration tied to seasons or campaigns
From a psychological perspective, overlays naturally guide the viewer’s eye to focal points within your content. A well-crafted overlay enhances dwell time, draws attention to key messages, and raises the odds of desired actions like clicks, shares, or follows.
---
Choosing the Right Format: Photo Overlays vs. Video Overlays
When planning to edit overlays on Instagram, your format choice matters:
- Photo Overlays: Best suited for clean, static messaging. Highly effective for Stories with sales promotions, event invites, or announcements.
- Video Overlays: Offer dynamic possibilities. Perfect for Reels where movement syncs with animated overlays for a more immersive experience.
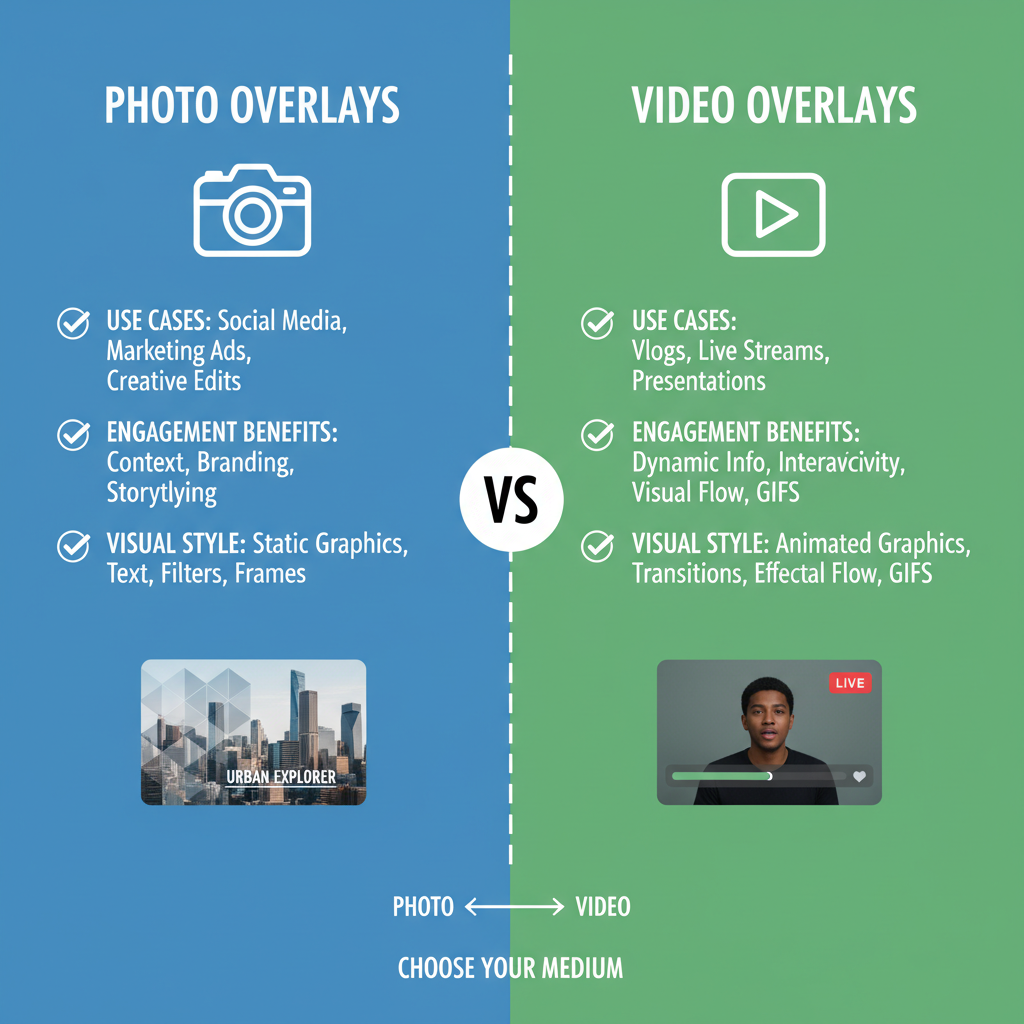
Choosing the right format impacts design complexity, tool requirements, and editing workflow.
---
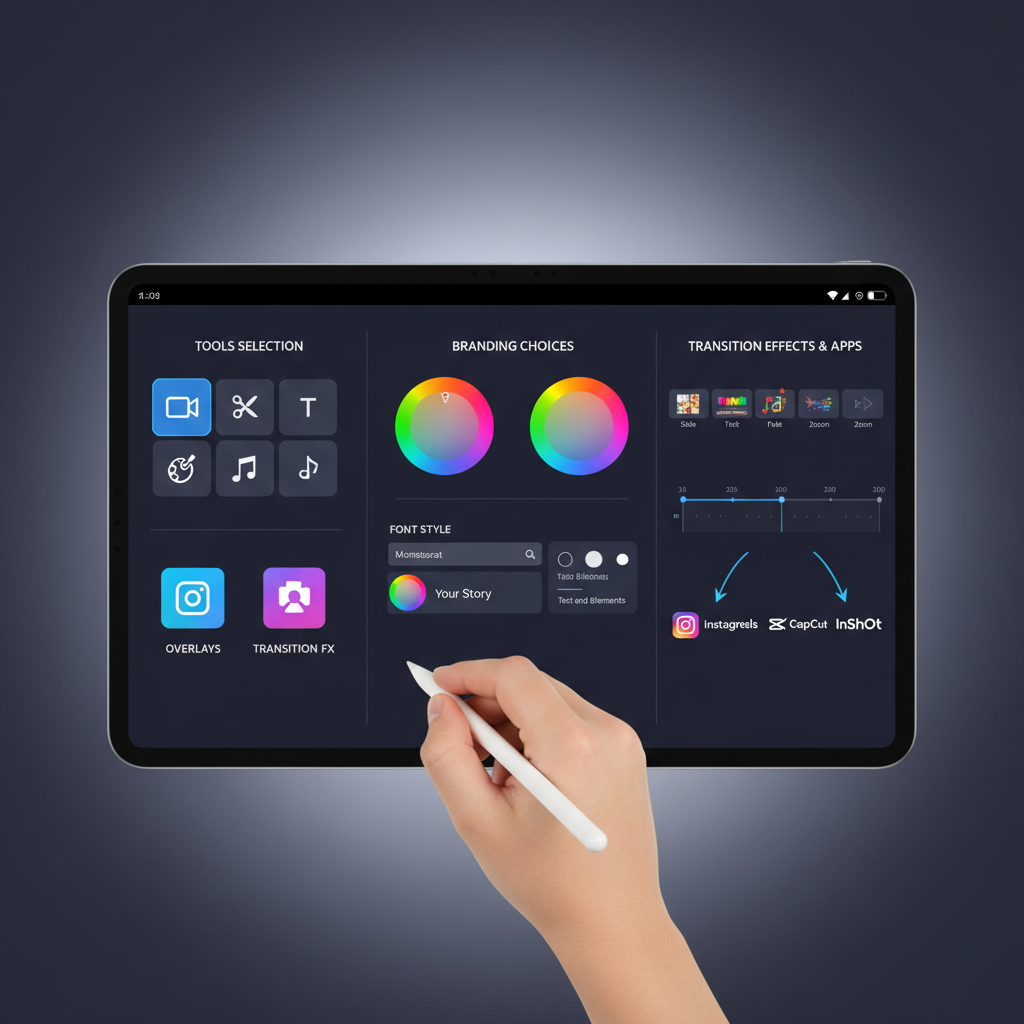
Select Your Editing Tools
Specialized tools streamline the overlay creation process. Below is a comparison of popular options:
| Tool | Best For | Strengths | Limitations |
|---|---|---|---|
| Canva | Beginner-friendly design | Pre-made templates, drag-and-drop, cloud sync | Limited advanced animation control |
| Photoshop | Professional static design | Powerful layer management, advanced blending | Steeper learning curve |
| CapCut | Video overlays & transitions | Mobile-friendly, rich animations, export flexibility | Less precise vector work |
| InShot | Quick edits, social media focus | Easy sticker/text overlays, simple transitions | Fewer professional-grade effects |
---
Plan Your Visual Style: Colors, Fonts, and Branding Consistency
Your overlays should appear cohesive alongside your existing brand:
- Colors: Promote brand palette consistency.
- Fonts: Use 1–2 complementary typefaces.
- Logo placement: Subtle yet visible positioning.
- Tone: Match style to message—minimalist, bold, playful, etc.
Visual uniformity strengthens brand recall and makes your feed visually harmonious.
---
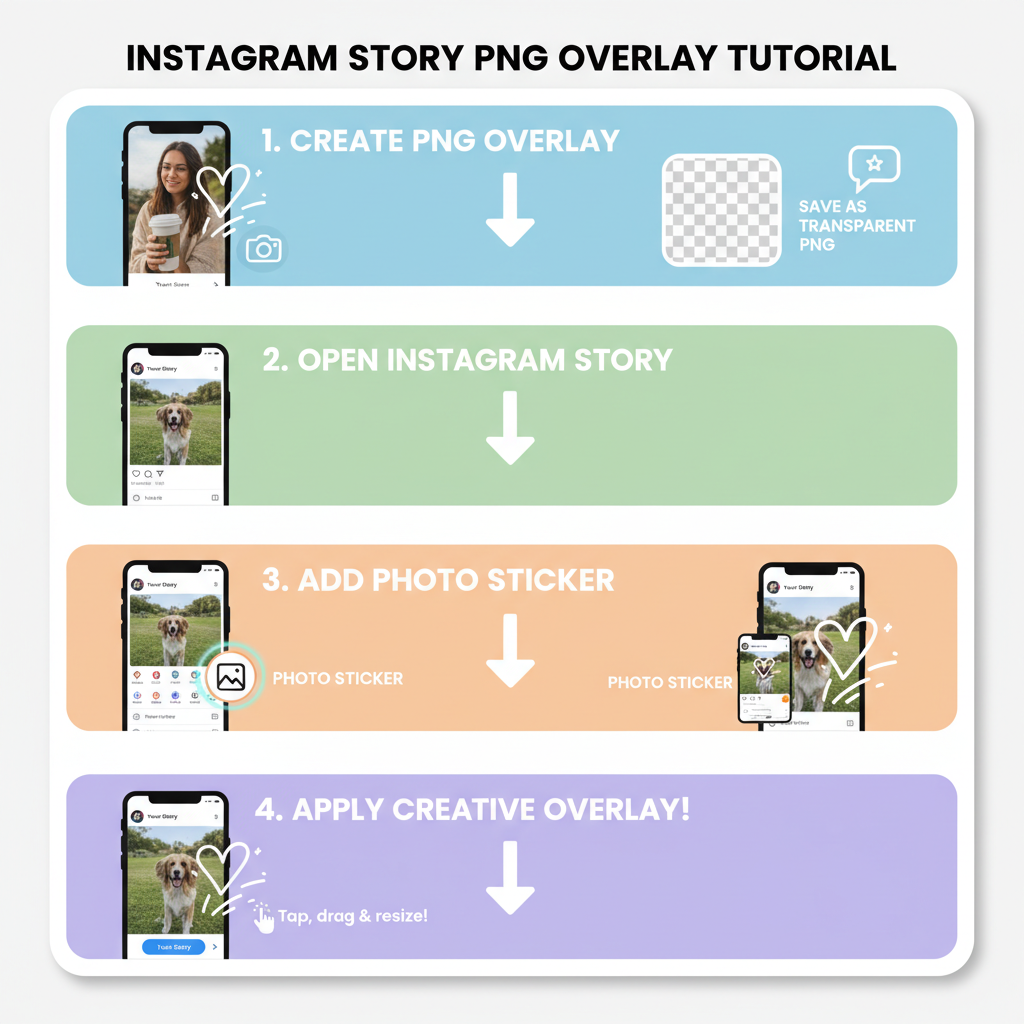
Create Transparent PNG Overlays for Clean Layering
Transparent PNGs enable elements to sit over backgrounds without blocking them.
Quick steps to create transparent overlays:
- Design your overlay in an editor with a transparent background.
- Export as `.png` with transparency enabled.
- Test across multiple backgrounds to ensure clarity.
Example using Canva or Photoshop:
1. Open a new canvas with transparent background.
2. Design overlay (text, shape, icon).
3. File > Export > PNG > Transparent Background.
---
Apply Overlays in Instagram Stories Using Native Tools and Stickers
Instagram’s built-in tools allow simple overlay creation:
- Text tool: Choose styles like bold or typewriter.
- Stickers: Add GIFs, polls, hashtags, and locations.
- Drawing tool: Craft shapes or highlights.
While native options are quick, combining them with custom overlays from external apps can elevate your visuals.
---
Edit Overlays for Reels with External Apps and Transitions
Reels gain energy through overlays synced to motion and music:
- Import footage into apps like CapCut.
- Layer graphics or animations.
- Align timing with beats or scene changes.
- Export and post to Reels.
Animated overlays keep attention longer, especially with trending audio tracks.
---
Use Layering Techniques to Add Depth and Visual Hierarchy
Layering dictates visual flow:
- Foreground overlays: Priority text or imagery.
- Midground overlays: Semi-transparent shapes for focus guidance.
- Background overlays: Gradients and textures for ambiance.
Strategic overlap controls where attention lands.
---
Add Motion and Animation to Overlays for More Dynamic Content
Overlay animation options include:
- Fade in/out: Smooth, subtle emphasis transitions.
- Slide or bounce: Playful, eye-catching moves.
- Mask reveal: Text or shapes emerging from behind footage.
Animations add vibrancy but should support—not distract from—your primary message.
---
Optimize Overlay Size and Placement for Different Device Screens
Ensure overlays display optimally on all devices:
- Keep vital elements within the center 80% safe zone.
- Maintain readability without zooming.
- Avoid interference with Instagram UI components.
Preview content within Instagram’s editor to confirm precise placement.
---
A/B Test Overlay Variations to See What Drives Engagement
Iterate intelligently:
- Publish two nearly identical posts with varying overlays.
- Monitor engagement (views, clicks, interactions).
- Retain the better-performing design approach.
Data-backed refinement results in overlays that perform as well as they look.
---
Keep Overlays Minimal for Readability and Focus
Prioritize clarity by avoiding:
- Overly dense text
- Excess colors
- Distracting patterns
Minimal overlays often produce cleaner, more effective messaging.
---
Save Templates to Speed Up Future Edits
Store successful overlays to expedite future creation:
- In Canva, save designs to folders.
- With Photoshop, keep editable PSDs.
- In CapCut or InShot, duplicate projects.
Templates safeguard consistency while reducing design time.
---
Final Checklist Before Posting
Run through these checks before posting:
- Alignment: Elements are balanced.
- Contrast: Overlays stand out.
- Branding: Palette, fonts, logos are aligned.
- Readability: Text is legible at standard screen sizes.
- Animation timing: Smooth, synced animations.
- Safe areas: No overlap with key UI elements.
---
Conclusion
Mastering how to edit overlays on Instagram for Stories and Reels gives you a competitive edge in visual storytelling. Whether you’re creating static announcements or intricate animated sequences, overlays help guide attention, amplify brand personality, and enrich viewer experience. Use consistent design, choose the right tools, and experiment with motion to craft overlays that truly stand out.
Start applying these strategies today to enhance your Instagram content’s impact and grow your audience’s engagement.


