How to Fit Image on Instagram Without Cropping or Quality Lo
Learn how to fit images on Instagram without cropping by using proper aspect ratios, built-in tools, or adding borders for full-frame posts.

How to Fit an Image on Instagram Without Cropping
Instagram gives creators the opportunity to share photos and graphics in a beautifully curated feed, but incorrect sizing can result in unwanted cropping and loss of key details. Knowing exactly how to fit an image on Instagram without cropping helps you maintain visual quality, protect composition, and present your content in a way that's both on-brand and algorithm-friendly. This guide covers official Instagram image size requirements, step-by-step methods, and optimization tips to keep every post looking its best.
Understanding Instagram Image Size Requirements
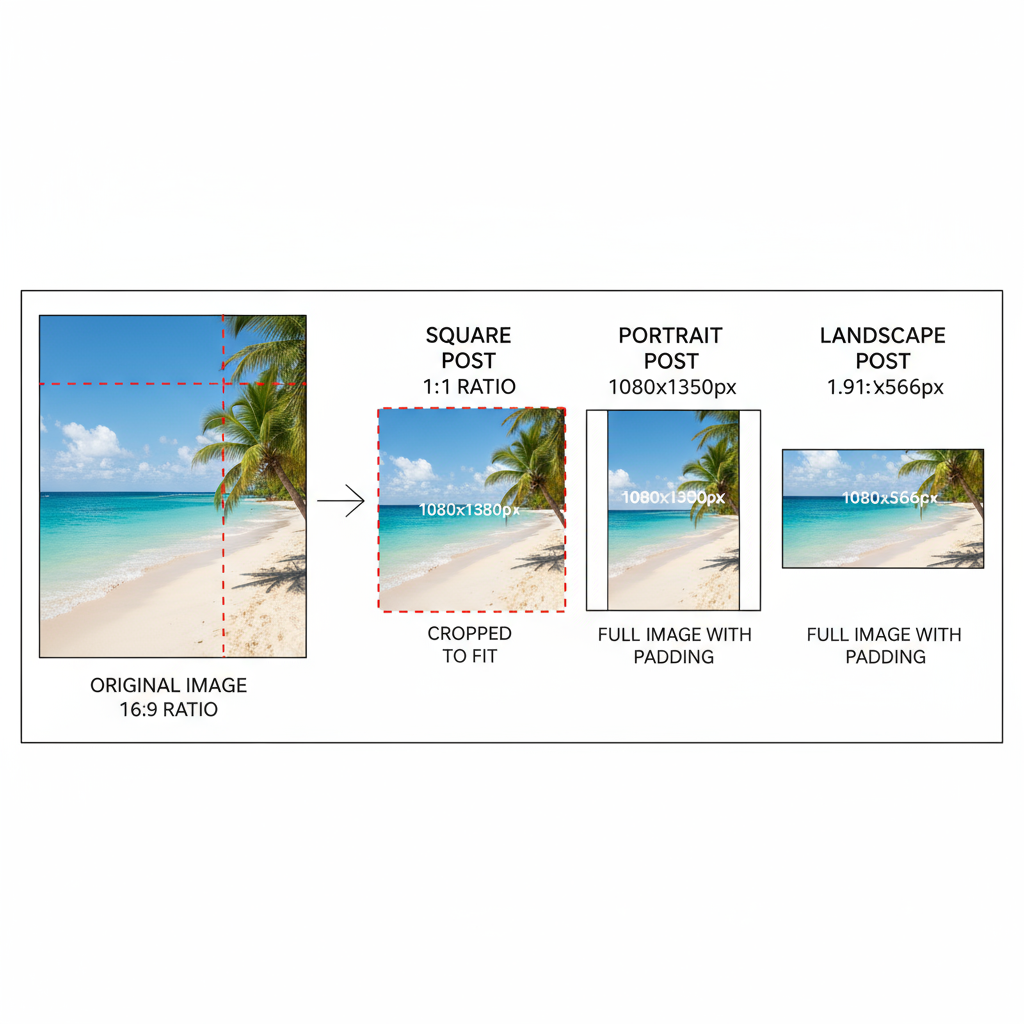
Instagram has been known for its square format, but today the platform supports multiple aspect ratios — giving you more flexibility to post without losing parts of your image. However, knowing the exact size limits will help ensure your photos look professional and don’t get cropped unexpectedly.
| Orientation | Aspect Ratio | Recommended Size (px) |
|---|---|---|
| Square | 1:1 | 1080 x 1080 |
| Portrait | 4:5 | 1080 x 1350 |
| Landscape | 1.91:1 | 1080 x 566 |
These ratios ensure your images display fully within Instagram's feed without cropping, but if your photo falls outside these ranges, the app will automatically crop it.
Why Images Get Cropped on Instagram
Instagram enforces aspect ratio limits for consistent feed display. If your photo is taller or wider than the supported ratios, the platform will trim the excess edges automatically.
For example:
- Ultra-tall vertical images (like 9:16 from your phone's camera) will be cropped to 4:5.
- Panoramic shots wider than 1.91:1 will lose sides unless modified.
This is why understanding how to fit an image on Instagram without cropping is essential for photographers, brands, and everyday users who care about composition.
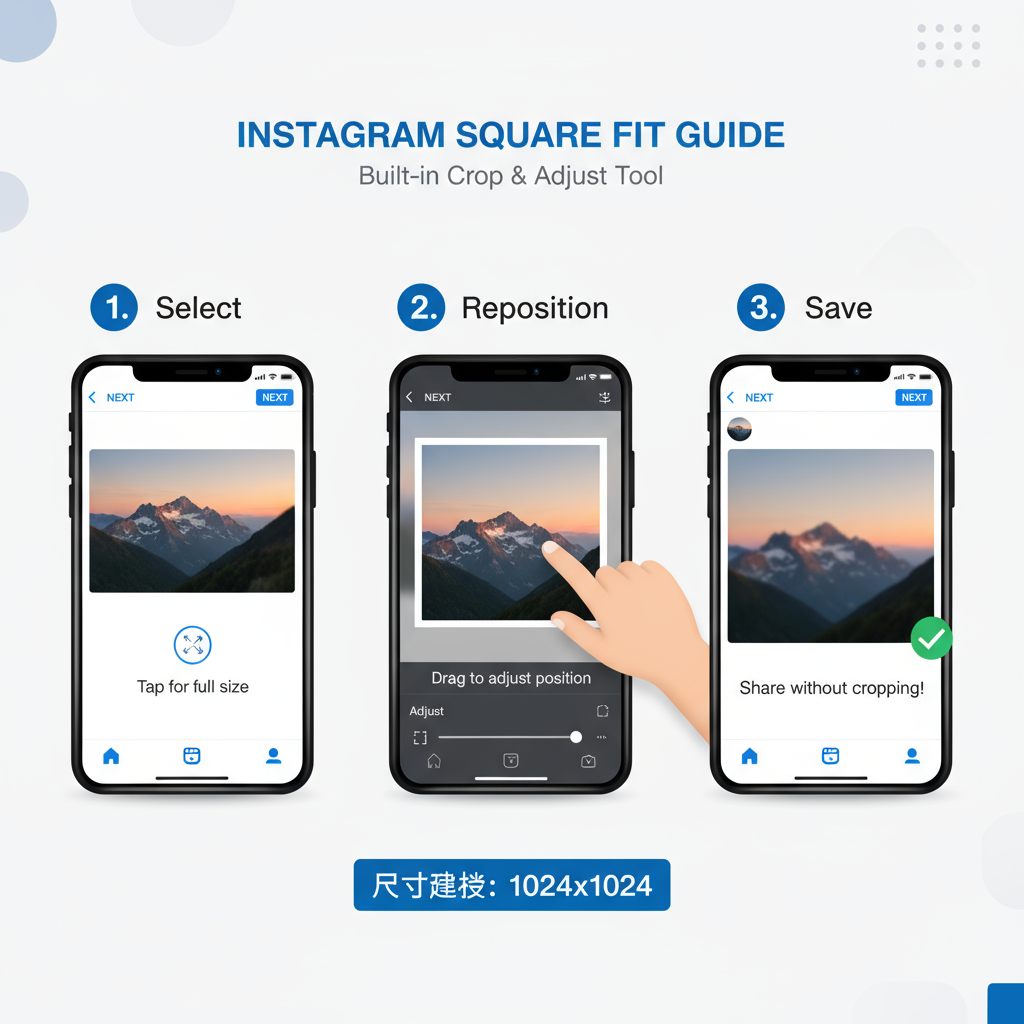
Method 1: Using Instagram’s Built-in Crop & Adjust Tool
Instagram's native photo editor can help you fit your image without using any third-party apps — as long as it’s within the acceptable aspect ratios.
Steps:
- Open the Instagram app and tap the "+" icon to create a new post.
- Select your image from the gallery.
- Pinch outwards with two fingers to zoom out — this displays the full image when possible.
- If the aspect ratio is allowed, the white borders or background will appear automatically.
- Adjust the crop to focus on the desired area without losing important detail.
Note: If your photo is outside the ratio limits, Instagram’s adjust tool will still crop it. For those scenarios, use Method 2.
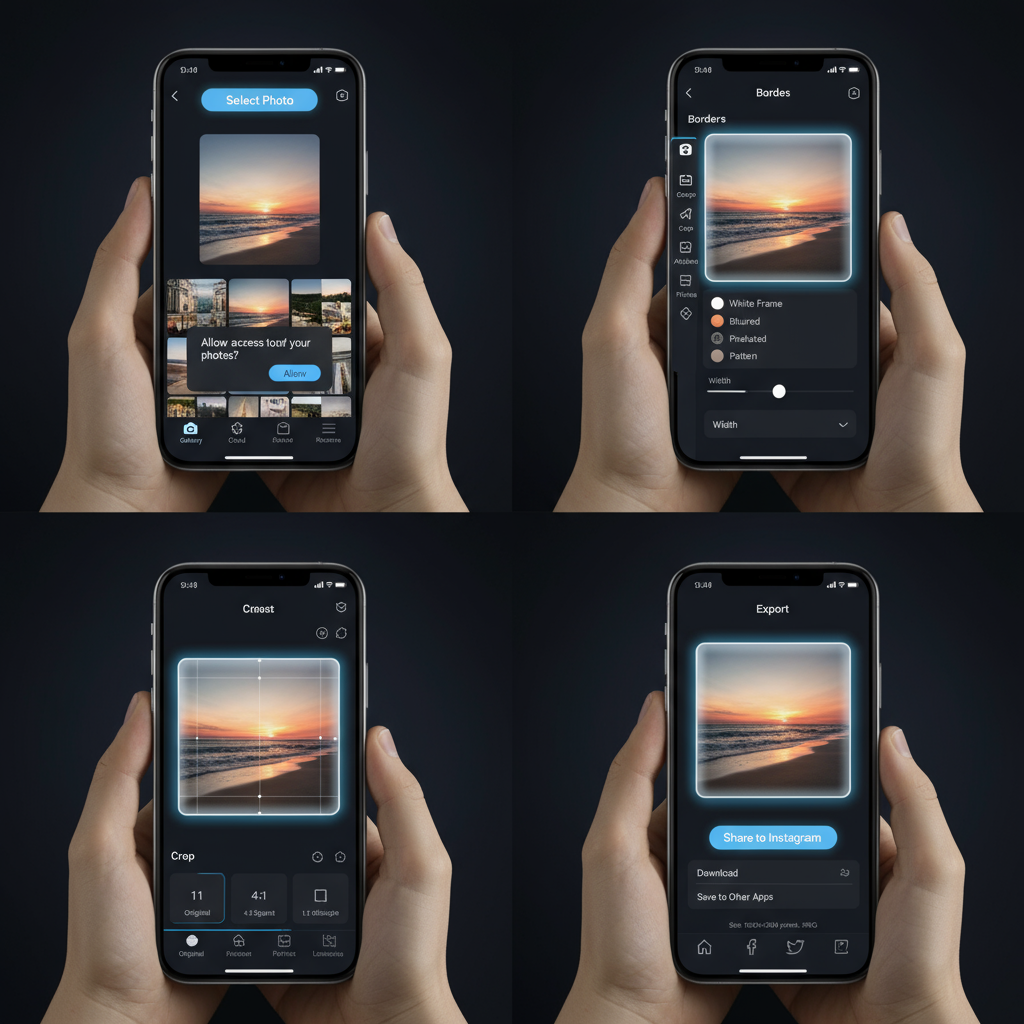
Method 2: Adding Borders or Padding in Free Photo Apps
If your image doesn’t meet Instagram's ratio requirements, adding borders (padding) can preserve the full frame.
Step-by-Step Guide
- Choose an Editing App
- Select a free tool like Canva, InShot, or Adobe Express.
- Create a New Canvas
- For portrait: set canvas to 1080 x 1350 px.
- For landscape: set canvas to 1080 x 566 px.
- For square: set canvas to 1080 x 1080 px.
- Import Your Photo
- Center your image within the canvas.
- Add Borders or Background
- Choose a solid color, gradient, or blurred version of your image as background.
- Make sure the background complements but doesn’t distract from the main image.
- Export at High Quality
- Save as a JPEG or PNG with maximum quality settings.
This method ensures your whole image fits Instagram’s dimensions without cropping important elements.
Recommended Apps and Tools
Here are some top picks to help you fit your image perfectly on Instagram:
| App | Key Features | Platforms |
|---|---|---|
| Canva | Custom dimensions, easy border application, large template library | Web, iOS, Android |
| InShot | Background blur, aspect ratio presets, quick export | iOS, Android |
| Adobe Express | Professional editing, custom resizing, brand toolkit | Web, iOS, Android |
| Instasize | Instant white borders, collage builder, text overlays | iOS, Android |
These tools allow for resizing, adding padding, and exporting with minimal quality loss.
Tips for Maintaining Image Quality
When resizing or adding borders, image quality can suffer if done incorrectly. Follow these tips to prevent pixelation:
- Always use high-resolution originals.
- Export at 1080px width — Instagram compresses larger files anyway.
- Avoid repeated saving; edit once, save once.
- Use PNG for graphics/text-heavy images; JPEG for photos.
Handling Vertical and Horizontal Images Differently
Different orientation types require specific approaches:
- Vertical (Portrait): Works best at 1080 x 1350. Any taller, add padding to the top & bottom.
- Horizontal (Landscape): For 1080 x 566 px, add side borders to fit ultrawide panoramas.
By preparing each orientation thoughtfully, you keep your content visually engaging.
How to Preview Your Post Before Publishing
Always preview before posting to avoid surprises:
- Use Instagram's drafts feature: Add your edited image, adjust caption, then save as draft.
- Check in different feeds (dark mode vs light mode) to ensure borders and colors look good.
- Optionally create a test account to post privately and see exactly how content will appear.
Common Mistakes to Avoid
- Stretching: Never scale disproportionately; it distorts the subject.
- Over-compression: Avoid exporting at overly low quality — details will vanish.
- Ignoring Aspect Ratios: Even with borders, incorrect canvas sizes may still crop upon posting.
- Cluttered Borders: Distracting backgrounds pull focus from your main subject.
Recap and Quick Reference Image Size Chart
To wrap it up — fitting your image on Instagram without cropping boils down to knowing the right canvas sizes or using padding smartly. Built-in tools can help for near-fitting images, while third-party apps are essential for those way outside Instagram's aspect ratio range.
Quick Reference Chart
| Feed Type | Orientation | Aspect Ratio | Pixel Size |
|---|---|---|---|
| Instagram Feed | Square | 1:1 | 1080 x 1080 |
| Instagram Feed | Portrait | 4:5 | 1080 x 1350 |
| Instagram Feed | Landscape | 1.91:1 | 1080 x 566 |
By following these guidelines, you can showcase your entire image in high quality, exactly as you envision it.
---
Pro Tip: Save a preset canvas in your favorite editor for each format so resizing is just a one‑click step in your workflow.
Final Thoughts
Now that you understand how to fit an image on Instagram without cropping or losing quality, you can share your work with confidence. Whether for personal storytelling, brand marketing, or professional photography, the right preparation ensures your feed remains consistent and visually appealing.
Start applying these methods today and watch your Instagram posts stand out in the scroll.