How to Make a YouTube Channel on an iPhone Step by Step
Learn how to create, brand, and optimize a YouTube channel entirely from your iPhone with this detailed step-by-step mobile-friendly guide.

How to Make a YouTube Channel on an iPhone Step by Step
Creating a YouTube channel directly from your iPhone is simple, fast, and accessible even for beginners. Whether you want to share vlogs, tutorials, reviews, or creative projects, learning how to make a YouTube channel on an iPhone opens the door to a global audience without the need for a computer. This step-by-step guide walks you through every stage—from prerequisites and setup to branding, optimization, and growing your channel—so you can start uploading videos today.

---
Step 1: Ensure You Meet the Prerequisites
Before creating your YouTube channel, have the following ready:
- iPhone (modern model with iOS 13 or newer)
- Stable internet connection (Wi‑Fi recommended for uploads)
- Apple ID (to download apps from the App Store)
- Gmail account (required to log into YouTube)
> Pro Tip: Use a permanent Google account for brand consistency and long-term channel access.
---
Step 2: Download or Update the YouTube App
- Open the App Store.
- Search for YouTube.
- Tap Get to install or Update for the latest version.
Regular updates ensure access to new features and security improvements.
---
Step 3: Sign In with Your Google Account
- Launch YouTube.
- Tap the Profile icon (top right).
- Tap Sign in.
- Enter Gmail details.
- No account? Tap Create Account and follow prompts.

---
Step 4: Create Your YouTube Channel
Once signed in:
- Tap your Profile icon.
- Select Your Channel.
- Tap Create Channel.
- Confirm your name (real or brand).
- Choose a unique custom handle.
---
Step 5: Upload a Profile Picture and Banner
Profile Picture
- Size: 800 × 800 px (square)
- Clear, high-quality branding image
Banner (Channel Art)
- Size: 2560 × 1440 px
- Keep text in safe area: 1546 × 423 px
Design with iPhone-friendly tools like Canva or Adobe Express.
---
Step 6: Write an Engaging Channel Description
A strong description improves first impressions and SEO.
Tips:
- Include niche keywords (how to make a YouTube channel on an iPhone, vlogs, reviews).
- Keep tone conversational yet professional.
- Add upload schedule and social links.
Example:
> “Welcome to TechQuickTips! I share weekly iPhone tutorials, unboxings, and app reviews to help you master your devices. New videos every Tuesday and Friday!”
---
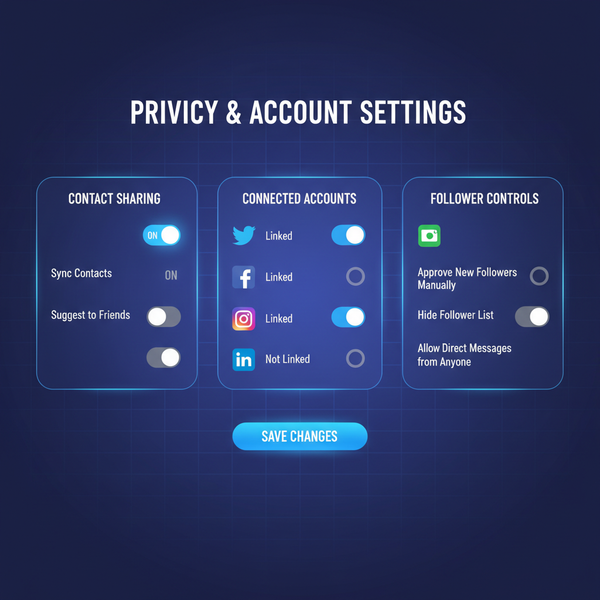
Step 7: Adjust Channel Settings
Change these in YouTube or the YouTube Studio app:
| Setting | Purpose | Where to Change |
|---|---|---|
| Privacy | Controls what others can see | YouTube app → Settings |
| Layout | Customizes your channel homepage | YouTube Studio → Customization |
| Links | Adds clickable icons to banner | YouTube Studio → Branding |
---
Step 8: Verify Your Account
Verification unlocks:
- Uploads over 15 minutes
- Custom thumbnails
- Live streaming
To verify:
- Visit YouTube Verify in Safari.
- Sign in, enter phone number.
- Receive and enter SMS code.
---
Step 9: Record and Upload Your First Video
- Record using the Camera app or YouTube’s + (Create) → Record.
- In YouTube, tap + → Upload a video.
- Select clip from camera roll.
Editing apps for iPhone:
- Photos (trim)
- iMovie, CapCut (text/effects)
---
Step 10: Optimize Title, Description, Tags, and Thumbnail
- Title: Clear and keyword-rich.
- Description: Front-load the first two lines with value.
- Tags: Target phrases like “how to make a YouTube channel on iPhone”.
- Playlist grouping.
- Thumbnail: High contrast, readable text.
Design quick thumbnails on Canva and upload from your iPhone.
---
Step 11: Set Branding via YouTube Studio
Download YouTube Studio to:
- Add a watermark to videos.
- Update banners/art instantly.
- Monitor analytics and engagement.
---
Step 12: Tips for Growing Your Channel on Mobile
- Stay consistent — stick to your schedule.
- Optimize for mobile SEO — strong keywords in titles and descriptions.
- Engage with your audience quickly via notifications.
- Promote externally — share teasers on social platforms.
- Analyze performance — see top videos and audience behavior.
---
Step 13: Common Mistakes to Avoid
- Skipping optimization for titles and thumbnails.
- Low-quality lighting or audio (invest in small mic and use daylight).
- Random, off-niche uploads.
- Long upload gaps.
- Not verifying your account.
---
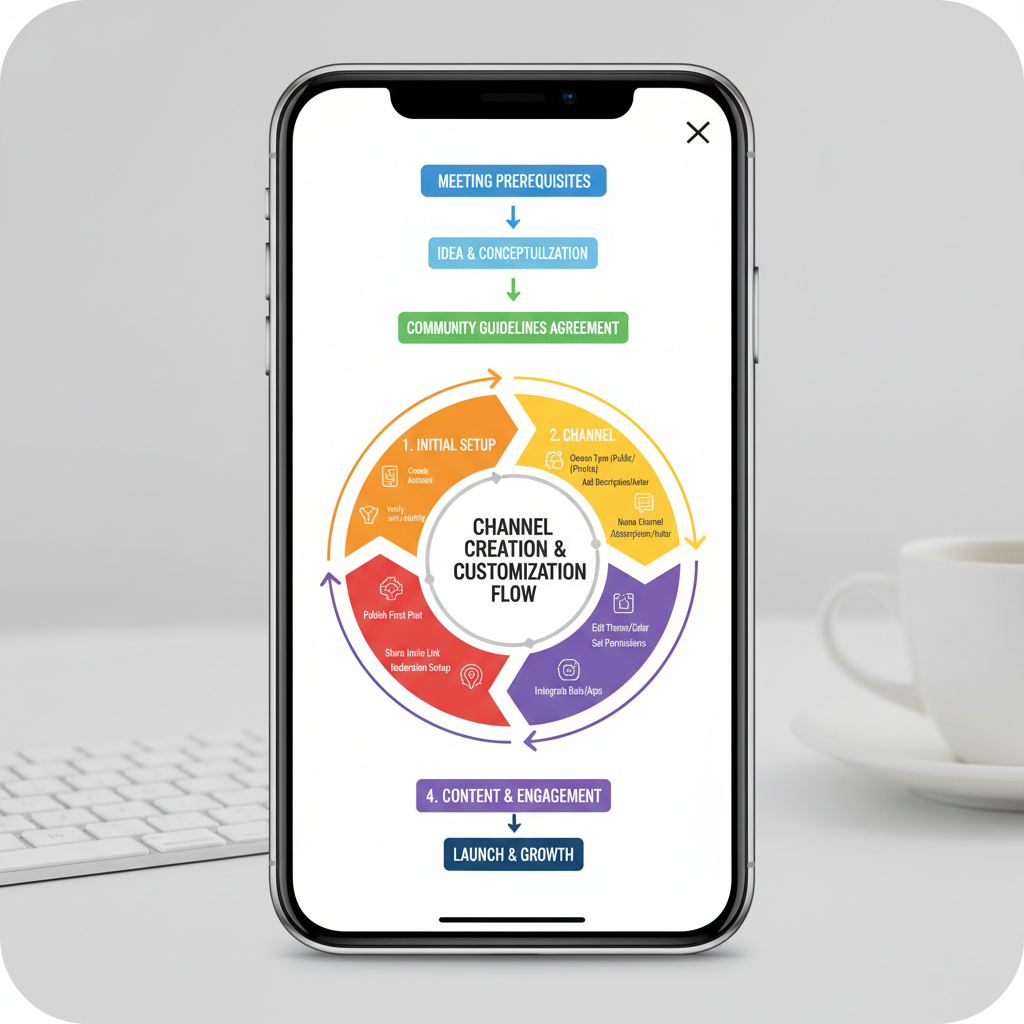
Quick Recap Workflow
| Step | Action |
|---|---|
| 1 | Prepare iPhone, internet, Apple ID, Gmail |
| 2 | Download/update YouTube app |
| 3 | Sign in or create Google account |
| 4 | Create and name your channel |
| 5 | Upload profile picture and banner |
| 6 | Add SEO-friendly description |
| 7 | Adjust channel settings |
| 8 | Verify your account |
| 9 | Record & upload first video |
| 10 | Optimize title, tags, thumbnail |
| 11 | Brand via YouTube Studio |
| 12 | Promote and grow on mobile |
| 13 | Avoid common mistakes |
---
By following this detailed guide, you can confidently launch and grow your YouTube channel entirely from your iPhone—no desktop required. Start today, stay consistent, and share your content with the world. Download YouTube and YouTube Studio now, set up your channel, and hit record to begin your creator journey.

