How to Post a Picture on Twitter from Any Device
Learn how to post pictures on Twitter from desktop or mobile, including image size tips, uploading steps, captions, and accessibility best practices.
How to Post a Picture on Twitter from Any Device
If you’ve ever wondered how to post a picture on Twitter, you’re not alone. Images remain one of the best ways to boost engagement, connect with followers, and express your message visually. Whether you’re using a desktop browser or a mobile app, Twitter makes it quick to share photos—if you know the steps. This guide will walk you through every detail, from formatting your image to monitoring engagement after posting.

---
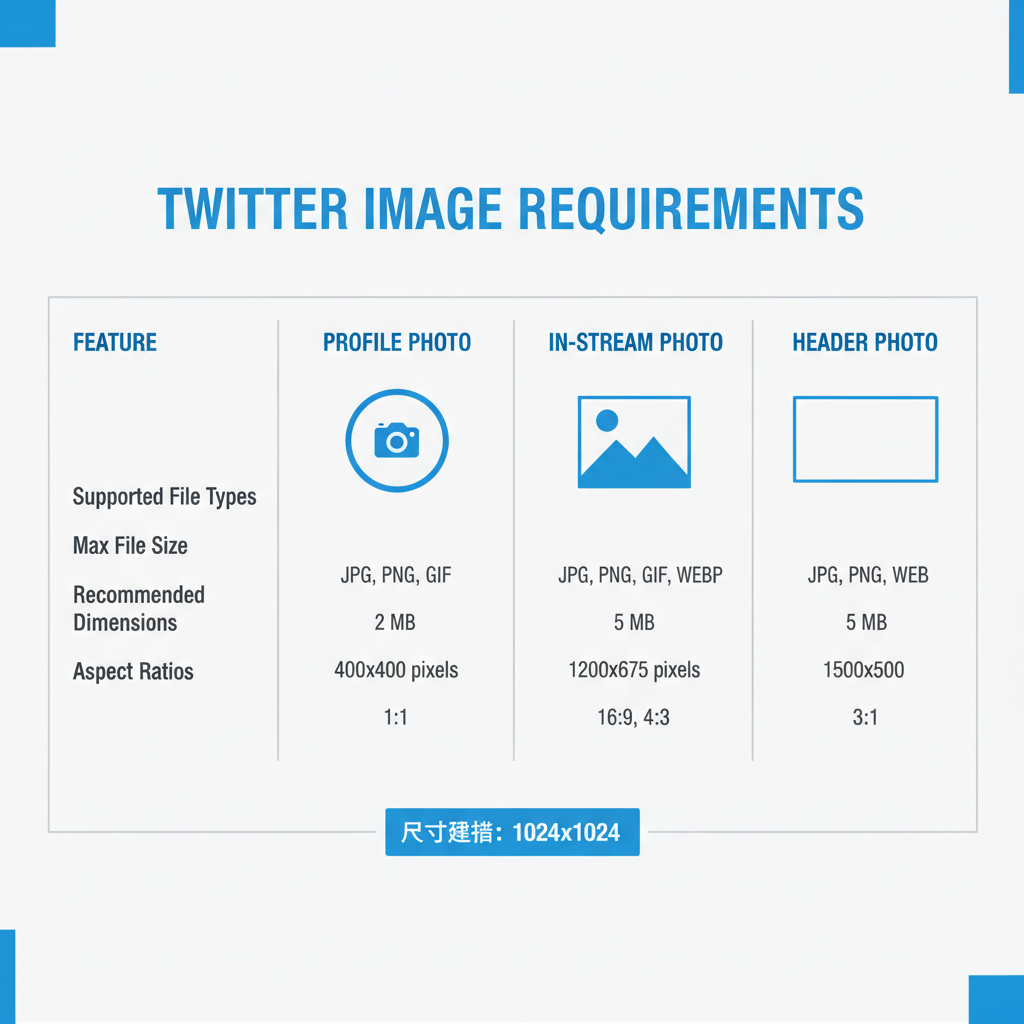
Understanding Twitter Image Requirements
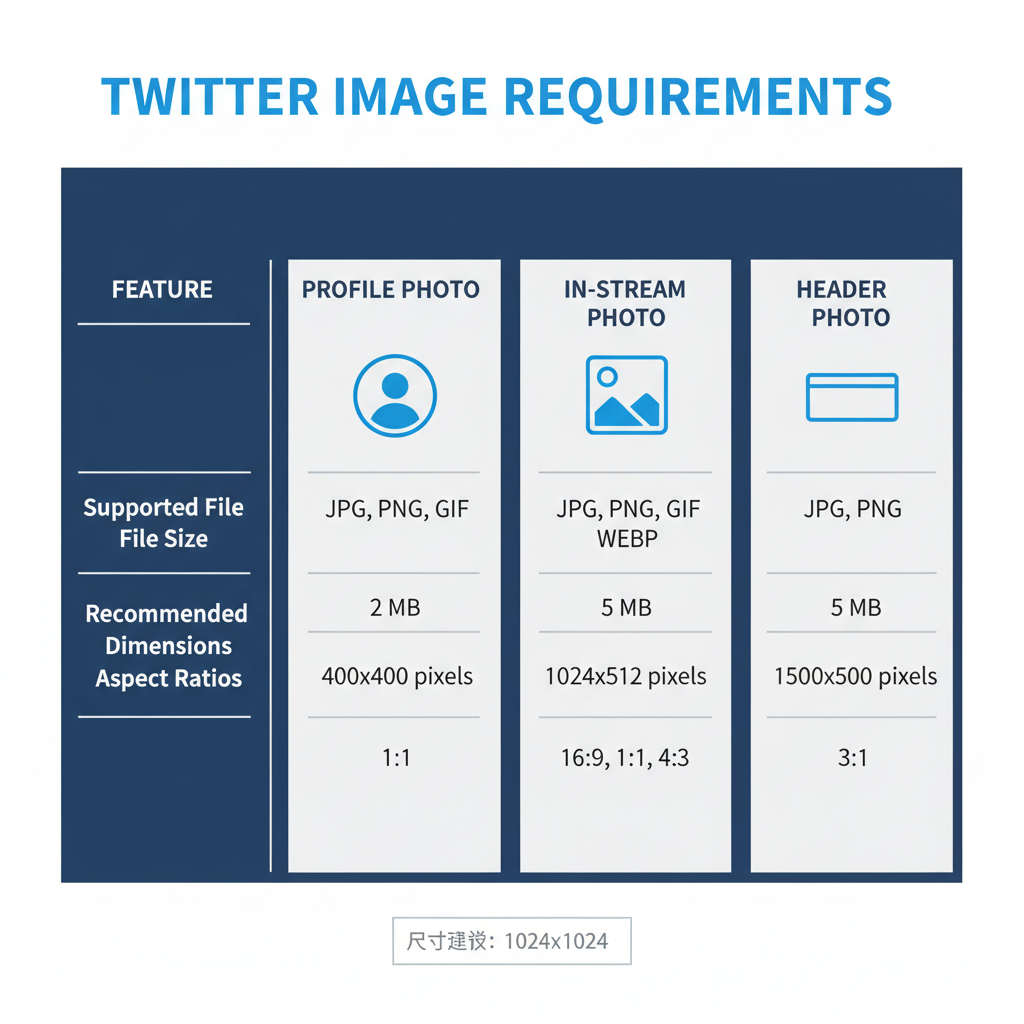
Before uploading, it’s important to understand Twitter’s recommended image specifications. Using the correct dimensions and ratios ensures your photos appear sharp and unclipped in the feed.
| Image Type | Recommended Size | Aspect Ratio | Formats Supported |
|---|---|---|---|
| Profile Photo | 400 x 400 px | 1:1 | JPEG, PNG |
| Header Photo | 1500 x 500 px | 3:1 | JPEG, PNG |
| In-Stream Photo | 1200 x 675 px | 16:9 | JPEG, PNG, GIF |
Tips:
- Maximum file size: PNG/JPG ≤ 5MB, GIF ≤ 15MB (on mobile/web view).
- Avoid excessively tall images; cropping may occur in the feed.
- Animated GIFs are not supported in profile or header images.
---
Preparing Your Image
Well-prepared photos get more engagement. Follow these steps:
- Compress: Use tools like TinyPNG or Squoosh to reduce file size without quality loss.
- Crop: Match Twitter’s recommended aspect ratios to avoid awkward cropping.
- Enhance: Adjust brightness, contrast, and sharpness using photo editing apps.
- Branding: If it suits your audience, add a watermark or subtle logo.
Pro Tip: Test your image by previewing on both desktop and mobile resolutions.
---
Logging into Twitter
You can post pictures after logging into Twitter either on a desktop browser or via mobile apps.
- Desktop: Navigate to Twitter.com, click “Log in,” and enter your credentials.
- Mobile App: Download the Twitter app from the App Store (iOS) or Google Play (Android), launch it, and log in.
---
Navigating to the Tweet Composer
Once logged in:
- Desktop: Click the “Tweet” button on the left sidebar or the feather icon.
- Mobile App: Tap the compose icon (quill and plus) at the bottom-right of the home screen.
---
Uploading a Photo from Desktop
Posting on desktop is straightforward:
- Click into the composer box.
- Select the image icon (small picture symbol) below the text area.
- Browse your computer to select your image.
- Wait for the thumbnail preview to appear.
Note: You can select up to 4 images in one tweet.
---
Uploading a Photo from Mobile App
The process varies slightly between iOS and Android.
- iOS Steps:
- Tap the compose icon.
- Tap the gallery icon.
- Select the photo(s) from your camera roll.
- Tap “Add” to preview.
- Android Steps:
- Tap the compose icon.
- Select the photo icon.
- Choose recent images or browse your folders.
- Preview before adding.

---
Adding Alt Text for Accessibility
Alt text describes images for visually impaired users. To add:
- After uploading an image, click “Add description” under the thumbnail.
- Enter a short yet descriptive phrase (maximum 1000 characters).
Example: `"A golden retriever puppy playing in the park"`.
Benefits: Enhanced accessibility; improves search ranking for your content.
---
Crafting Captions, Hashtags, Mentions, and Links
The text that accompanies your image is just as important.
- Captions: Provide context or evoke emotion.
- Hashtags: Use 1–3 relevant tags to increase discoverability.
- Mentions: Tag relevant users by @username.
- Links: Drive traffic to websites or blogs.
Pro Tip: Keep the total text within Twitter’s 280-character limit.
---
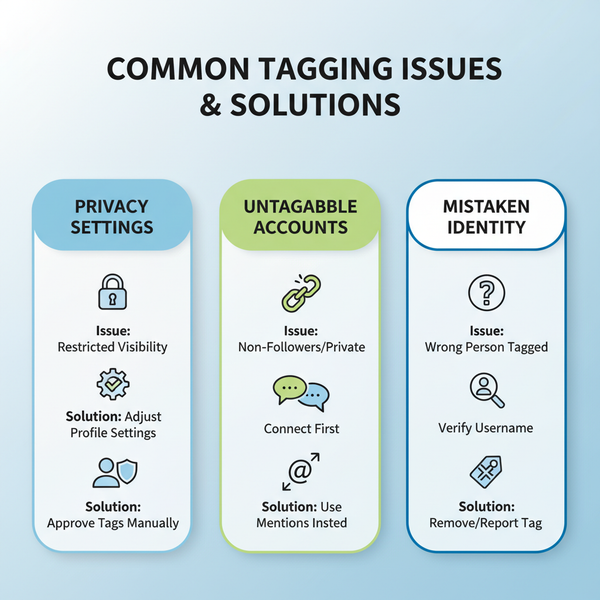
Using Image Tagging for Better Engagement
Twitter allows you to tag up to 10 people within an image without reducing tweet character count.
Steps:
- After uploading an image, click “Who’s in this photo?”.
- Search for and select users to tag.
---
Reviewing Your Tweet Before Posting
Before publishing:
- Check image quality on preview.
- Ensure alt text is present.
- Verify hashtags, mentions, and links.
- Confirm there are no typos.
---
Posting and Monitoring Engagement
Click or tap "Tweet" to publish. Once live, watch for:
- Likes – measure appeal.
- Retweets – gauge shareability.
- Comments/Replies – indicate engagement.
Monitoring early performance can inform your next post.
---
Troubleshooting Common Issues
If something goes wrong:
- Upload Errors: Ensure file size and format meet requirements.
- Unsupported Formats: Convert HEIC or TIFF images to JPEG/PNG.
- Image Not Showing: Check internet connection and retry.
---
Best Practices for Posting Multiple Images
When using multiple images:
| Number of Images | Layout | Tips |
|---|---|---|
| 2 | Side-by-side | Use similar aspect ratios for symmetry |
| 3 | One large + two stacked | Place most engaging image in large spot |
| 4 | 2x2 grid | Maintain consistent lighting and theme |
---
Leveraging Twitter Analytics for Visual Posts
After posting, use Twitter Analytics to refine your strategy:
- Click on “More” in the sidebar, then “Analytics.”
- Check impressions, engagements, and engagement rate for each tweet.
- Filter performance by media type to isolate image-based content.
Using this data, identify which visuals resonate most with your audience, then replicate successful elements.
---
Conclusion
By understanding image requirements, preparing high-quality visuals, and leveraging captions, alt text, and Twitter’s engagement tools, you can significantly improve your visual content strategy. Following this step-by-step guide ensures that whether you’re on desktop or mobile, you’ll know exactly how to post a picture on Twitter—and make it stand out. With practice, analytics, and audience feedback, your visuals can become a powerful part of your brand’s storytelling.

