How to Post on Facebook Timeline Step by Step Guide
Learn step-by-step how to post on Facebook timeline, choose formats, add visuals, set privacy, and optimize your content for better engagement.
How to Post on FB Timeline: Step-by-Step Guide
Facebook remains one of the most popular social media platforms for sharing moments, updates, and ideas with friends, family, and even the public. If you’re looking to strengthen your online presence, understanding how to post on FB timeline is essential. Doing it right helps you communicate effectively, engage your audience, and make the most of your profile’s visibility.
This comprehensive guide walks you through the process—from timeline basics to optimizing your posts for reach—while highlighting best practices and pitfalls to avoid.

---
Understanding Facebook Timeline Basics
Before publishing, it’s important to grasp what the timeline represents.
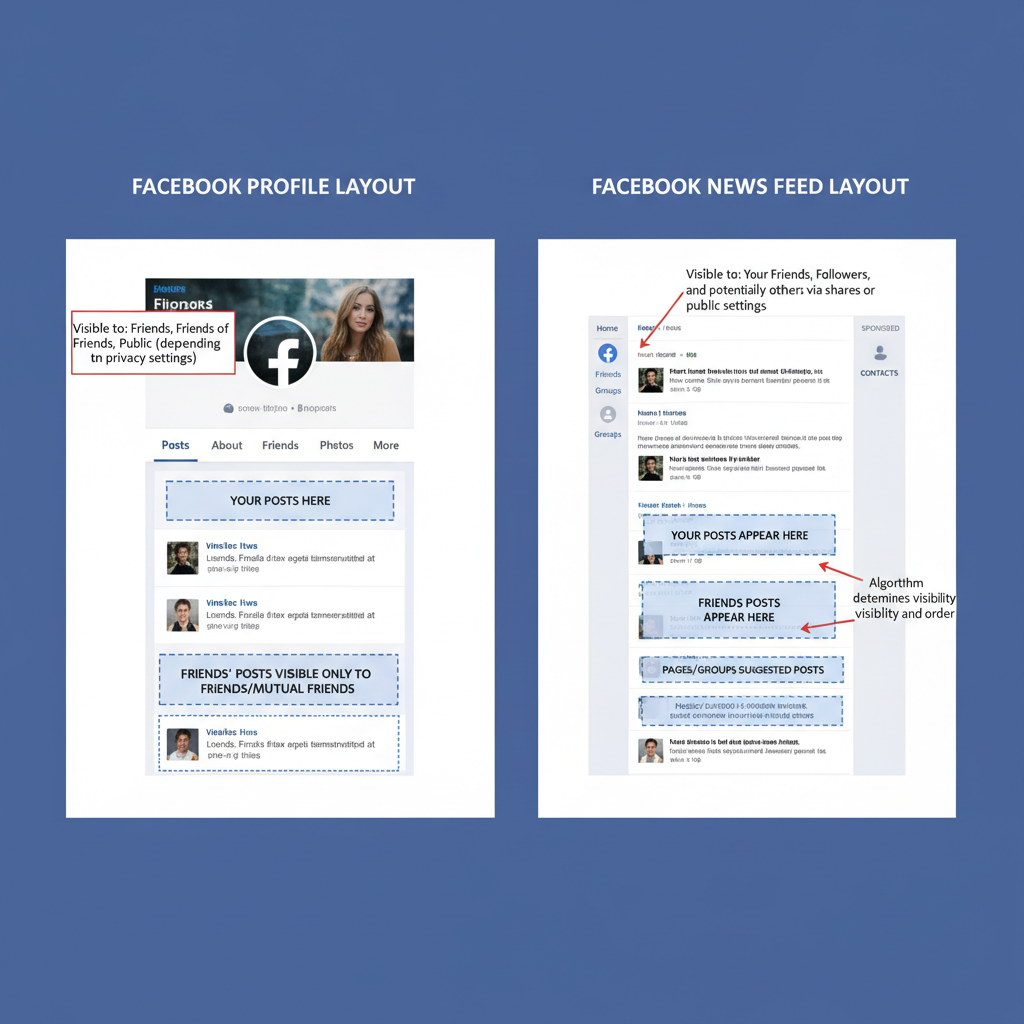
Profile vs News Feed
- Timeline (Profile Page) – Your personal public (or friends-only) archive of posts, photos, and updates. It displays content you’ve shared directly over time.
- News Feed – A dynamic stream where posts from you, your friends, and pages you follow appear in chronological or algorithm-picked order.
When you post to your timeline, you’re placing content directly on your personal page. The news feed acts as a distribution channel, showing those timeline posts to relevant audiences based on privacy settings.
---
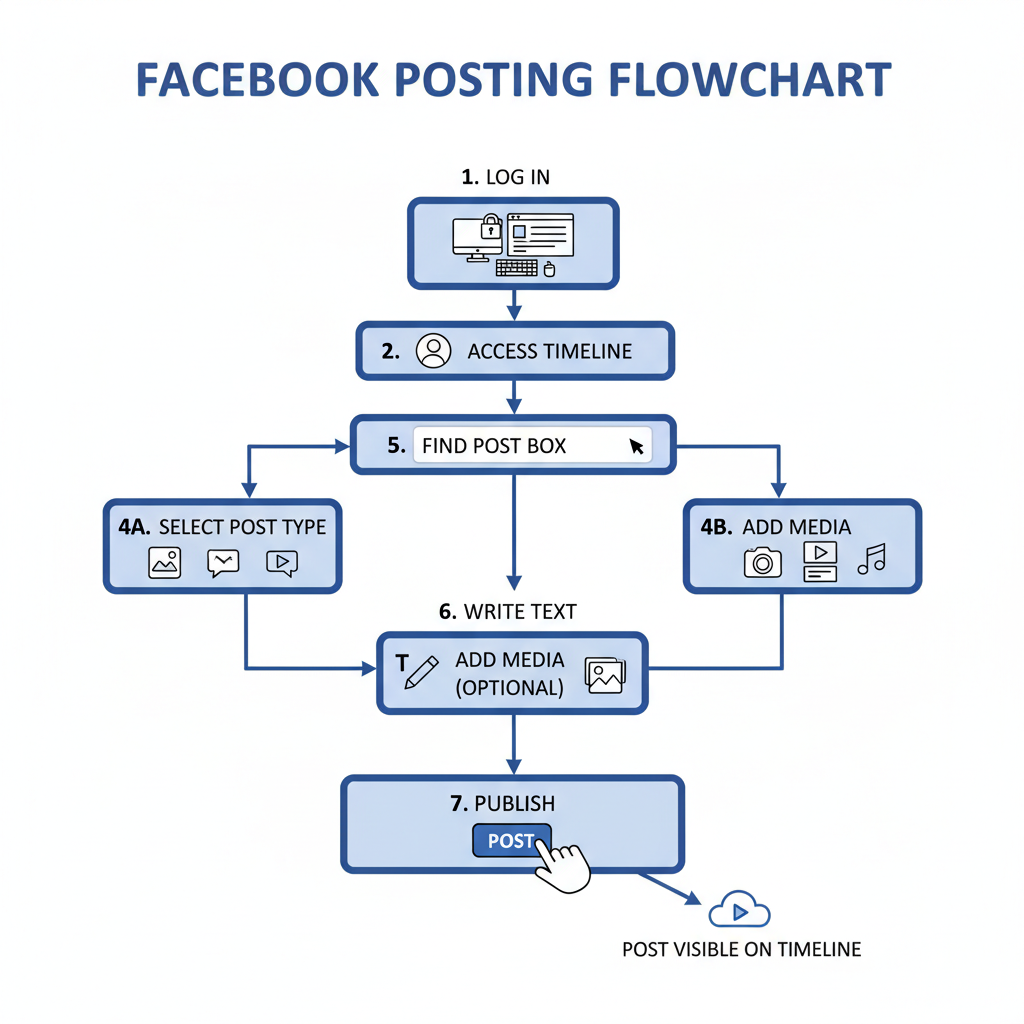
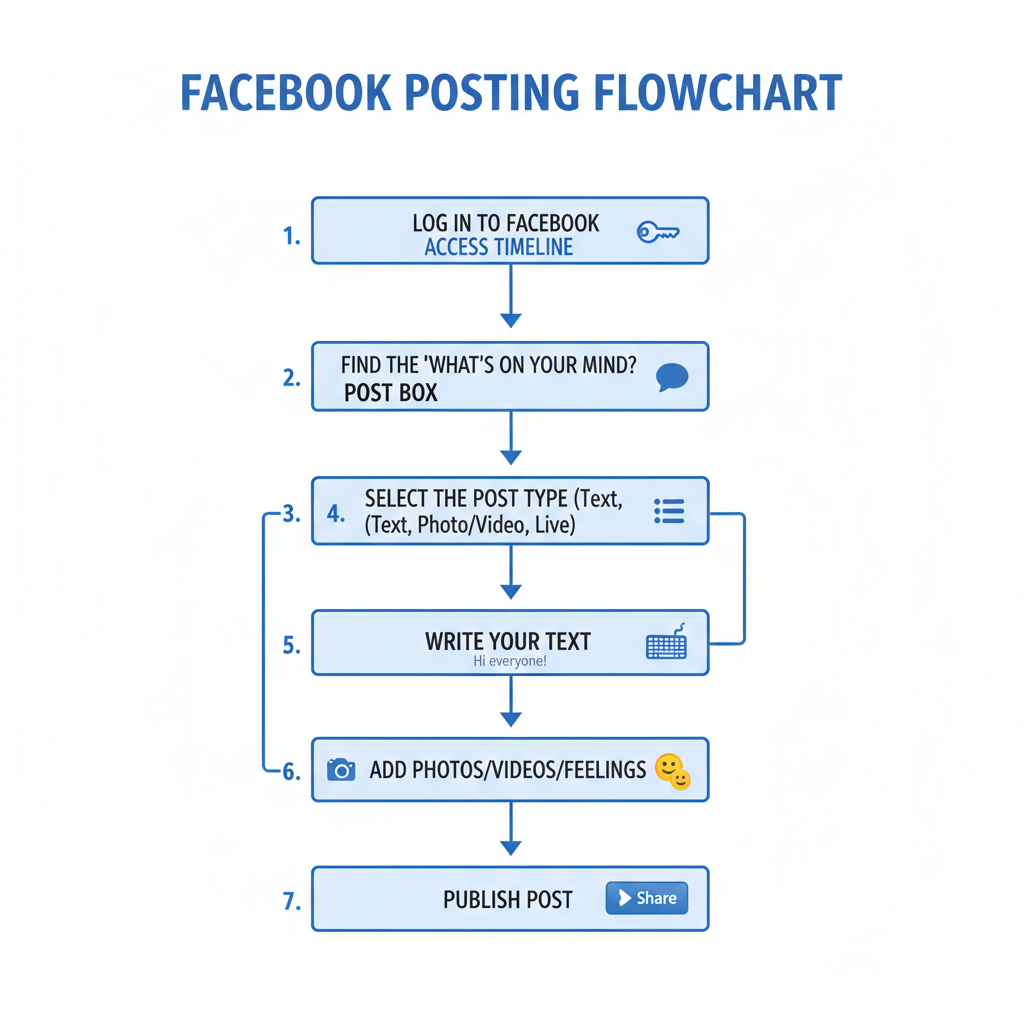
Step 1: Log In and Navigate to Your Timeline
- Visit facebook.com and enter your email/phone number and password.
- Once logged in, click your profile picture or name in the top navigation bar.
- Your timeline appears, showing all your previous posts and activities.
---
Step 2: Locate the “What’s on Your Mind?” Post Box
Near the top of your timeline interface, you’ll see a content creation field asking: "What's on your mind, [Your Name]?"
This is your starting point to add a new post.
---
Step 3: Choose Your Post Type
Facebook offers several post formats—selecting the right one is key.
| Post Type | Best Use |
|---|---|
| Text Only | Quick updates, quotes, or announcements |
| Photo/Video | Visual storytelling, events, or product showcases |
| Link | Share articles, blog posts, or external resources |
| Check-In | Indicate your location or attendance at events |
| Feeling/Activity | Express emotions or share current activities |
---
Step 4: Write Engaging Text with a Call-to-Action
A strong post captures attention and prompts action.
- Open with a hook to grab interest.
- Invite comments, shares, or reactions.
- Use active voice for stronger impact.
Example:
> "Excited to announce our new weekend coffee specials! Stop by to taste the blend—tag a friend who loves coffee!"
---
Step 5: Add High-Quality Images or Videos
Visuals often outperform text-only updates. Choose clear, high-resolution images or concise videos.
Tips:
- Use natural lighting.
- Keep videos short and focused.
- Avoid blurry, low-quality visuals.
---
Step 6: Tag Friends or Pages Relevant to Your Post
Tagging can expand your reach.
How to tag:
- Type “@” followed by the friend’s or page’s name.
- Select from suggestions.
- Ensure tags are relevant—avoid spam tagging.
---
Step 7: Choose Privacy Settings
Your privacy setting decides who can see your post.
Options:
- Public – Everyone.
- Friends – Only Facebook friends.
- Custom lists – Specific individuals or groups.
Adjust privacy via the audience selector next to the post button.
---
Step 8: Use Hashtags and Emojis Appropriately
Hashtags improve discoverability; emojis add tone.
Guidelines:
- Limit to 2–3 impactful hashtags.
- Use emojis sparingly to accentuate emotion or theme.
Example:
> "Spent the day hiking 🏞️ with friends! #NatureLovers #WeekendFun"
---
Step 9: Preview Your Post
Before publishing:
- Proofread for grammar/spelling.
- Check tags, links, and formatting.
- Confirm media loads correctly.
---
Step 10: Publish and Verify Appearance
Click Post, then refresh your profile to see the post and confirm privacy settings are correct.
---
Step 11: Engage Promptly With Comments and Reactions
Quick responses maintain conversations and build trust.
React to positive feedback and answer questions thoughtfully.
---
Step 12: Edit or Delete When Necessary
To correct or remove a post:
- Click the three-dot menu.
- Select Edit Post or Delete.
---
Step 13: Tips for Boosting Timeline Visibility
To improve reach:
- Share to groups – Connect with relevant audiences.
- Cross-post – Spread to other social networks.
- Tag relevant pages – Encourage resharing.
- Post at optimal times – When your audience is active.
- Be consistent – Regular posting sustains engagement.
---
Step 14: Common Mistakes to Avoid
Steer clear of:
- Overposting – Avoid overwhelming followers.
- Poor-quality media – Visuals should be clear and relevant.
- Ignoring engagement – Failing to reply reduces interactions.
- Too many hashtags – Can hurt readability.
- Irrelevant tagging – Appears spammy.
---
Summary and Next Steps
Mastering how to post on FB timeline is much more than clicking “Post.” It’s about thoughtful content creation, engaging presentation, and consistent interaction with your audience.
By following these steps—from learning the basics to strategically boosting visibility—you can create timeline posts that resonate, reflect your personality or brand, and keep your network engaged.
Start experimenting with different post types today, analyze the engagement, and refine your approach so your Facebook timeline remains an inviting, interactive space that people look forward to visiting.