How to Post on Timeline Facebook Step-by-Step Guide
Learn how to post on your Facebook Timeline with a step-by-step guide covering privacy settings, post types, captions, tags, and visual tips.

How to Post on Timeline Facebook: Step-by-Step Guide
Facebook remains one of the most popular social media platforms worldwide, with billions of active users sharing moments every day. Whether you want to announce a milestone, promote your brand, or engage with friends, knowing how to post on timeline Facebook effectively ensures your content reaches the right audience and sparks meaningful interactions. This comprehensive guide covers everything from basic navigation to optimization strategies, helping you get more likes, comments, and shares.

---
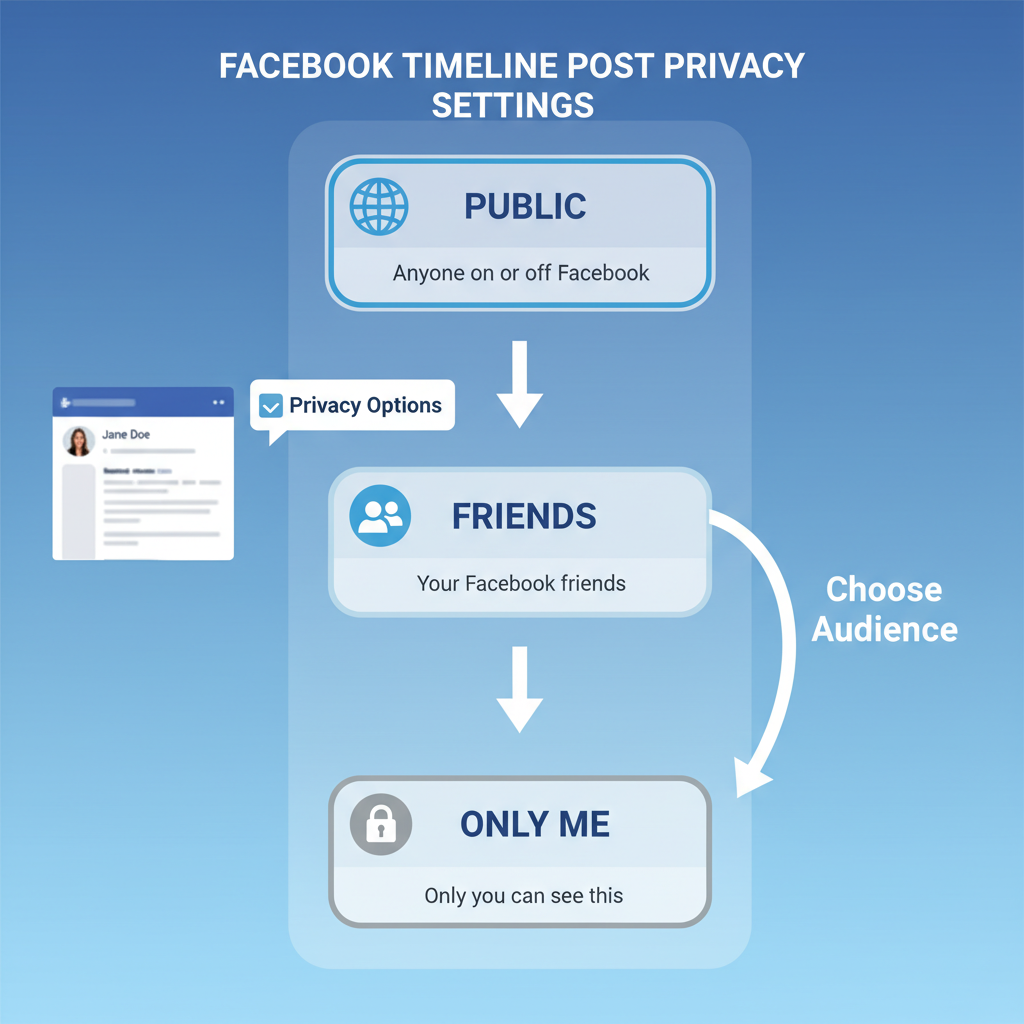
Understanding Facebook Timeline Basics and Privacy Settings
The Facebook Timeline is your personal space where all your posts, photos, and activities appear in chronological order. Each post’s visibility depends on your chosen privacy settings, which regulate who can view your content. Facebook offers several options:
- Public – Anyone on or off Facebook can view the post.
- Friends – Only your friends can see the post.
- Friends Except… – Exclude specific people from viewing.
- Specific Friends – Limit visibility to selected friends.
- Only Me – Keep posts private to yourself.
Why Privacy Settings Matter
Adjusting these settings can protect your personal information and tailor your reach, maximizing engagement among your intended audience.
---
Log In to Your Facebook Account
To begin posting:
On Desktop:
- Visit facebook.com.
- Enter your email/phone number and password.
- Click Log In.
On Mobile App:
- Launch the Facebook app.
- Sign in using your credentials.
- Tap the home icon to view your feed.
---
Navigate to Your Profile to Access the Timeline Posting Area
On desktop, click your name or profile picture at the top of the page. On mobile, tap the profile icon in the bottom menu.
Once on your profile, locate the "What's on your mind?" box — this is your main posting area.
---
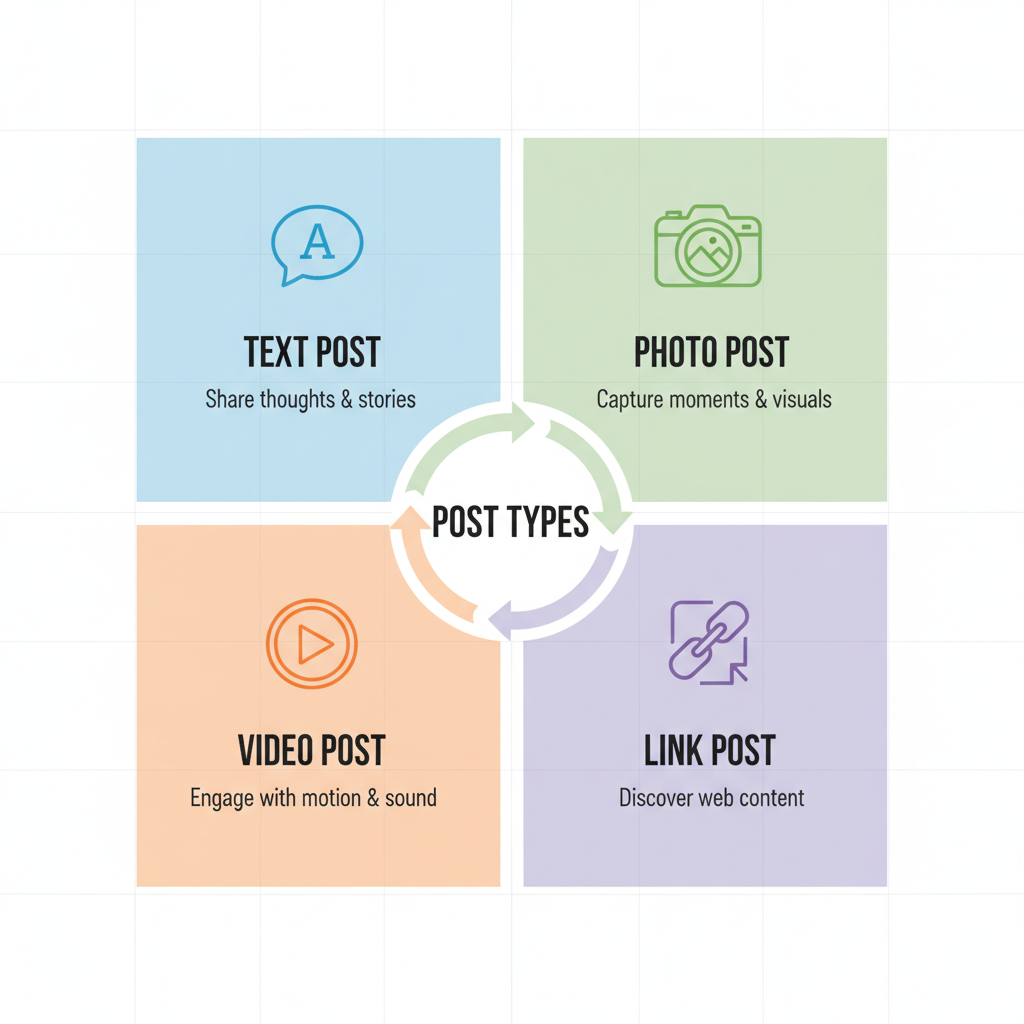
Choose Your Post Type
Facebook supports different post formats depending on your goal.
| Post Type | Purpose |
|---|---|
| Text | Share thoughts, updates, or stories. |
| Photo/Video | Visual content for high engagement. |
| Link | Promote articles, blogs, or external pages. |
| Feeling/Activity | Express emotions or highlight events. |
| Live Video | Interact in real time with viewers. |
---
Add Engaging Captions and Relevant Tags
Captions act as hooks for your audience. Aim for concise but powerful wording.
Caption tips:
- Tell a short story to add context.
- Incorporate keywords naturally (e.g., how to post on timeline Facebook).
- Use questions to prompt comments.
Tags: Include hashtags, friend mentions, or page tags to expand reach.
---
Format Posts for Readability
Readable posts encourage interaction. Use:
- Emojis for emotional impact.
- Bullet points for easy scanning.
- Adequate spacing to prevent walls of text.
Example:
✨ Today’s highlights:
- Finished a big project
- Went hiking 🥾
- Tried a new restaurant 🍜
---
Set Audience Visibility
Before clicking Post, select your audience via the dropdown near the post button.
Best Practices:
- Public: For promotions or public events.
- Friends: For personal updates.
- Custom Lists: For targeted communication.
---
Tag Friends, Locations, or Pages
Tagging increases visibility and context:
- Friends receive notifications.
- Locations boost relevance and local SEO.
- Pages may further share your content.
To tag: Type `@` plus the name, and select from the list.
---
Use High-Quality Images or Videos
Visual quality significantly impacts engagement. Follow these guidelines:
- Minimum resolution: 1080px.
- Clear, focused shots.
- Short videos (under 2 minutes) for general updates.
---
Schedule Posts for Consistent Engagement
Consistency keeps audiences interested. Use Meta Business Suite or third-party tools like Buffer to schedule content.
Steps:
- Create your post.
- Choose “Schedule” instead of “Post Now.”
- Set date and time.
- Confirm.
---
Monitor Engagement and Optimize Future Posts
Track performance using Facebook Insights or Creator Studio:
- Post Reach – Number of people who saw your post.
- Engagement Rate – Likes, comments, shares.
- Audience Demographics – Age, location, and interests.
Use these insights to refine your posting strategy.
---
Troubleshoot Common Posting Issues
Here are quick solutions to frequent problems:
| Issue | Solution |
|---|---|
| Post blocked for policy violation | Review and comply with Community Standards. |
| Image/video upload errors | Check file size, format, and connectivity. |
| Post layout issues | Refresh and adjust formatting. |
| Tags not functioning | Verify friend/page existence and tag settings. |
---
Final Tips for Effective Timeline Posting
- Post at peak engagement times (usually midday or early evening).
- Mix content types to keep your timeline diverse.
- Respond to comments promptly to boost interaction.
---
Summary
Mastering how to post on timeline Facebook involves understanding privacy settings, choosing the right post format, crafting engaging captions, and optimizing visuals. By following these steps, you can maintain a dynamic, appealing timeline that authentically connects with friends, followers, or customers.
Start implementing these tips today to transform your Facebook presence and grow your engagement.