Post a Whole Photo on Instagram Without Cropping
Learn how to post a full photo on Instagram without cropping by using proper aspect ratios, borders, and resizing techniques to keep details intact.
How to Post a Whole Photo on Instagram Without Cropping
Sharing your favorite shots on Instagram can be frustrating when the platform trims off important parts of your image. Whether it’s a travel panorama or a portrait, Instagram’s default aspect ratios often force unwanted cropping. This guide will explain how to post a whole photo on Instagram without cropping, covering aspect ratios, built-in tools, third-party apps, and design techniques—helping you keep every detail in frame while maintaining quality and style.

---
Understanding Instagram’s Default Aspect Ratios
Instagram supports several aspect ratios for different post formats. If your image doesn’t match these ratios, the app will crop or zoom it by default.
| Format | Aspect Ratio | Typical Dimensions |
|---|---|---|
| Square Feed | 1:1 | 1080 × 1080 px |
| Portrait Feed | 4:5 | 1080 × 1350 px |
| Landscape Feed | 1.91:1 | 1080 × 566 px |
| Stories/Reels | 9:16 | 1080 × 1920 px |
If your image’s dimensions differ, Instagram will either crop or add minimal padding, potentially cutting off key areas.
---
When and Why Instagram Crops Your Photo
Instagram’s cropping decisions maintain a visually consistent feed. Photos that are too tall, too wide, or unusually proportioned can disrupt the layout, prompting the app to auto-adjust them. Examples include:
- Ultra-wide panoramas being trimmed.
- Tall portraits beyond 4:5 losing top/bottom portions.
- Screenshots with irregular dimensions being clipped.
By understanding these limitations, you can prepare your photo before uploading.
---
Using Built-in Instagram Tools to Adjust Framing
When uploading a photo to your feed, the zoom-out icon in the corner helps fit more of the image. In Stories, pinch to resize and reposition your photo on the screen.
Steps to fit without cropping:
- Upload your photo to Instagram.
- Tap the resize icon to zoom out.
- Check alignment to ensure no subject is cut off.
- Adjust brightness or filters as needed.
Built-in tools help in many cases, but extreme dimensions may still require editing.
---
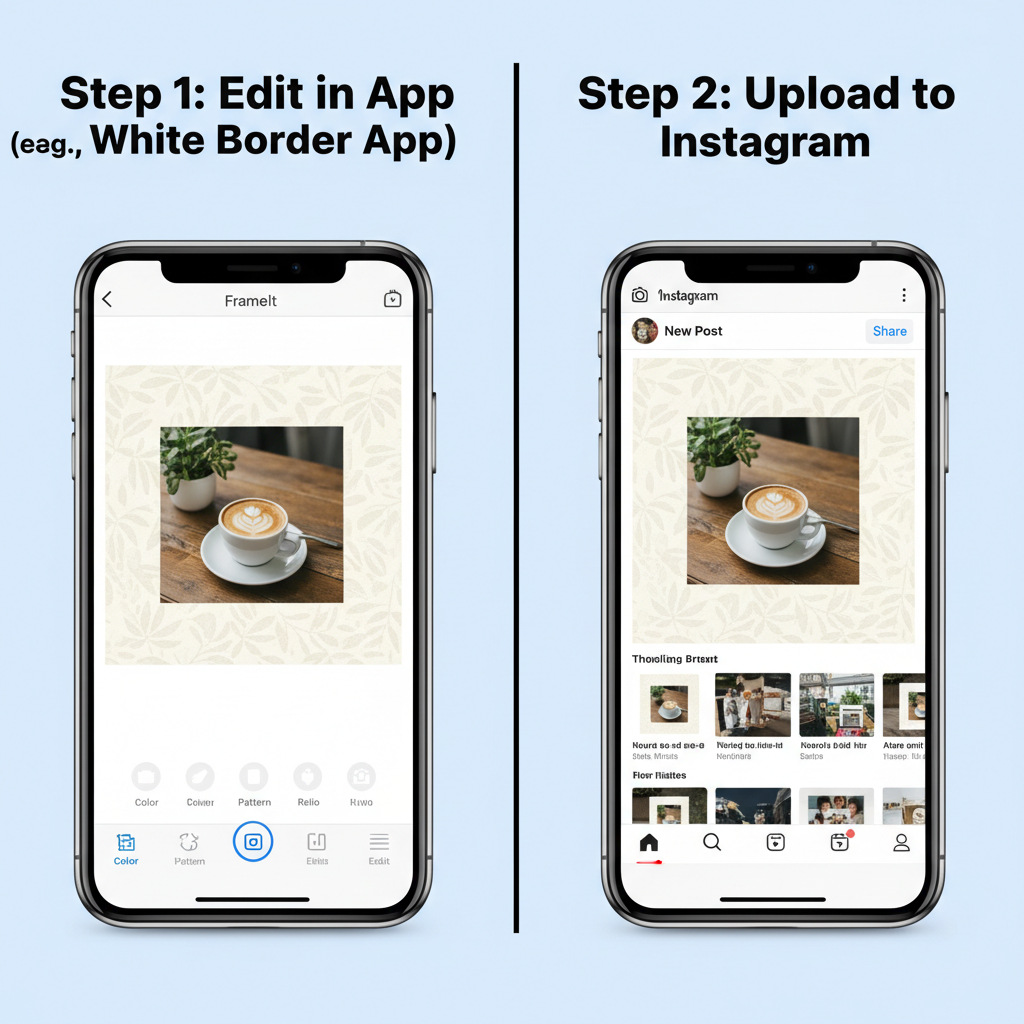
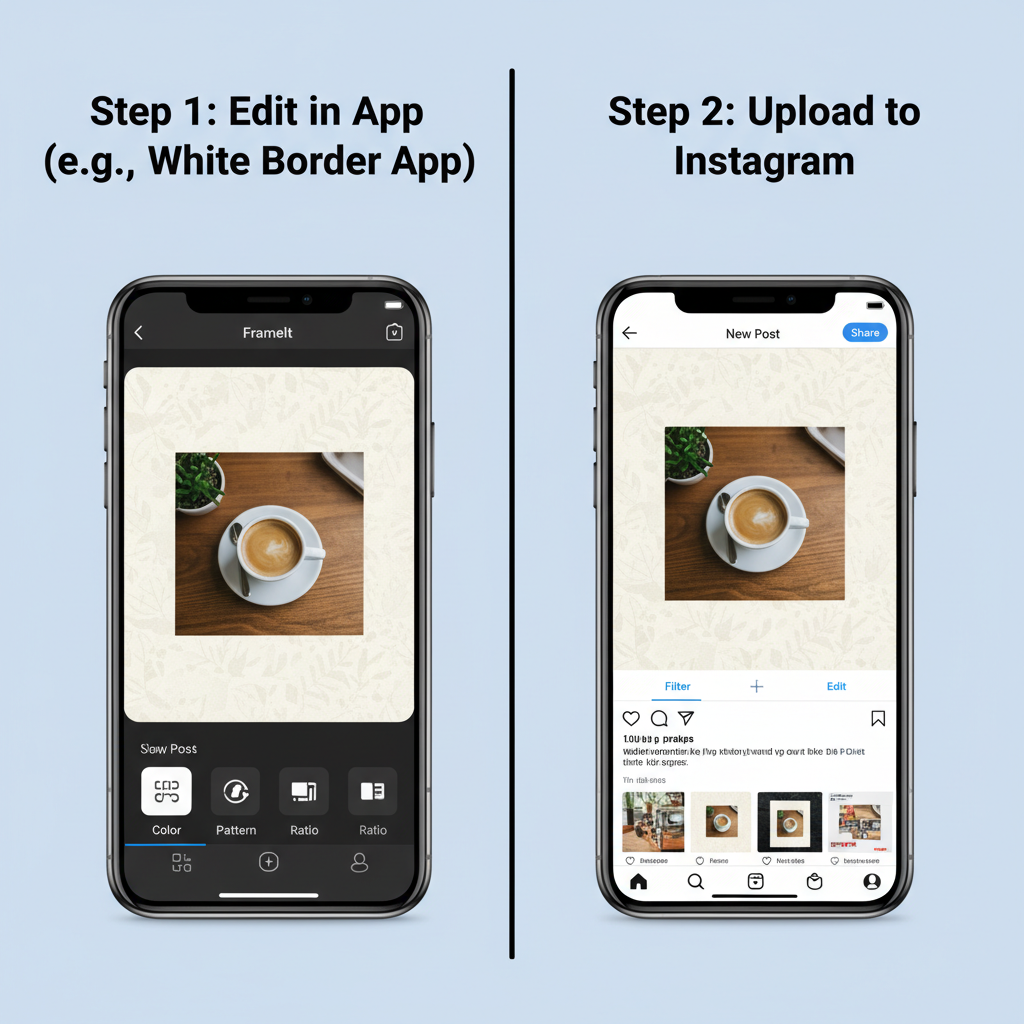
Using Third-Party Apps or Photo Editors
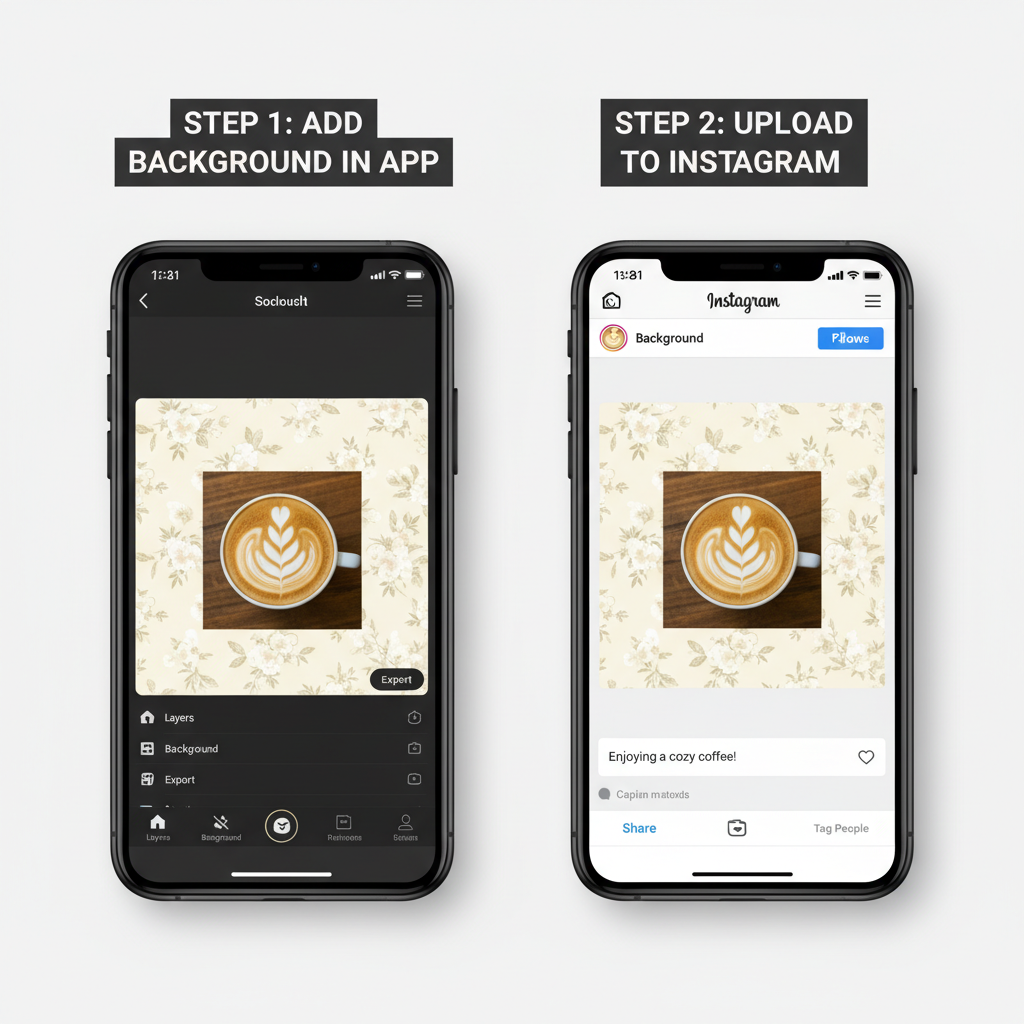
Third-party apps allow you to add borders or adjust backgrounds, ensuring your original aspect ratio fits within Instagram’s supported ones.
Popular apps include:
- Canva — custom canvas sizes.
- Adobe Express — Instagram templates.
- Instasize — quick border addition.
- Snapseed — manual resizing and framing.
Pro Tip: Match your canvas to the targeted aspect ratio (e.g., 1080 × 1350 for portrait feed) before placing your image.
---
Choosing Background Colors or Patterns That Complement the Photo
Borders and backgrounds can enhance or detract from your post. Select tones that complement the image without drawing attention away from the subject.
Tips for background choice:
- Neutral colors (white, gray, beige) are versatile.
- Match borders to a dominant shade in your photo.
- Avoid overpowering patterns.
- Use subtle gradients for elegance.
---
Maintaining Image Quality While Resizing
Resizing can degrade image clarity. Keep these principles in mind:
Export Settings:
- Resolution: Minimum 1080px on the shortest side.
- File Type: JPEG for photos, PNG for graphics/text.
- Compression: 80–90% quality to prevent artifacts.
In Photoshop or Lightroom:
1. Open your photo.
2. Crop or pad canvas to match Instagram’s aspect ratio.
3. Resize so the shortest edge is 1080 pixels.
4. Export as JPEG, sRGB color space, 80% quality.
These settings minimize Instagram’s compression impact.
---
Testing Posting in Different Formats
Experiment with different formats to find the best presentation for your full photo:
- Feed: Compare square, portrait, and landscape styles.
- Stories: Try background blur or borders.
- Carousel: Show the full shot in one slide, details in others.
- Reels: Use creative animations for dynamic display.
Testing helps you maximize engagement and preserve the whole image.
---
Planning Your Visual Grid
Your Instagram profile grid acts as a portfolio. Aligning full photos aesthetically increases professionalism.
Grid Strategies:
- Consistent border widths across posts.
- Alternate orientations for balance.
- Maintain matching background tones.
A curated grid keeps followers visually engaged.
---
Optimizing Captions and Hashtags
Even gorgeous photos need engaging captions and strategic hashtags.
Caption Optimization:
- Share context or a story.
- Include a CTA (“Tag a friend who’d love this view!”).
- Use line breaks for clarity.
Hashtag Tips:
- Mix popular and niche tags.
- Keep to 8–12 hashtags for authenticity.
- Place hashtags at the end or in the first comment.
Thoughtful text boosts discoverability.
---
Avoiding Common Mistakes
Watch out for these errors when fitting an entire photo into Instagram:
- Stretching images—distorts proportions.
- Clashing border colors—distract from subject.
- Low resolution—pixelation lowers quality.
- Over-filtering—obscures photo details.
Quality and stylistic consistency drive better engagement.
---
Monitoring Engagement and Iterating
Track your results to refine your approach:
- Likes, comments, shares = immediate feedback.
- Saves indicate strong visual appeal.
- Story views measure reach for temporary content.
Use data to tweak formats, backgrounds, and captions.
---
Final Thoughts
Keeping your whole photo on Instagram without cropping is both a creative and technical process. By mastering aspect ratios, leveraging built-in and third-party tools, choosing complementary backgrounds, and optimizing quality, you can showcase your images exactly as intended. Plan your grid, refine captions, and let engagement data guide your adjustments—your audience will notice the polished, complete aesthetic.
---
Ready to start posting perfect full-frame images? Apply these tips today, keep your Instagram feed consistently stunning, and watch your engagement grow.