Step-by-Step Guide to Record a Story on Instagram
Learn step-by-step how to record engaging Instagram Stories using different modes, camera settings, and creative tools to boost audience interaction.

Step-by-Step Guide to Record a Story on Instagram
Instagram Stories are one of the most powerful tools for attracting attention and keeping followers engaged. Whether you’re a brand, influencer, or casual user, knowing how to record a story on Instagram successfully can elevate your content, drive more interactions, and strengthen your online presence. In this detailed tutorial, you’ll learn exactly how to use Instagram’s built-in features — from the first tap to publishing — so you can create polished, eye-catching Stories every time.
---
Why Instagram Stories Matter for Engagement
Instagram Stories allow you to share ephemeral content that disappears after 24 hours. This creates urgency and exclusivity, encouraging followers to check your updates regularly. Brands, influencers, and everyday users use Stories to:
- Showcase behind-the-scenes moments.
- Launch campaigns or limited offers.
- Share polls, quizzes, and interactive stickers.
- Connect with audiences without cluttering the main feed.
Because Stories appear at the top of the app and autoplay in sequence, they enjoy high visibility. By mastering them, you can enhance your reach, drive conversions, and build stronger relationships with your audience.
---
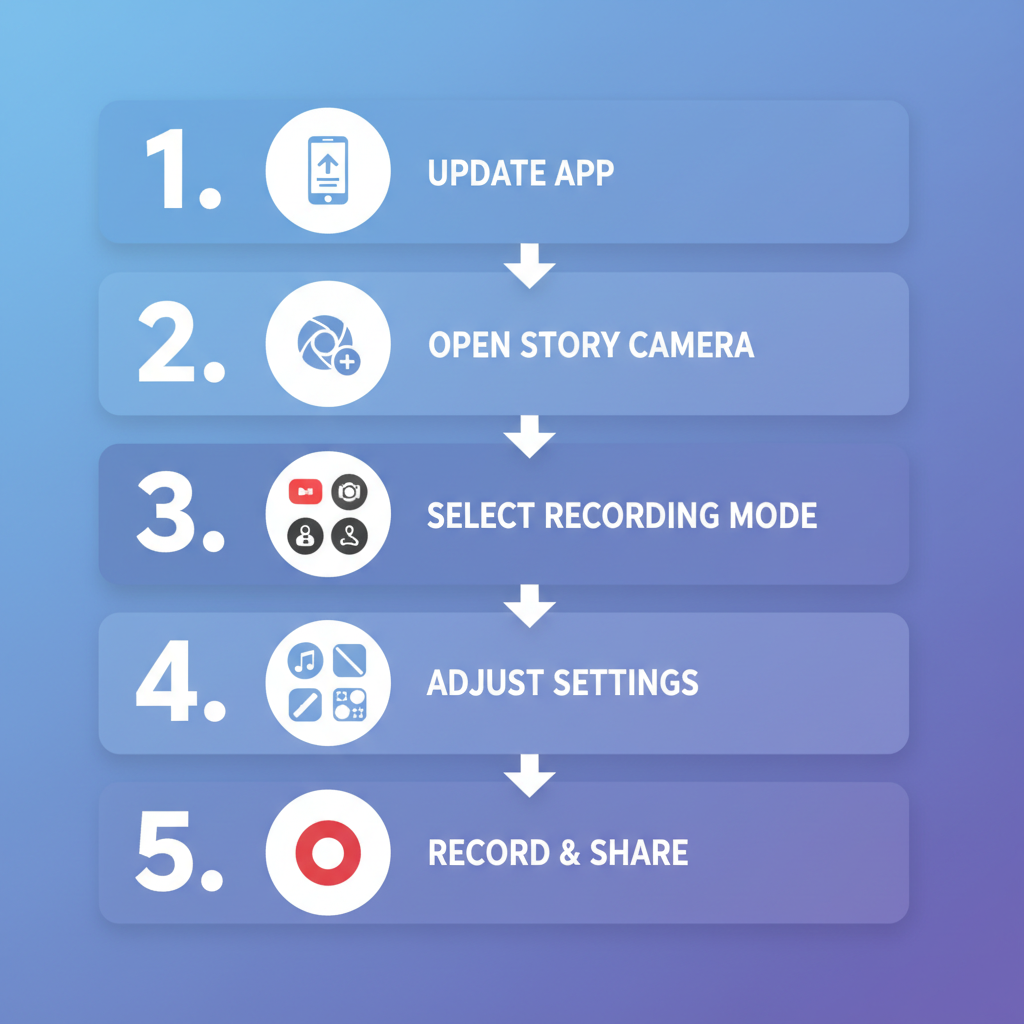
Step 1: Check for the Latest Instagram App Update
Before recording a story, make sure your Instagram app is up-to-date. Updates often include creative tools, stickers, and camera features that can boost your content appeal.
How to update:
- Open the App Store (iOS) or Google Play Store (Android).
- Search for Instagram.
- Tap Update, if available.
---
Step 2: Open the Instagram App and Access the Story Camera
Once your app is updated, open Instagram and swipe right from your home feed. You can also tap your profile picture with a "+" at the top-left corner.
You’ll land in the Story Camera interface, where multiple recording modes and tools are at your disposal.
---
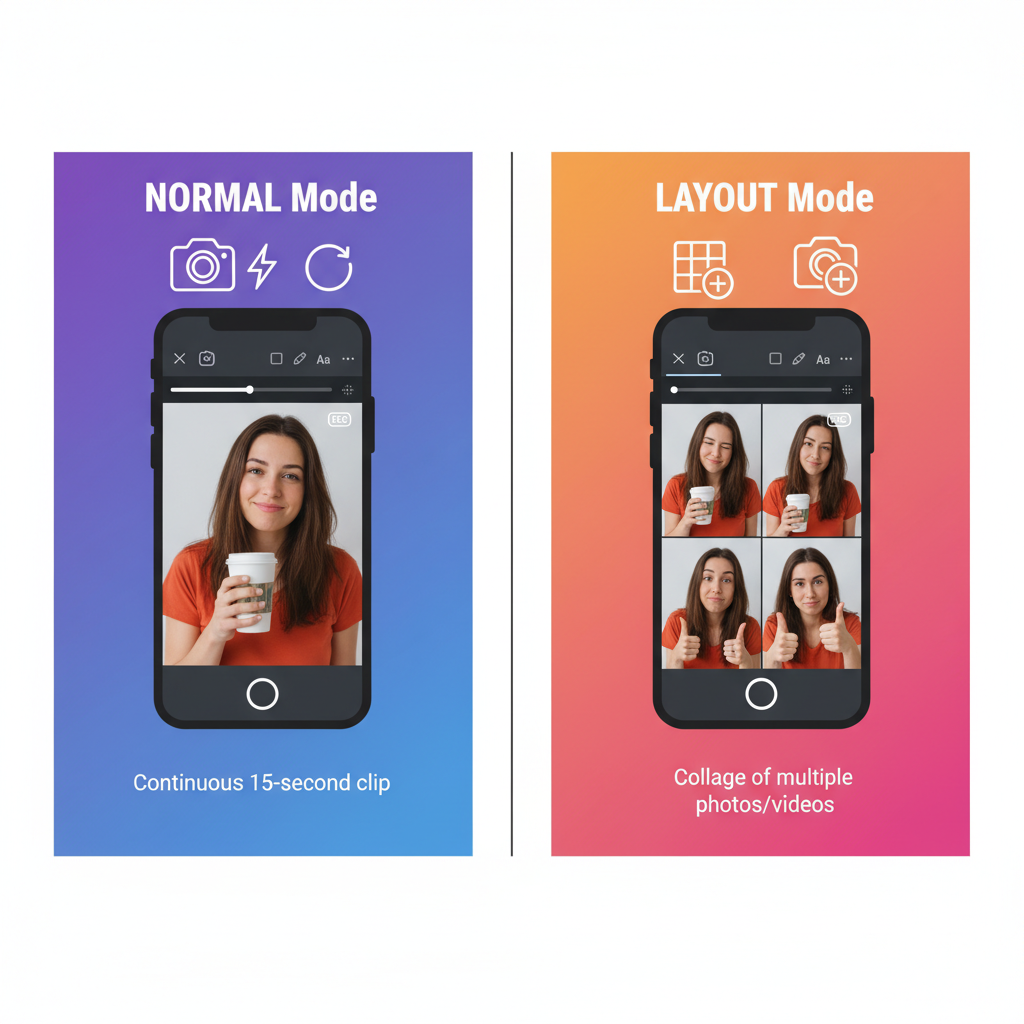
Step 3: Choose a Recording Mode
Instagram supports various creative modes for crafting Stories. Select one that aligns with your message:
| Mode | Description |
|---|---|
| Photo | Tap to capture a still image. |
| Video | Press and hold to record up to 15 seconds per clip. |
| Boomerang | Create a looping mini video that plays forward and backward. |
| Hands-Free | Record without holding the capture button. |
| Layout | Combine multiple shots in a single frame. |
---
Step 4: Adjust Camera Settings Before Recording
On the Story screen, you can tailor camera settings for better quality:
- Flash: Toggle on/off/auto by tapping the lightning icon.
- Filters: Swipe to apply different color tones.
- AR Effects: Browse effects via the smiley/star icon.
- Music: Add an audio track to set mood and tone.
Customizing these elements allows you to match your intended aesthetic and brand voice.
---
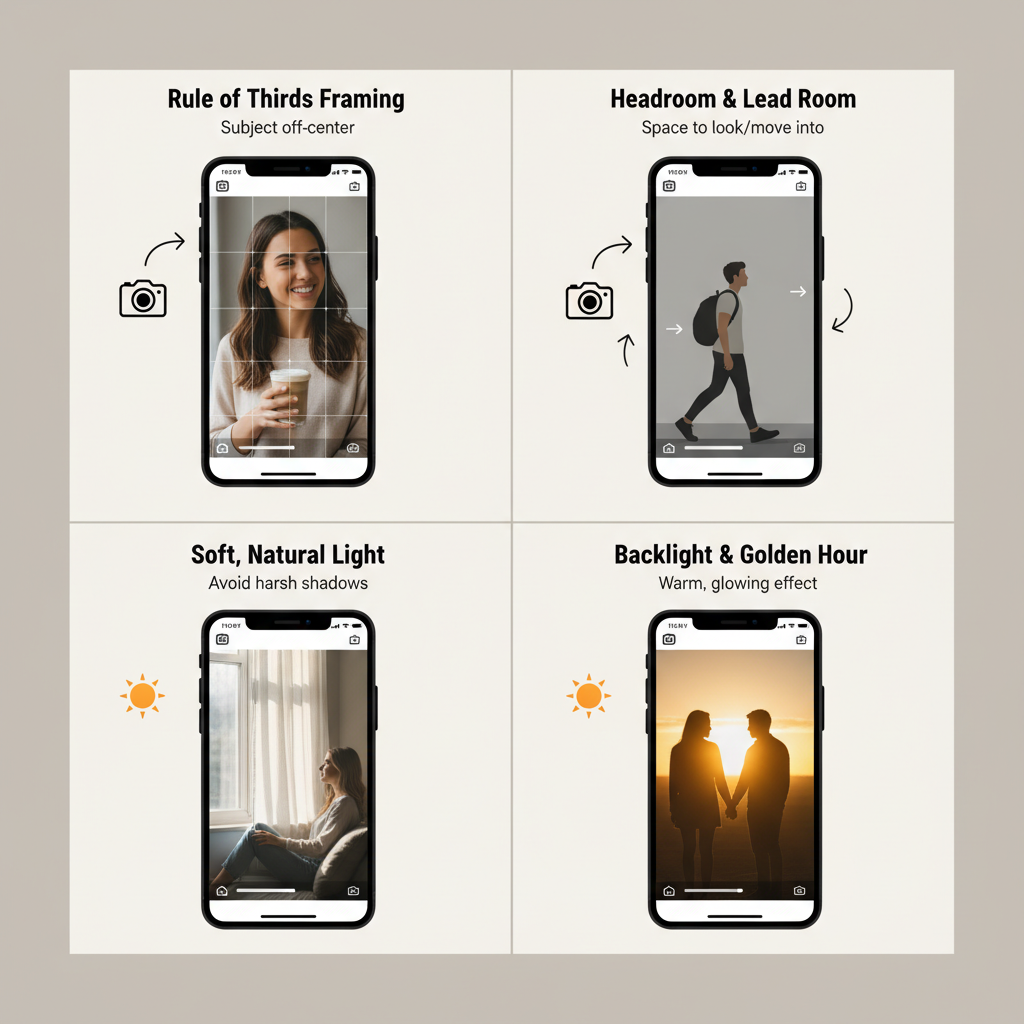
Step 5: Tips for Framing and Lighting
Apply core photography principles even in quick Stories:
- Use natural light; face a window for softer light.
- Keep your background tidy.
- Turn on the rule of thirds grid for better composition.
- Avoid harsh backlight unless creating silhouettes.
- Use a tripod or rest your device to prevent shake.
Well-framed visuals keep your audience watching and boost perceived quality.
---
Step 6: Recording Your Story
- Photo: Tap the capture button once.
- Video: Press and hold; each segment lasts up to 15 seconds. Longer scenes will auto-split into consecutive clips.
---
Step 7: Using Hands-Free Mode
In Hands-Free mode, tap once to start recording and again to stop. This is optimal for demonstrations, dance routines, or any action requiring both hands.
---
Step 8: Adding Text, Stickers, and GIFs
Once your photo or video is captured:
- Tap Aa to add stylized text.
- Tap the Sticker icon to include:
- Polls
- Question boxes
- GIFs
- Emojis
- Hashtags
Interactive elements invite direct engagement.
---
Step 9: Tagging Friends or Locations
Mention friends using `@username` or use Location Tags for wider reach. Tagged users can reshare your Story.
Pro Tip: One or two relevant hashtags can improve discoverability without cluttering your design.
---
Step 10: Previewing and Editing Before Posting
Review your Story to:
- Fix typos.
- Adjust sticker placement.
- Delete or resize elements easily.
Your preview ensures everything aligns visually and contextually before publishing.
---
Step 11: Sharing Your Story
Choose Your Story to show all followers, or Close Friends for a targeted list. Sending directly via Direct Message is also an option.
---
Step 12: Saving to Highlights
Stories disappear after 24 hours unless saved:
- Open your active Story.
- Tap Highlight.
- Add to an existing Highlight or create a new category.
Highlights act as a curated, permanent Story archive on your profile.
---
Step 13: Storytelling Across Multiple Stories
For longer narratives, break them into sequences:
- Lead with a hook.
- Provide details step-by-step.
- End with a CTA: “Swipe up,” “Link in bio,” or “Reply to share thoughts.”
Strategic sequencing helps retain viewers through the entire set.
---
Step 14: Common Mistakes to Avoid
Avoid these pitfalls:
- Poor lighting and dark scenes.
- Shaky recording without stabilization.
- Excessive stickers or overcrowded visuals.
- Neglecting audio clarity — always ensure minimal background noise.
---
Step 15: Track Story Performance
After posting, check Insights (available for business and creator accounts). Monitor:
- Views
- Exits
- Replies
- Sticker taps
Analyzing these metrics helps refine your future Stories.
---
Conclusion: Start Experimenting
Learning how to record a story on Instagram is just the beginning — creating impactful content comes from consistent experimentation and adaptation. Once you’ve mastered the basics, explore trends, test formats, and use analytics to see what resonates most. Every Story is a chance to connect in real time, boost engagement, and express your unique voice.
Start recording today and see how creative Stories can transform your Instagram presence!