How to Schedule a Post in a Facebook Group
Learn how to schedule posts in a Facebook group, check role permissions, set optimal posting times, and boost engagement with planned content.
How to Schedule a Facebook Post in a Group
Learning how to schedule a Facebook post in a group can transform the way you manage your online community. It enables you to plan content in advance, maintain consistency, and engage members at optimal times without being tied to your device. This guide walks you through the entire process — from checking permissions to optimizing your scheduled posts — so your group stays active and organized.

---
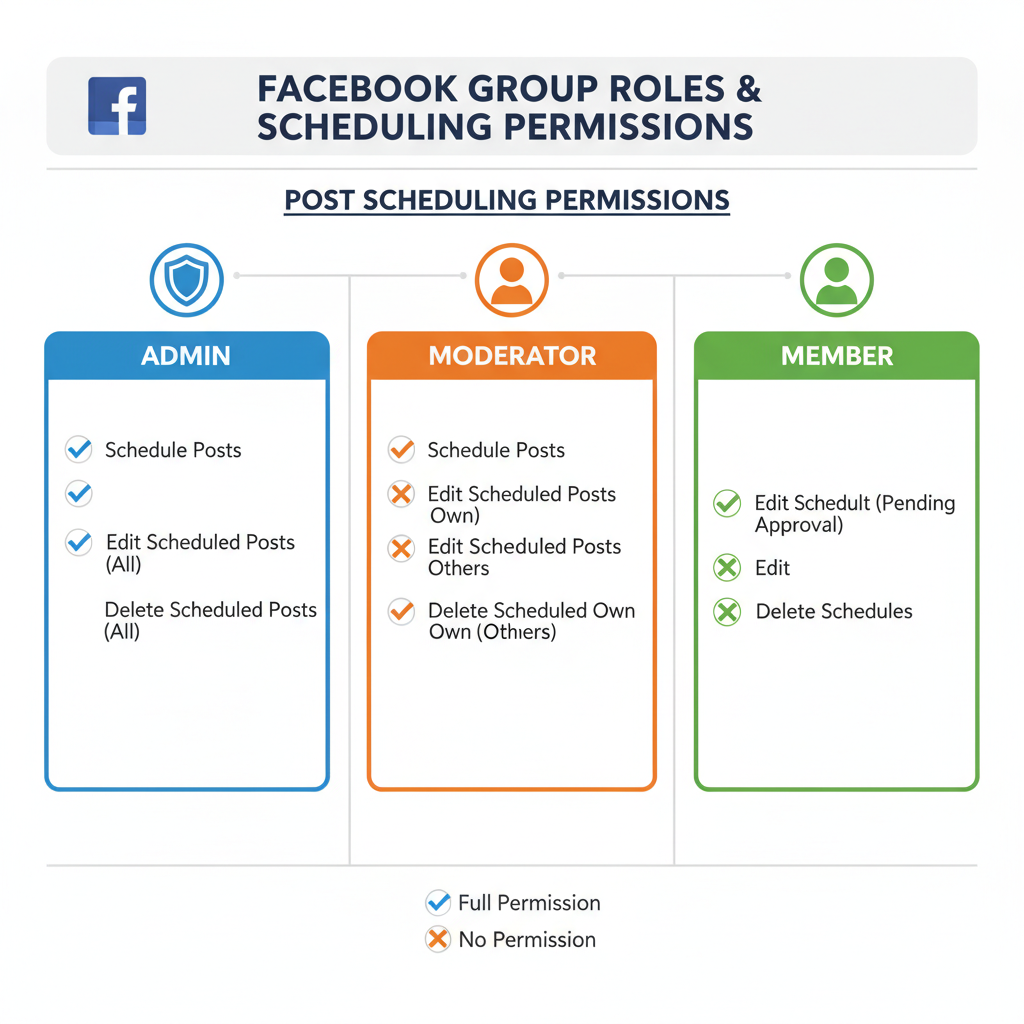
Understanding Facebook Group Posting Permissions
Before scheduling a post in a Facebook group, you must understand posting permissions.
These permissions vary by role within the group and determine who can use the scheduling function.
| Role | Can Schedule Posts? | Additional Privileges |
|---|---|---|
| Admin | Yes | Manage members, approve content, change group settings |
| Moderator | Yes | Approve posts, manage reported content |
| Member | Depends | Can post based on admin settings |
Key tip: If you’re a member but don't see the option to schedule, it’s likely because the admin has disabled it for non-admins.
---
Check if Scheduling Is Enabled for Your Role
Facebook’s scheduling feature is typically available to admins and moderators, but some group settings can allow members to use it as well.
To verify:
- Open Group Settings (admin/moderator access needed).
- Review the Post Approval & Permissions section.
- Ensure the Allow Members to Schedule Posts option is enabled.
---
Navigate to the Group and Open the Post Creation Window
Follow these simple steps to initiate a scheduled post:
- Log in to your Facebook account.
- Access the Groups from the main menu.
- Select the group in which you wish to post.
- Click on the Write Something box to open the post composer.
---
Compose Your Post
Create a post that is relevant and engaging for your audience:
- Text: Make it clear, concise, and community-focused.
- Images/Videos: Use visual content to capture attention.
- Links: Provide valuable resources or relevant articles.
Example Post Structure:
Title: Weekly Discussion Thread
Body: Let's talk about this week's hottest topic! Share your thoughts below.
Image: Relevant picture or infographic
---
Click the Scheduling Option and Set the Desired Date/Time
Once your content is ready:
- Look for the calendar icon or Schedule Post button beneath the composer.
- Select it to open the date/time picker.
- Choose your preferred posting date and time.
- Verify the time zone — Facebook defaults to your account’s local time zone.
---
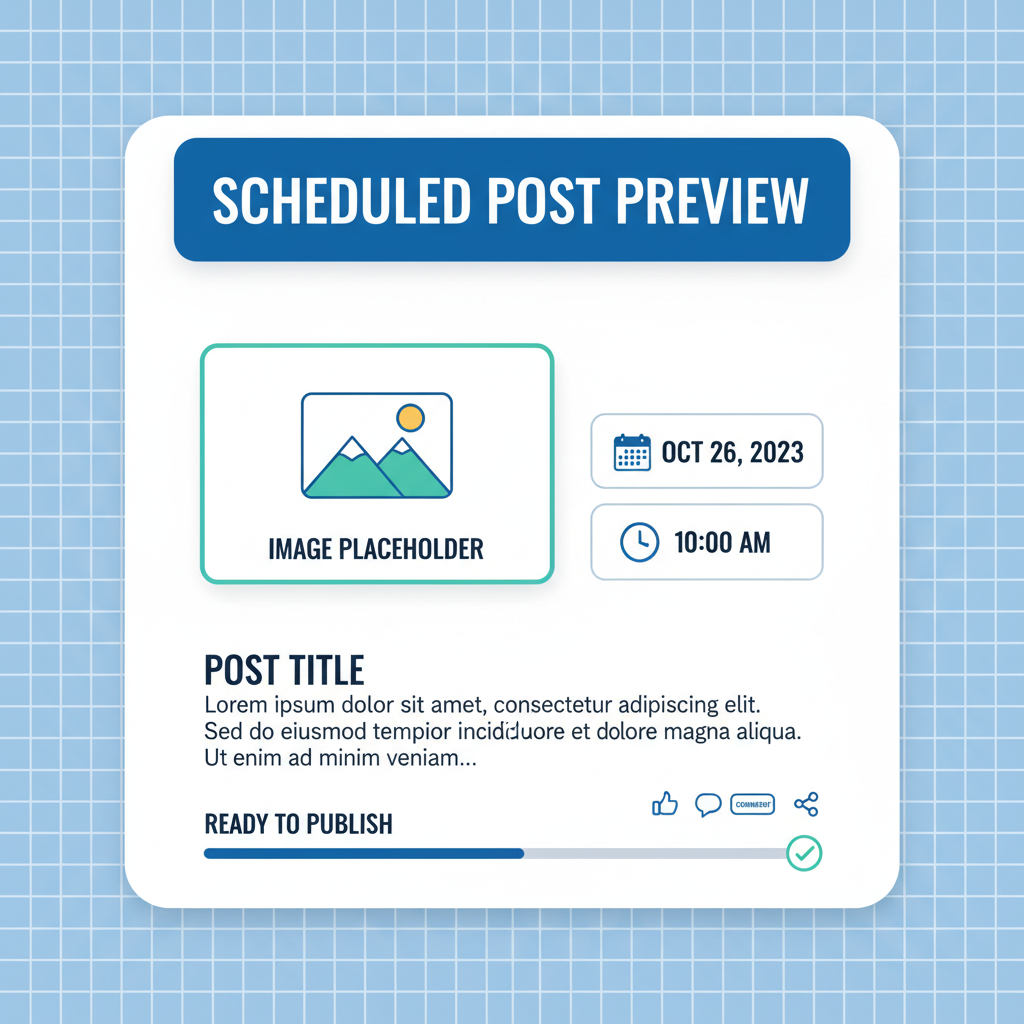
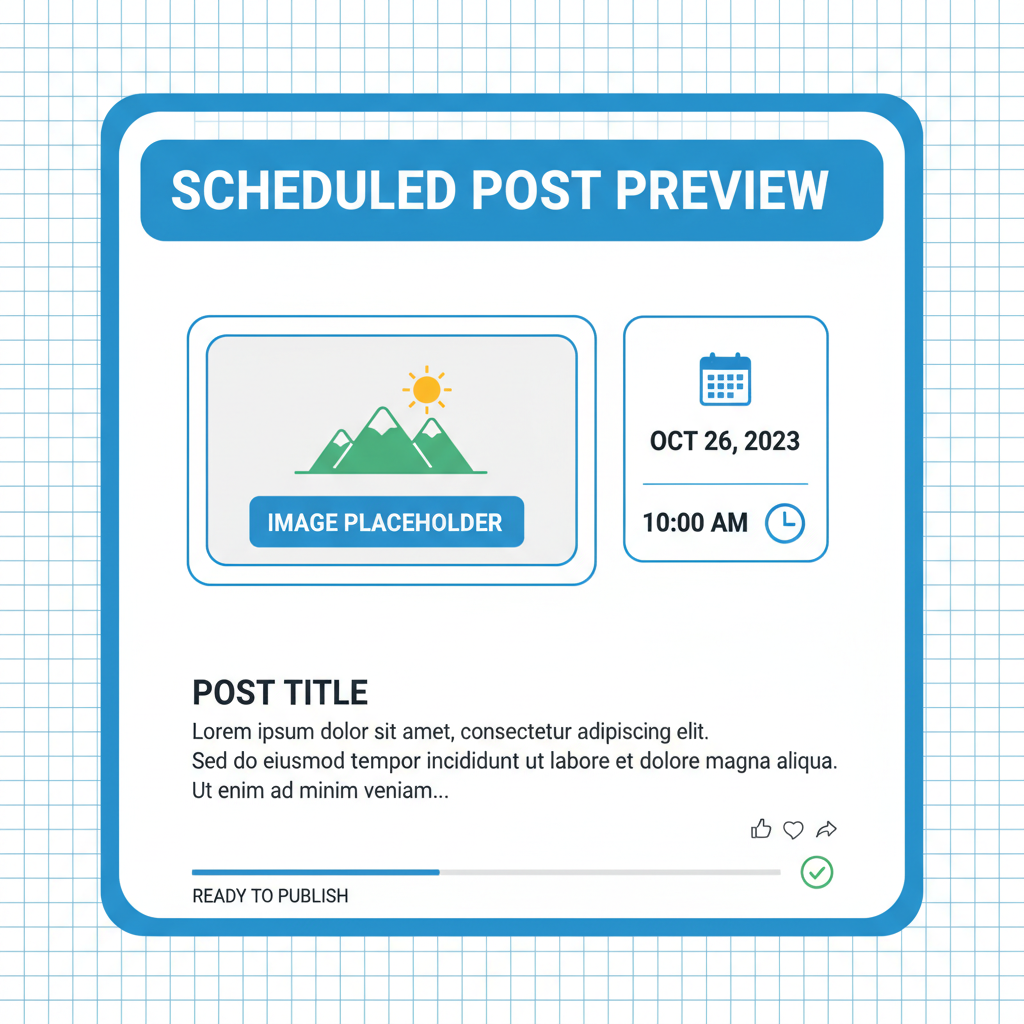
Confirm and Save the Scheduled Post
After choosing the date and time:
- Click Schedule or Save.
- The post will appear in the Scheduled Posts tab — visible to admins/moderators and members (if granted permission).
---
Edit or Reschedule via the Scheduled Posts Tab
If plans change, editing is straightforward:
- Go to Group Tools > Scheduled Posts.
- Use the three-dot menu next to the post to Edit or Reschedule.
- Delete posts if necessary using the same menu options.
---
Tips for Creating Engaging Scheduled Posts
Scheduling works best when your audience is interested:
- Optimal Posting Times: Use group activity insights to identify high-engagement periods.
- Compelling Visuals: Media-rich posts often perform 2–3× better.
- Consistent Themes: Recurring threads and events promote familiarity.
Pro Tip: End posts with a clear call-to-action such as “Comment below!” or “Share your experience!”
---
Using Facebook Business Suite to Schedule in Public Groups
Groups linked to a Facebook Page can benefit from Facebook Business Suite:
- Open Meta Business Suite.
- Select the connected group from post destinations.
- Use the scheduling tool to align posts across Pages and Groups.
- Track analytics like impressions and engagement.
Advantage: Business Suite metrics help refine your content strategy over time.
---
Best Practices for Content Consistency and Moderation
To maintain a thriving community:
- Plan content monthly to cover all key dates.
- Mix promotional posts with member-focused discussions.
- Be proactive in moderating comments to encourage constructive interaction.
- Rotate formats — polls, tutorials, news, and member spotlights.
---
Troubleshooting: Common Scheduling Issues
If the scheduling option is missing:
- Your role may not have the required permissions.
- The group may require post approvals that block scheduling.
- Mobile app versions may not yet support scheduling (update to latest version).
- Check for temporary Facebook platform issues.
---
Benefits: Boost Engagement While Reducing Workload
Scheduled posts allow you to:
- Keep conversations active even when you’re offline.
- Publish during peak times for maximum engagement.
- Avoid last-minute content creation stress.
- Implement a content calendar that blends value and regularity.
Bottom line: Mastering how to schedule a Facebook post in a group is a time-saving strategy that fosters stronger community bonds.
---
Summary and Next Steps
By following the steps in this guide — from checking role permissions to optimizing post timing — you can streamline group management and sharpen your engagement strategy. Start scheduling strategically today, and watch your Facebook group evolve into a consistently active and interactive community.