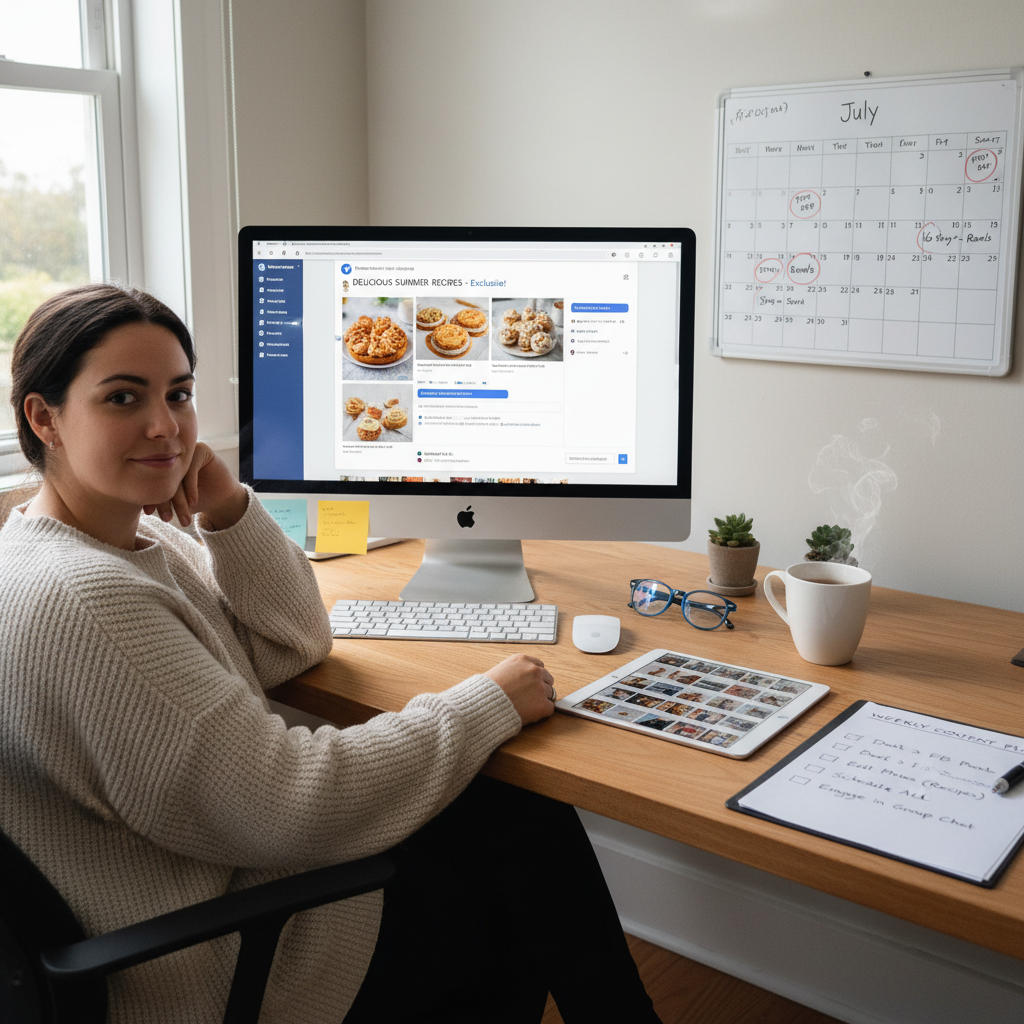
Step-by-Step Guide to Schedule a Post in a Facebook Group
Learn how to schedule a post in a Facebook group on desktop and mobile, including permissions, step-by-step instructions, and best posting times.

Step-by-Step Guide to Schedule a Post in a Facebook Group
Facebook Groups are powerful hubs for building and sustaining communities—whether for hobbyists, professional networks, or brand audiences. Posting regularly keeps members engaged, but being online at the right moment isn’t always possible. That’s where Facebook’s post scheduling feature becomes invaluable. In this comprehensive guide, you’ll discover exactly how to schedule a post in a Facebook group on both desktop and mobile devices, plus learn permissions, tips, and troubleshooting to maximize engagement.
---

Understanding Facebook Group Posting Permissions
Before you attempt to schedule a post, it’s important to understand your role in the group. Permissions differ depending on your status:
- Admins – Can create, schedule, edit, and delete posts for the group.
- Moderators – Often have similar posting rights as admins, but certain publishing tools may be restricted.
- Regular Members – Can post if group settings allow, but scheduling may be disabled for members in some groups.
- Post Approval – In some communities, even scheduled posts require admin/mod approval before going live.
---
Check if Post Scheduling is Enabled for Your Role
Not all groups support post scheduling. To check:
- Go to your group and attempt to create a post.
- Look for the calendar or clock icon in the post composer.
- If the icon isn’t visible, scheduling may be disabled for your role or unsupported by the group type.
- Contact an admin to clarify permissions and settings.
---
Prepare Your Content in Advance
Quality and planning go hand-in-hand for effective scheduling:
- Write Your Text – Keep it concise, engaging, and relevant to the group.
- Add Visual Media – Include images, GIFs, or videos to draw attention.
- Include Links – Check that links work and are accurate.
- Use Hashtags – Apply community-specific hashtags where relevant.
Pro Tip: Maintain a posting calendar to stay organized.
---

Step-by-Step Guide to Schedule a Post via Desktop
Scheduling from your PC or laptop is fast and straightforward.
1. Navigate to the Group
From the Facebook homepage, click on Groups in the sidebar and select your group.
2. Click “Write Something” or Create Post
Open the post composer window.
3. Compose Your Post
Type your content, add media, and paste links. Facebook may auto-generate previews.
4. Click the Calendar or Clock Icon
Located at the bottom right or under More Options.
5. Select Date and Time
Use the date picker to choose the publishing date and set your preferred time. Double-check your timezone settings.
6. Confirm Scheduling
Click Schedule. You can see your post in the Scheduled Posts section.
---
Step-by-Step Guide to Schedule a Post via Facebook Mobile App
The mobile app makes on-the-go scheduling easy for community managers.
1. Open the Group from the Menu
Tap the hamburger icon (☰), select Groups, and pick your group.
2. Tap Create Post
Open the text box to begin composing.
3. Add Media and Content
Upload images, videos, or paste links.
4. Tap the “Schedule” Option
On mobile, it may be under More Options or displayed as a small calendar icon.
If it’s absent, it's likely a permissions issue.
5. Set Date, Time, and Confirm
Select date/time and tap Schedule.
---

Tips for Optimal Posting Times in Groups
Posting when members are most active can improve visibility and interactions.
| Day | Best Time Range | Reason |
|---|---|---|
| Monday–Friday | 8–9 AM or 6–9 PM | Aligns with morning routines and after-work hours |
| Saturday | 10 AM–12 PM | Leisure browsing peaks |
| Sunday | 7–9 PM | Pre-week catch-up period |
Always adjust for your specific audience’s timezone and habits.
---
Editing or Rescheduling a Scheduled Post
Mistakes happen or plans change—editing is simple:
- Go to your group’s Scheduled Posts area.
- Select the post to change.
- Use Edit to adjust content or Reschedule to alter timing.
- Save changes.
---
Deleting a Scheduled Post
To remove an upcoming post:
- Locate it under Scheduled Posts.
- On desktop, click Delete; on mobile, tap the trash icon.
- Confirm deletion.
---
Benefits of Scheduling Posts for Group Growth
- Consistency – Keeps audiences engaged without daily manual posting.
- Time Management – Batch create and schedule so you can focus on other tasks.
- Data-Driven Posting – Target peak activity times.
- Strategic Campaigns – Plan posts to align with launches, events, and seasonal trends.
---
Common Issues and Troubleshooting
- Missing Option – Verify role as admin or moderator; request enabling from admin.
- Timezone Mismatch – Check Facebook settings.
- Post Fails to Schedule – Often due to poor connection; refresh and retry.
- Pending Approval – Member posts may require manual approval before publishing.
---
Best Practices for Maintaining Group Activity Through Scheduling
- Mix Content Types – Rotate between videos, polls, text updates, and Q&As.
- Engage Promptly – Reply to comments quickly, even on pre-scheduled posts.
- Plan Themed Days – Examples include “Motivation Monday” or “Feedback Friday.”
- Analyze Performance – Use Facebook Group Insights to refine your approach.
---
By mastering how to schedule a post in a Facebook group, you can keep your community active, relevant, and consistently engaged—without being tied to your screen at all times. Whether you post from desktop or mobile, scheduled content helps ensure you never miss a chance to connect.
Take action now: Plan your next week’s posts today and start leveraging Facebook’s scheduling tool to build a more vibrant and responsive group.


