How to Schedule Posts on Facebook Groups Effectively
Learn how to schedule posts in Facebook Groups effectively, choose the best times for engagement, and use tools to streamline community content.
How to Schedule Posts on Facebook Groups Effectively
Scheduling posts on Facebook Groups is one of the most effective ways to keep a community active, maintain consistent engagement, and save valuable time. Whether you're an admin, moderator, or a member with posting privileges, learning how to schedule posts on Facebook Groups—along with best practices—can help you reach your audience at the right moment and enhance interactions.

---
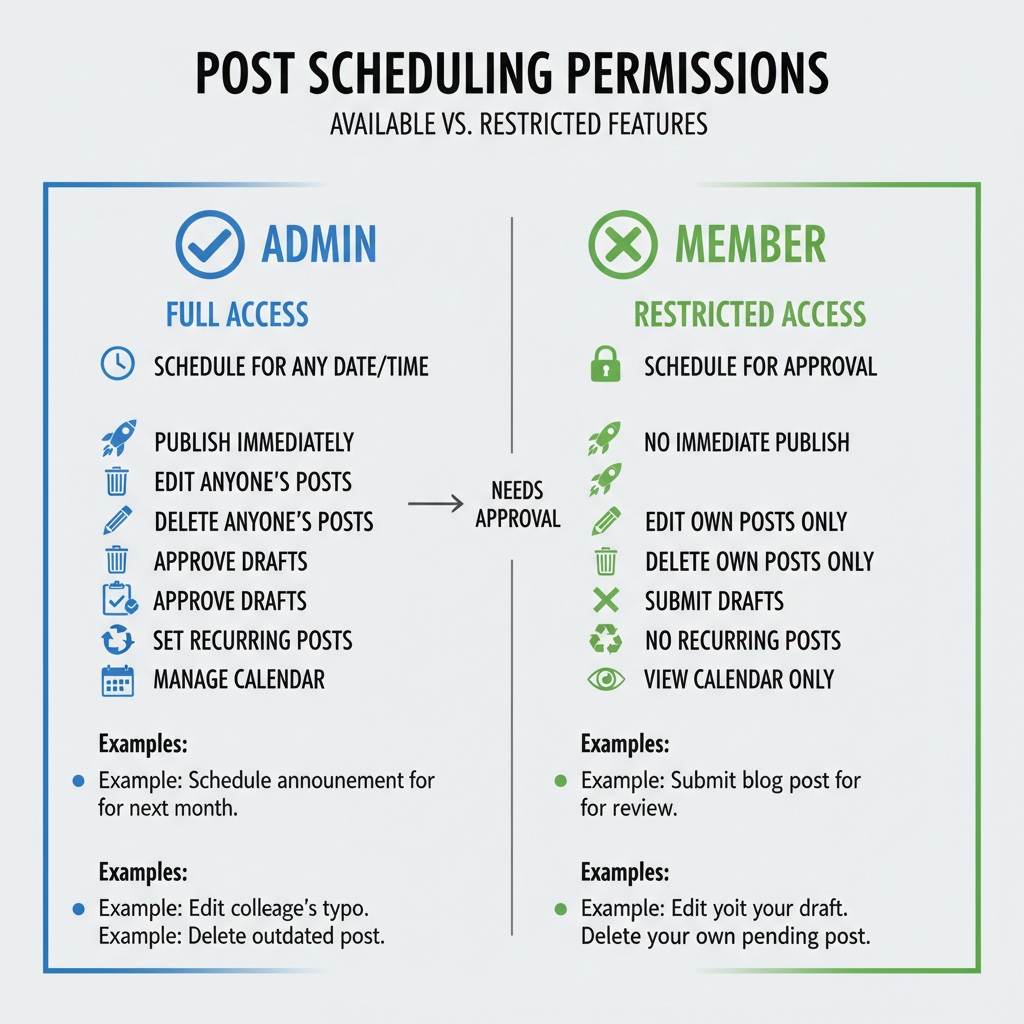
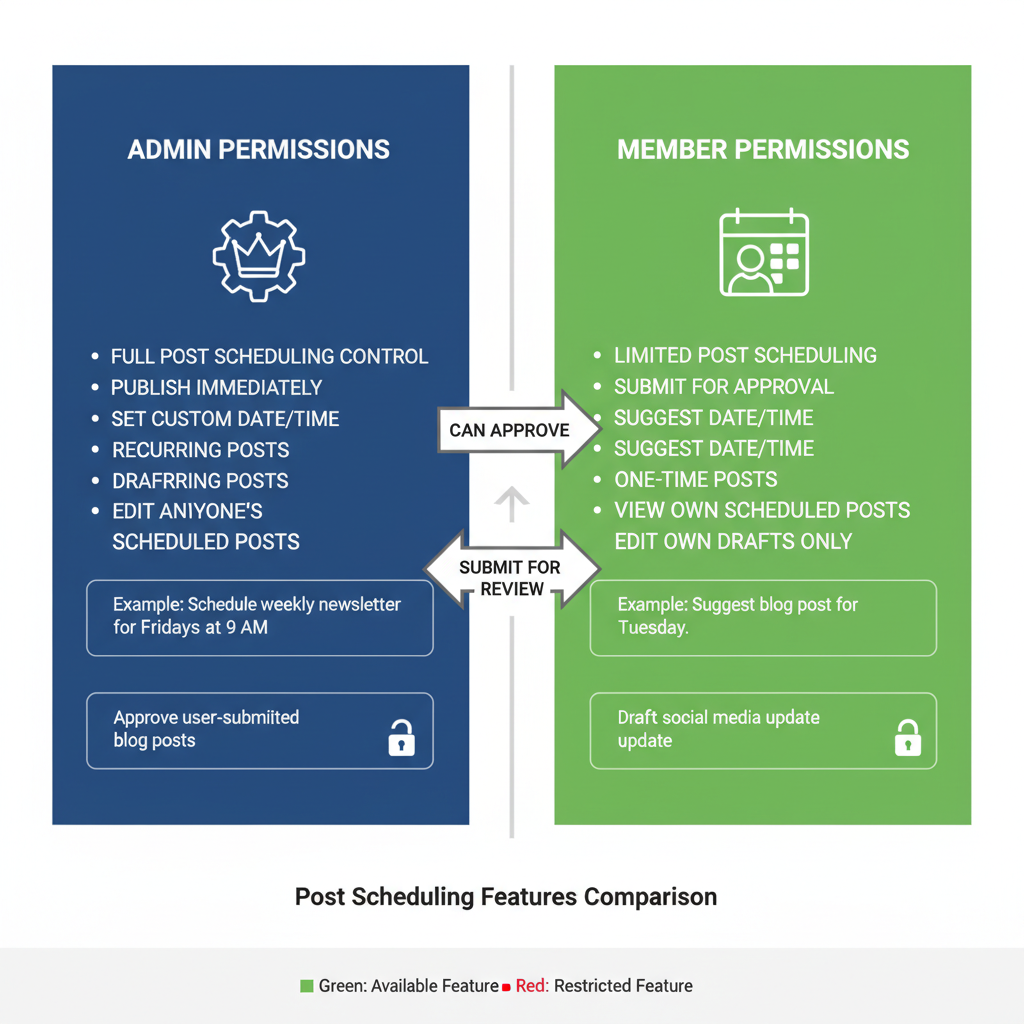
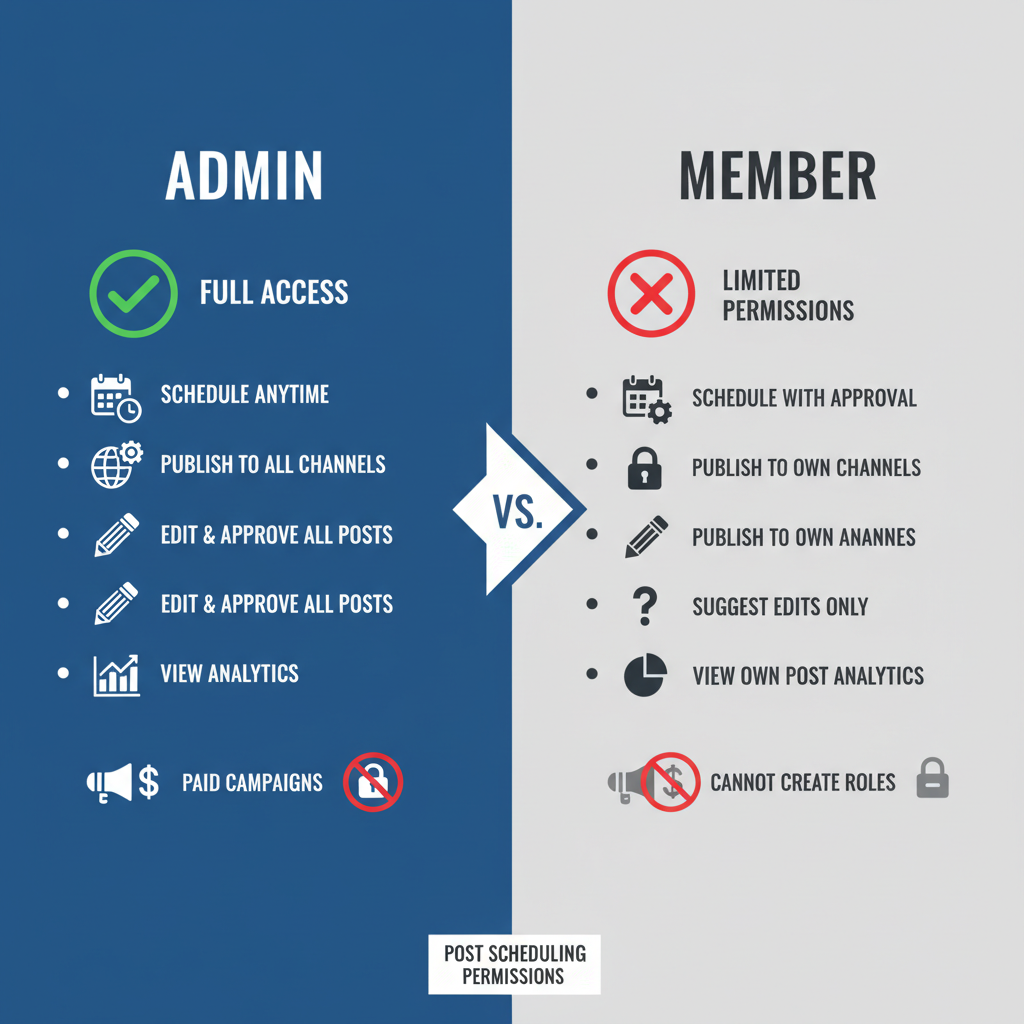
Understanding Facebook Group Posting Permissions (Admin vs. Member)
Before scheduling any content, it’s essential to know who can schedule posts. Group permissions differ depending on your role:
- Admins and Moderators typically have full publishing and scheduling rights.
- Members may have posting rights but could be restricted from scheduling depending on group settings.
If you’re a member, confirm with the admin whether scheduling is enabled for non-admins. Many groups reserve this feature for leadership to maintain quality and curb spam.
---
Check if Scheduling Is Available in Your Group Settings
Not every Facebook Group has the scheduling option turned on. This depends on:
- The group’s type (Public, Private, Buy & Sell, etc.).
- The admin's settings in the Group Management Panel.
To verify scheduling availability:
- Navigate to the group.
- Click in the post creation area.
- Look for the “Schedule” option in the toolbar.
If it’s missing, you can request that the admin enable it or consider an approved third-party scheduling tool.
---
Navigate to the Group Post Composer and Select the "Schedule" Option
When you have the right permissions:
- Go to the group's main feed.
- Tap “Write something” or “Create post.”
- Add your text, images, or links.
- Click the calendar or clock icon labeled “Schedule Post.”
- Select your preferred date and time.
- Save or confirm.
Pro Tip: Check your time zone settings to avoid unintended posting times.
---
Choose Optimal Posting Times for Maximum Engagement
Timing makes a significant difference in engagement. Schedule posts when your target audience is most active:
- Member activity patterns: Pinpoint hours when most users log in.
- Time zones: For international groups, aim for overlapping peak times.
- Content type: Motivational posts often resonate in the morning; debates or discussions work better in the evening.
Example schedule for a lifestyle group:
| Day | Best Time | Content Example |
|---|---|---|
| Monday | 8:30 AM | Weekly motivation quotes |
| Wednesday | 7:00 PM | Mid-week discussion topics |
| Saturday | 10:00 AM | Weekend activity ideas |
---
Craft Engaging, Relevant Content Tailored to Your Group Audience
Your scheduled posts should align with the group’s niche and spark interaction. Focus on:
- Headlines or questions that invite responses.
- Visually appealing imagery to stand out in feeds.
- Writing in a tone consistent with the group’s personality.
For example, a fitness group might share workout challenges at peak times, while a book club could post discussion questions before meetings.
---
Facebook’s Native Scheduler vs. Third-Party Tools
You can schedule Facebook Group posts using either Facebook’s built-in tools or trusted external platforms.
Facebook Native Scheduler
Pros:
- Integrated and free.
- Works seamlessly with group features.
- Reflects changes instantly.
Cons:
- Limited analytics.
- Edits require direct Facebook access.
Third-Party Tools
Pros:
- Better analytics.
- Schedule for multiple platforms.
- Bulk upload features.
Cons:
- May require admin permissions.
- API restrictions for groups may limit use.
---
Edit or Reschedule Posts via the Group’s Management Panel
If you need to change your scheduled post:
- Go to your “Activity Log” or “Scheduled Posts.”
- Click on the post.
- Edit the content, replace images, or adjust the time.
- Save changes—your slot will remain intact.
This ensures your content stays relevant.
---
Track Engagement Metrics and Improve
Measure your scheduled post performance via:
- Likes & reactions
- Comments
- Shares
- Reach data (available via Group Insights for admins)
Use these insights to fine-tune posting times and topics.
---
Maintain Group Guidelines and Avoid Spammy Scheduling
Your scheduling strategy should respect the group’s culture. Avoid:
- Over-posting, which can overwhelm feeds.
- Repetitive content; mix formats and styles.
- Breaking rules—always follow community policies.
Generally, 2–3 posts a week is a healthy rhythm unless group activity calls for more.
---
Tips for Consistent Posting Without Overload
To stay regular without overwhelming:
- Plan a weekly content calendar.
- Balance different post types.
- Source ideas from members.
- Review performance weekly.
- Keep room for timely, spontaneous posts.
---
Summary
Learning how to schedule posts on Facebook Groups effectively involves understanding permissions, checking settings, using scheduling tools wisely, and timing your content to match member activity patterns. Combining a planned strategy with quality content will keep your group engaged, organized, and thriving.
By applying these methods, you’ll boost community interaction while saving time. Start scheduling smartly today to keep your group active and relevant.

