How to Link a Facebook Page to Your Facebook Group
Learn how to link a Facebook Page to a Group with step-by-step instructions, branding tips, and settings to boost engagement and community building.

How to Link a Facebook Page to Your Facebook Group
Linking a Facebook Page to a Facebook Group is an essential strategy for brands, entrepreneurs, and community leaders who want to foster engagement and create a central hub for interaction. If you’ve been wondering how to set up a page on Facebook group and connect the two smoothly, this comprehensive guide will walk you through the process — from understanding the difference between Pages and Groups, to optimizing settings, promoting the connection, and maintaining active engagement over time.
---
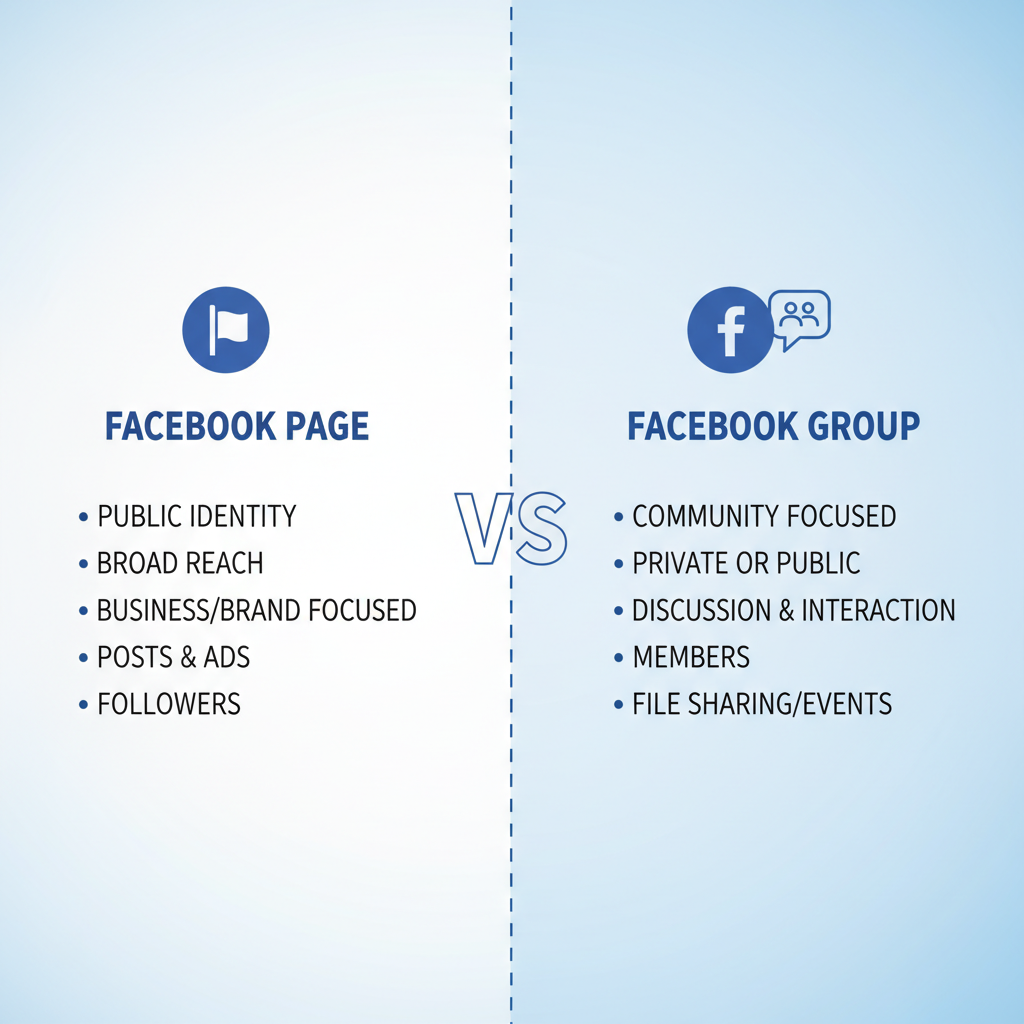
Understanding the Difference Between a Facebook Page and a Facebook Group
Before linking them, it’s important to understand their distinct purposes:
- Facebook Page — A public profile for businesses, brands, celebrities, or causes. Pages enable running ads, tracking metrics, and publishing content to a broad audience.
- Facebook Group — A community space where members can post, discuss topics, and interact directly. Groups can be public, closed, or private.
Think of your Page as the “official storefront” and your Group as the “community lounge” for deeper conversations and relationship-building.
---
Deciding the Purpose of Linking
Connecting a Page to a Group isn’t just about clicking a button — it’s about defining clear goals.
Common Objectives
- Branding: Extend your recognizable identity into your group’s environment.
- Engagement: Encourage richer two-way discussions among followers.
- Support: Provide a dedicated channel for customer questions and peer-to-peer assistance.
Clear objectives will guide your customization, moderation, and ongoing strategy.
---
Ensuring You Have Admin Rights
Facebook requires that you:
- Are Admin of the Page.
- Are Admin of the Group.
Moderator, editor, or manager roles are insufficient to establish the link. Verify your roles under Group Settings and Page Roles before proceeding.
---
Accessing Page Settings to Enable Linked Groups
Facebook includes a Linked Groups section in Page settings to help display your group(s) directly from the Page.
- Navigate to your Facebook Page (desktop).
- In the left-hand menu, click Settings.
- Locate Linked Groups from the options list.
- Enable access if prompted.
---
Step-by-Step Guide to Linking Your Group From the Page
On Desktop
- Go to your Facebook Page.
- Click Settings from the left menu.
- Choose Linked Groups.
- Select Link a Group.
- Pick the group where you’re an admin.
- Confirm. Your group now appears under the Groups tab on your Page.
On Mobile
- Open the Facebook app.
- Tap the Menu (three lines) in the bottom right.
- Select Your Page.
- Tap the More button (three dots).
- Open Linked Groups.
- Select your group and confirm.
---
Customizing Group Settings to Reflect Your Page’s Brand
Once linked, ensure brand consistency.
Tips:
- Cover Photo: Use the same or complementary banner image found on your Page.
- Description: Include your Page name and mission statement.
- Rules: Sync group rules with your Page’s tone and values.
A consistent look reassures members they are engaging in an official environment.
---
Setting Posting Permissions and Moderation Tools
Groups allow member postings, but you control the overall tone.
Configure Permissions
- Set member posts to free posting or admin approval.
- Restrict certain post types to keep discussions focused.
Use Moderation Tools
- Keyword alerts help block unwanted content.
- Schedule posts to maintain steady activity.
| Permission | Recommended Setting | Purpose |
|---|---|---|
| Member Posts | Admin Approval | Maintains brand quality |
| Media Uploads | Allowed | Encourages engagement |
| Link Sharing | Limited | Prevents spam |
---
Announcing and Promoting the Connection
Once linked, inform your audience:
- Publish a Page post detailing the benefits of joining your Group.
- Pin a welcoming post at the top of your Group for Page fans.
- Send an email newsletter with the Group join link.
Clear promotion ensures seamless integration of both audiences.
---
Using Page Posts to Drive Traffic and Discussion in the Group
Boost group membership by leveraging your Page:
- Teasers: Share partial discussions or highlights and link to the Group for the full conversation.
- Events: Announce exclusive group events through Page posts.
- Special Content: Offer guides, templates, or perks exclusively within the Group.
Exclusive content motivates users to join and engage.
---
Maintaining Engagement With Regular Content and Exclusives
Sustained activity keeps the community thriving:
- Share weekly discussion prompts.
- Conduct live Q&A sessions within the Group.
- Showcase member contributions on your Page for public recognition.
---
Monitoring Group Insights and Adjusting Strategy
Use Facebook Group Insights to track:
- Member growth trends.
- Engagement ratios.
- High-performing posts.
Analyze these metrics monthly to refine your tactics. If polls attract substantial comments, integrate them into your schedule.
---
Troubleshooting Common Issues
Linking doesn’t always go as planned. Quick solutions include:
Group Not Listed
- Confirm admin status for both the Page and Group.
- Check privacy settings to allow linking.
Link Breaks After Role Change
- Loss of admin status on the Page causes links to break. Restore admin rights.
Missing Posts
- Adjust posting permissions for your linked Page in Group settings.
---
Conclusion
Mastering how to set up a page on Facebook group and linking the two is more than a technical step — it’s a powerful branding and engagement move. By following this guide, aligning your group design with your Page identity, promoting the connection, and sustaining lively interaction, you create a dynamic community that enhances your brand presence.
Start linking your Facebook Page and Group today to unlock deeper relationships, better support, and a thriving network that grows naturally with each interaction.


