How to Start a Closed Group on Facebook
Learn how to start a closed group on Facebook with privacy settings, member approvals, and tips to build a safe, engaged online community.

How to Start a Closed Group on Facebook
Starting a closed group on Facebook is an effective way to build a protected, focused online community where members feel safe to share ideas and connect. Whether your goal is to create a peer discussion forum, a support network, or a niche learning hub, knowing how to start a closed group on Facebook and set it up correctly is essential. This guide walks you step-by-step through the process so you can launch, grow, and sustain an engaged community.
---
Understanding What a Closed Group Is
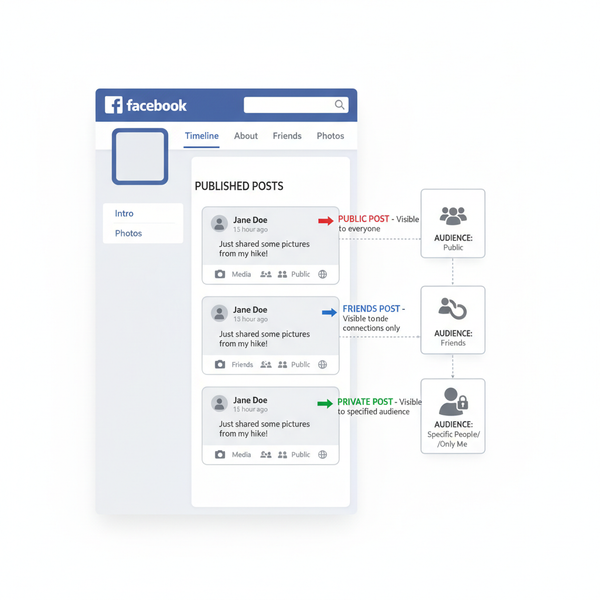
A closed group on Facebook is a group where the name and member list are visible to everyone on the platform, but posts, comments, and content inside are accessible only to approved members. This is different from other group types:
- Public Groups – All content is visible to anyone.
- Private Groups (Visible) – Similar to closed groups; members and group names are visible.
- Private Groups (Hidden) – The group and its members are hidden unless invited.
This structure allows your group to be discoverable while keeping discussions private.

Comparative Overview
| Group Type | Visibility of Name & Members | Visibility of Posts | Join Approval |
|---|---|---|---|
| Public | Visible to everyone | Visible to everyone | May or may not require approval |
| Closed / Private (Visible) | Visible to everyone | Visible only to members | Always requires approval |
| Private (Hidden) | Not visible in search | Visible only to members | Invitation only |
---
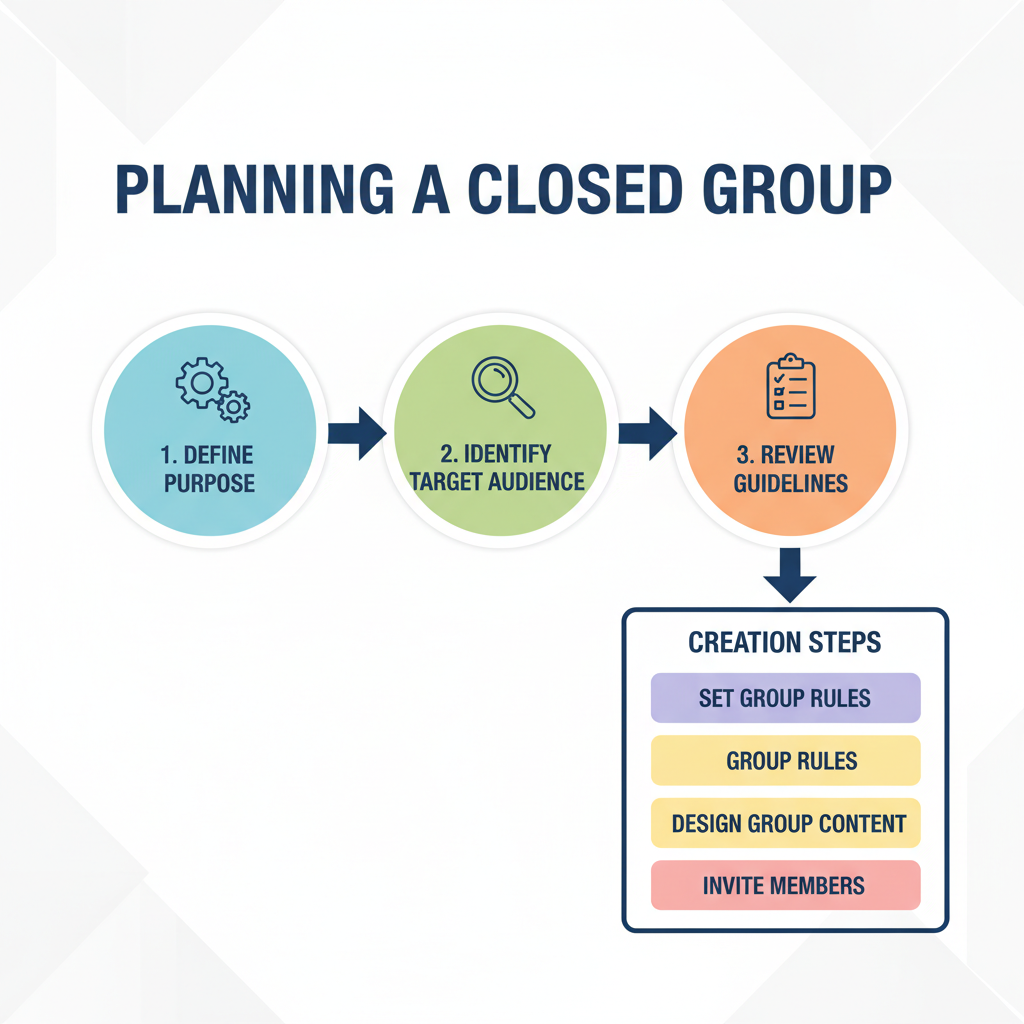
Deciding the Group’s Purpose and Target Audience
Before you hit “Create,” define:
- Purpose – Your group’s primary mission
- Niche – Specific topic, sector, or theme
- Target Audience – Who will benefit most from participation
Clear goals lead to consistent messaging, stronger branding, and engaged members.
---
Reviewing Facebook’s Community Guidelines
Familiarize yourself with Facebook’s Community Standards to ensure your group policies align.
Important points include:
- Rules on hate speech, harassment, misinformation
- Respecting intellectual property rights
- Avoiding spam and excessive promotion
Following these guidelines helps protect your group from penalties or removal.
---
Step-by-Step: How to Start a Closed Group on Facebook
1. Log In and Navigate to Groups
On desktop:
- Log into Facebook.
- Click Groups in the left sidebar.
On mobile:
- Tap the menu icon.
- Tap Groups > Your Groups > Create Group.
2. Click “Create New Group”
Choose Private and Visible to replicate the old closed group privacy.
3. Name Your Group
Pick a descriptive, keyword-rich name for better search visibility. Examples:
- “Digital Marketing Hacks – Entrepreneurs”
- “Home DIY & Craft Ideas Hub”
4. Write an Engaging Description
Explain the purpose, allowed content, joining requirements, and community tone.
Example:
> “Welcome to Digital Marketing Hacks – a place where entrepreneurs share tips, ask questions, and help each other grow. Respect others, avoid spam, and contribute positively.”
5. Upload a Cover Photo
Choose a high-quality image that fits the group’s theme. Recommended size: 1640 x 856 pixels.
---
Customizing Privacy & Member Approval
In group Settings:
- Privacy: Set to Private (Visible)
- Membership Approval: Choose admin/moderator-only approval or member invitations
- Add Membership Questions to screen applicants such as:
- “Why do you want to join?”
- “Have you read the group rules?”
---
Inviting Your First Members
Start with:
- Friends and colleagues
- Industry peers
- Active participants in related communities
Aim for an initial core of engaged members to set the tone.
---
Creating Starter Posts to Spark Engagement
Before opening fully, post 3–5 discussions or resources:
- Introductions thread (“Introduce yourself!”)
- Poll on a trending topic
- Helpful tip or tools list
- Q&A post for common issues
---
Moderating and Enforcing Rules
Closed groups require active moderation:
- Remove spam or offensive content quickly
- Remind members about rules politely
- Use Facebook’s Mute or Remove Member features when needed
- Pin important posts (e.g., rules, FAQs)
---
Scheduling Regular Content
Consistency increases engagement.
Ideas:
- Theme Days like “Tip Tuesday”
- Weekly Q&A Sessions
- Monthly Challenges or resource shares
---
Promoting the Group
Free promotion:
- Share from your profile and Pages
- Mention in permitted related groups
- Add to your email signature or blog
Paid promotion:
- Run targeted Facebook ads
- Boost posts highlighting the group
---
Tracking Growth and Engagement
Use Group Insights to monitor:
- Member growth
- Engagement rates
- Active member counts
- Top contributors
These metrics reveal what drives participation.
---
Adjusting Based on Feedback
Collect member input:
- Post polls on interests
- Open suggestion threads
- Tweak topics or frequency based on activity levels
Flexibility keeps the group relevant.
---
Recap
To recap how to start a closed group on Facebook:
- Understand group types and rules
- Define purpose and audience
- Create with Private (Visible) settings
- Pick a strong, keyword-friendly name and write a clear description
- Upload a relevant cover photo
- Customize privacy and approval settings
- Invite targeted members
- Publish starter content before launch
- Moderate actively with clear rules
- Promote and track results for continuous improvement
---
By following these steps, you can build a thriving closed Facebook group that protects member privacy while encouraging active engagement. Invest in quality conversations, respect community standards, and keep refining your approach, and your group will grow into a respected space in your niche. Ready to start? Log in to Facebook today and launch your closed group.