How to Upload YouTube Shorts from PC Step-by-Step Guide
Learn how to upload YouTube Shorts from your PC with this step-by-step guide covering format rules, editing tips, and YouTube Studio optimization.

How to Upload YouTube Shorts from PC: Step-by-Step Guide
If you've been searching for how to upload Shorts on YouTube PC, this complete walkthrough shows you exactly how to do it—from preparing your file to optimizing for maximum reach. YouTube Shorts are vertical micro-videos up to 60 seconds long, designed to grab attention fast. They can significantly boost your visibility and engagement when executed correctly. Here’s everything you need to know to get started using your PC.
---
Understanding YouTube Shorts Format Requirements
To ensure your video qualifies as a YouTube Short, follow these format rules:
- Duration: Maximum 60 seconds.
- Aspect Ratio: Ideal is vertical (9:16); square (1:1) is acceptable but less immersive.
- Resolution: Use 1920x1080 pixels for sharp, high-definition quality.
- Hashtags: Include `#shorts` in the title or description.
Why requirements matter:
A horizontal clip or one longer than 60 seconds will likely miss out on enhanced visibility in the Shorts shelf and may perform poorly in discovery.
---
Preparing Your Short Video File on PC
Sharpen your file before upload:
- Edit to under 60 seconds—keep content concise and snappy.
- Orient vertically (portrait mode) for mobile-first viewing.
- Export in MP4 format for broad compatibility.
- Set resolution to 1920x1080 for crisp visuals.
- Reduce file size—YouTube accepts up to 256 GB, but a small file uploads faster.
Reference table:
| Requirement | Recommended Value |
|---|---|
| Aspect Ratio | 9:16 |
| Resolution | 1920x1080 |
| Video Length | <= 60 seconds |
| Format | MP4 |
---
Signing In to Your YouTube Account via Browser on PC
Open your preferred browser—Chrome, Edge, Firefox—and go to YouTube.com. Sign in, ensuring you select the channel where you want the Short published.
---
Starting the Upload Process
Once signed in:
- Click the Create icon (camera with plus sign) in the top right.
- Select Upload video from the dropdown.
---
Adding `#shorts` for Proper Categorization
In your metadata:
- Title: Add `#shorts` at the start or end.
- Description: Include `#shorts` here if not in the title.
- This helps YouTube identify your clip as a Short.
Example:
Coffee Art in 45 Seconds #shorts---
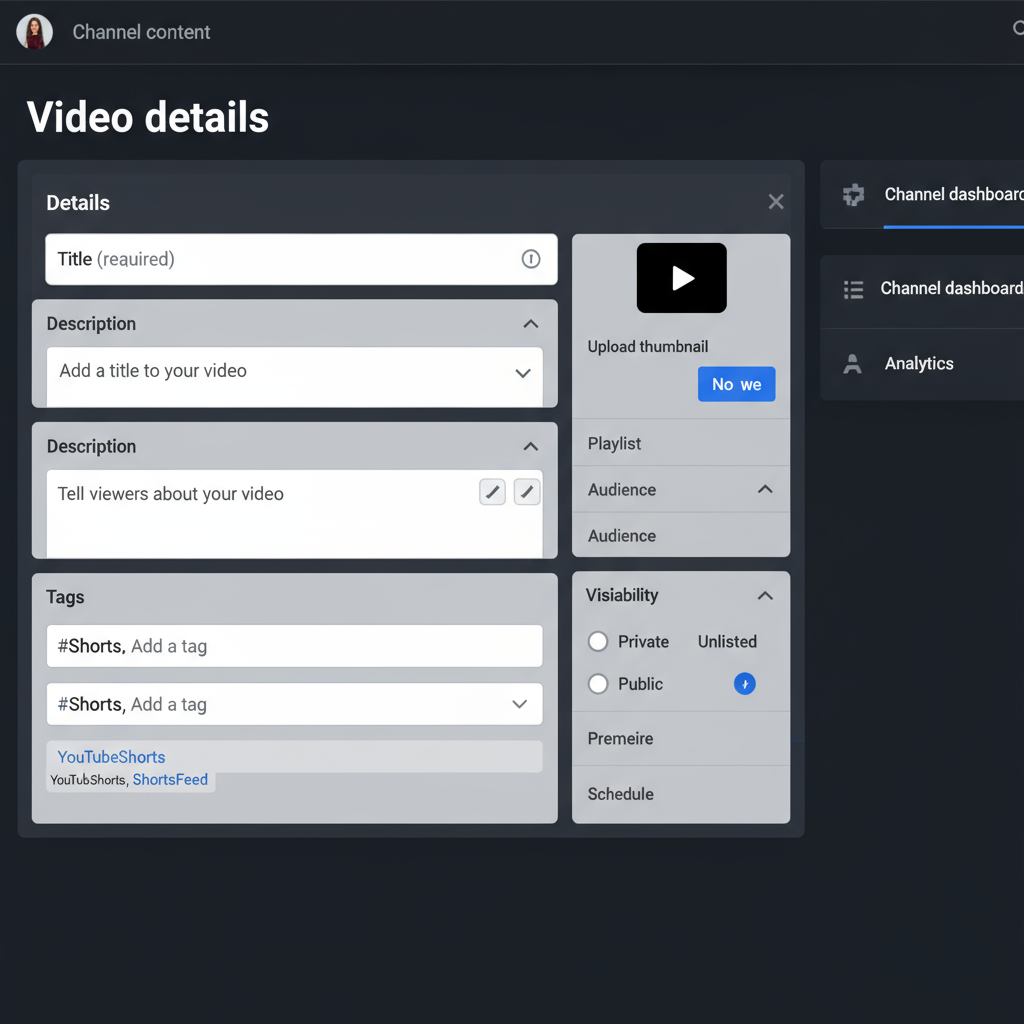
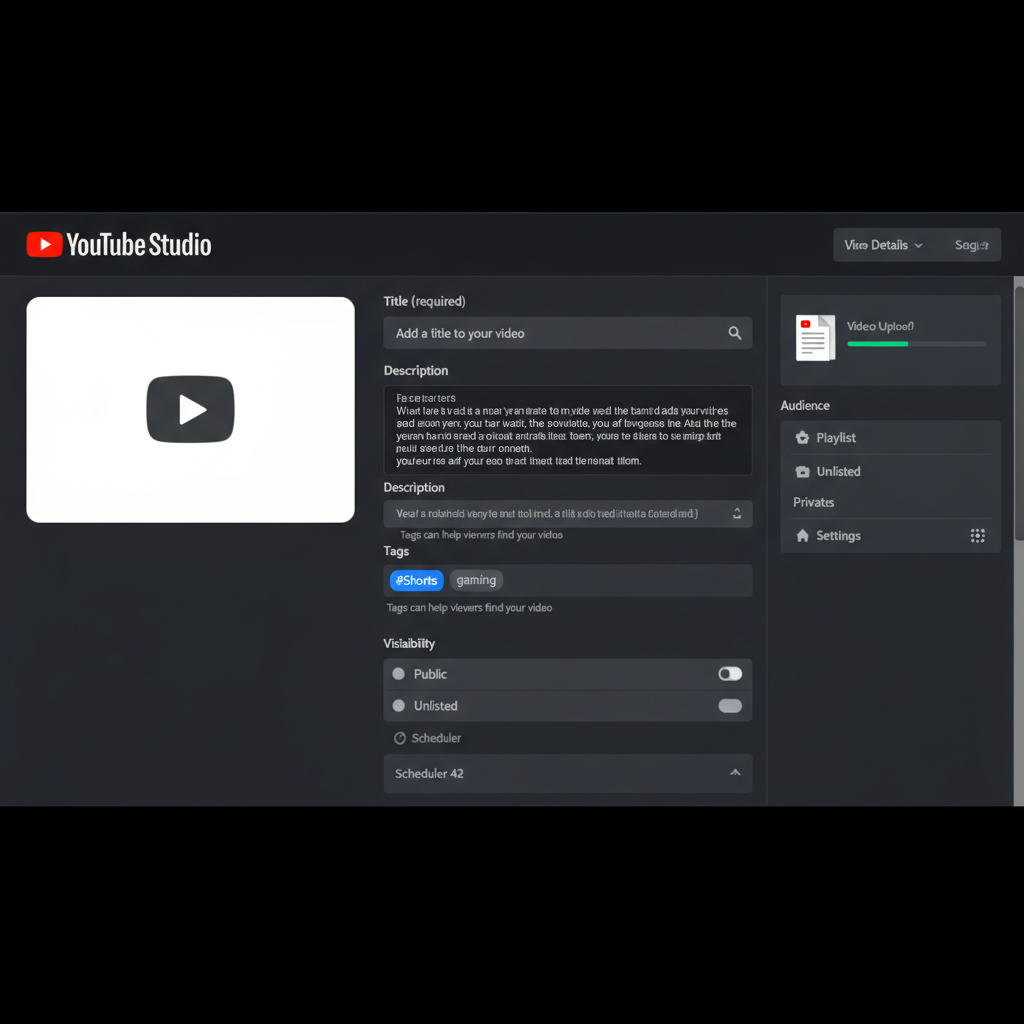
Filling in Video Details
During upload in YouTube Studio:
- Title: Keep it engaging—use trending keywords.
- Description: Describe the content with key phrases.
- Tags: Add keywords relevant to your niche.
- Thumbnail: Upload a unique image to stand out in search.
Tip: Thumbnails are typically horizontal, but ensure they still appeal visually.
---
Selecting Visibility Settings
Choose from:
- Public: Visible to everyone.
- Unlisted: Viewable via direct link only.
- Private: Restricted to you or chosen accounts.
For growth goals, Public is recommended.
---
Adding to Playlists & Setting the Audience
Organize content:
- Add your Short to a playlist for related videos.
Audience setting for COPPA compliance:
- Made for kids: Select for child-appropriate videos.
- Not made for kids: Choose for general or older audiences.
---
Adding Subtitles or Captions
Boost accessibility and engagement:
- In YouTube Studio’s Subtitles section, upload captions.
- Options:
- Upload `.srt` file.
- Type manually.
- Edit YouTube’s auto-generated captions.
---
Using the Trimming Tool in YouTube Studio
If edits are needed:
- Go to Editor in YouTube Studio.
- Use Trim to clip excess footage from the start or end.
- Save and preview before publishing.
---
Publishing or Scheduling Your Short
On the Visibility screen:
- Schedule: Set a future release date/time for strategic posting.
- Publish now: Go live instantly.
---
Checking Analytics After Posting
Afterward, in YouTube Studio > Analytics, review:
- Views
- Watch time
- Engagement
- Traffic sources
Identify if your Short is reaching the Shorts shelf audience.
---
Tips for Optimizing Shorts for More Reach
For better results:
- Strong Hook: Engage viewers in the first 2 seconds.
- Follow Trends: Align with viral topics or formats.
- Post Consistently: Build audience expectations.
- Captions and overlays: Make videos compelling even without sound.
- CTA: Request likes, comments, and subscriptions.
---
Troubleshooting Common Upload Issues on PC
Common problems and fixes:
- Unsupported format: Convert to MP4 via free tools like HandBrake.
- Not appearing as Short: Check duration, orientation, and hashtag.
- Slow uploads: Improve connectivity or upload off-peak.
- Thumbnail errors: Ensure JPG/PNG format under 2MB.
---
Final Thoughts and Next Steps
Mastering how to upload Shorts on YouTube PC lets you take advantage of one of YouTube’s fastest-growing formats directly from your desktop. By meeting technical requirements, correctly tagging, and strategically publishing, you position your content for maximum exposure.
Start creating your own dynamic Shorts, monitor analytics to see what works, and keep refining your style. This is your opportunity to grow your channel—upload your first Short today and join the momentum!