Instagram Reels Ratio Explained: Dimensions, Safe Zones, and Export Settings (2025 Guide)
Learn the 2025 Instagram Reels ratio, dimensions, safe zones, and export settings. Get crisp, readable vertical videos with correct codecs, bitrates, and color.

Creating crisp, readable Instagram Reels in 2025 is less about guesswork and more about following reliable technical and design standards. This formatting-focused guide lays out the correct aspect ratios, safe zones, and export settings so your videos look sharp and perform well across devices. Use the checklists and tables to standardize your workflow and reduce the risk of cropped text, muddy color, or harsh compression.
Instagram Reels Ratio Explained: Dimensions, Safe Zones, and Export Settings (2025 Guide)
Instagram is a vertical-first platform. Get your aspect ratio wrong and you’ll fight cropped faces, covered captions, and algorithmic compression. Nail it and your Reels look crisp, read instantly, and keep viewers watching. This guide distills the current best practices for 2025: the Instagram Reels ratio, dimensions, safe zones, and export settings that consistently deliver pro results.
Why the Instagram Reels ratio matters
- Reach and retention: Vertical 9:16 fills the screen, maximizing immersion and watch time. Correct ratio reduces black bars and awkward crops that cause skips.
- Readability: In a swipe-fast feed, text must be legible in the first seconds. Designing inside safe zones avoids UI overlays and feed preview crops.
- Consistency: Correct dimensions help Instagram transcode less aggressively, preserving detail and audio clarity across devices.
Official aspect ratio and dimensions
- Standard aspect ratio: 9:16 (vertical)
- Recommended resolution: 1080 × 1920 pixels
- Acceptable frame rates: 24, 25, 30, 50, 60 fps are widely supported. 30 fps remains the stability sweet spot; 60 fps is also common for action.
- File formats: MP4 or MOV containers
- Codecs: H.264/AVC (High Profile) or HEVC/H.265 (Main). Audio AAC-LC.
- Color space: Rec.709/SRGB SDR. Avoid HDR uploads (HLG/PQ) unless you’ve thoroughly tested your pipeline.
| Parameter | Recommended | Notes |
|---|---|---|
| Aspect Ratio | 9:16 | Vertical-first; fills the screen |
| Resolution | 1080×1920 | Industry standard for Reels; reliable quality |
| Minimum Viable | 720×1280 | Lower res increases compression artifacts |
| Frame Rate | 30 fps (or 60 fps) | 30 fps is safest; 60 fps for motion |
| Video Codec | H.264 (High) or HEVC | H.264 is most compatible; HEVC offers lower bitrates |
| Audio | AAC-LC, 48 kHz | 128–320 kbps stereo |
| Bitrate (1080p30) | 8–12 Mbps (VBR) | 12–20 Mbps for 1080p60 |
| Color | Rec.709 / sRGB | Tag correctly to avoid gamma shifts |
Note on 4K vertical: Some creators test 2160×3840 uploads. Results vary; Instagram typically downscales to 1080×1920. If you try it, ensure your bitrate and color tags are solid and expect longer uploads.
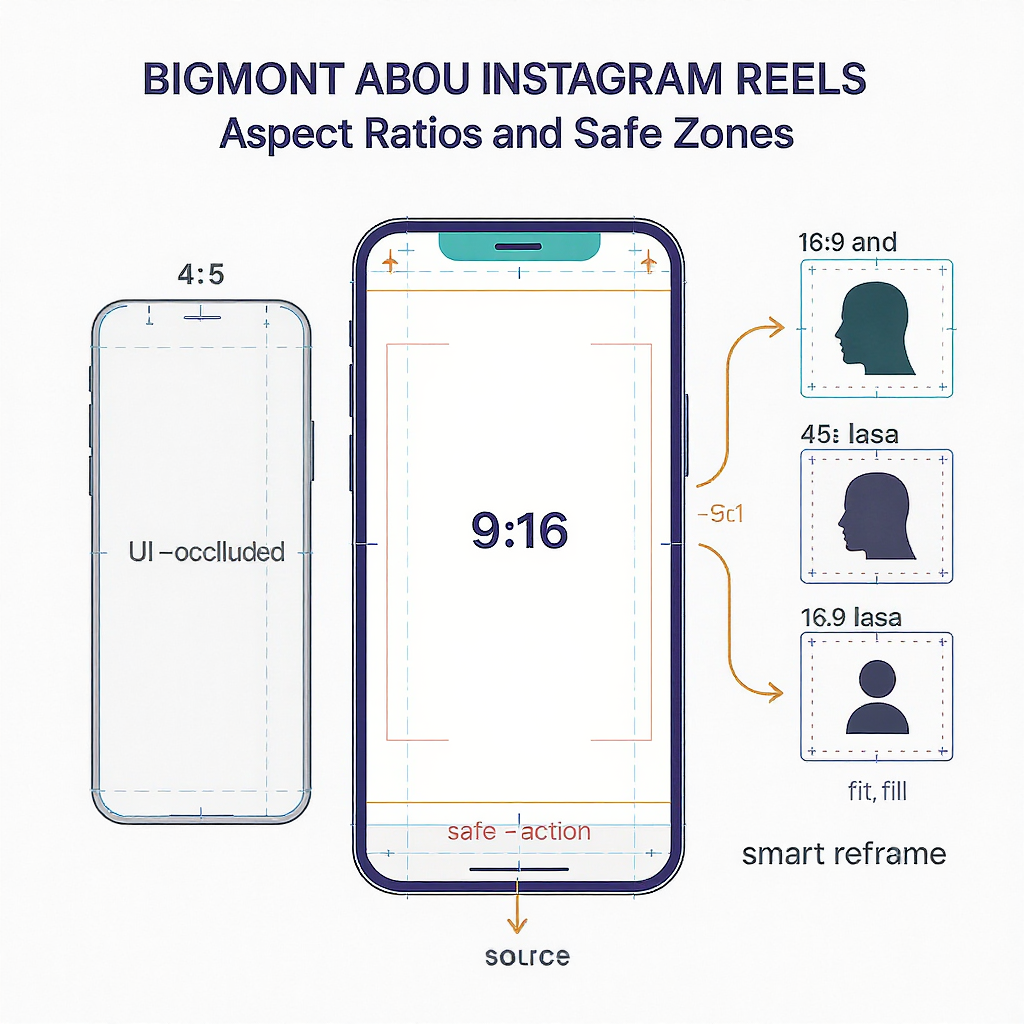
Safe zones and cropping
The most confusing part of Reels is the mixture of UI overlays and various crops across surfaces.
- Feed preview crop: 4:5 (1080×1350) center crop of your 1080×1920. This is what many users see before expanding.
- Profile grid crop: 1:1 (1080×1080) center crop used for your profile grid tile.
- UI overlays: Username/follow at top, caption/audio/CTA and buttons near bottom. These overlap portions of your video even when fully expanded.
Practical guidance on a 1080×1920 canvas:
- Keep critical faces, titles, and CTAs within the central 4:5: from y=285 px to y=1635 px. That ensures the feed preview doesn’t slice your message.
- For text and lower thirds, use an inner “UI-safe” zone: roughly y=350–1570 px. This accounts for common overlays on many devices.
- Side margins: leave ~40–60 px padding to avoid edge clipping by dynamic UI or rounded screen corners.
| Area | Pixels (on 1080×1920) | Use |
|---|---|---|
| Full Frame | 1080×1920 | Entire Reel when expanded |
| Feed Preview (4:5) | 1080×1350 (center) | What many users see first |
| Grid Crop (1:1) | 1080×1080 (center) | Profile grid tile |
| Text/UI Safe | ~1080×1220 centered (y ≈ 350–1570) | Avoid top/bottom overlays |
Tip: Design with guides. Create overlays in your editor for 4:5 and 1:1 crops so you can see instantly if something will be cut off.
Shooting smart in 9:16
- Phone camera setup:
- Lock orientation to vertical. Double-check you’re not in 16:9 landscape or square modes.
- Set 1080p at 30 fps for general content; use 60 fps for sports or fast motion.
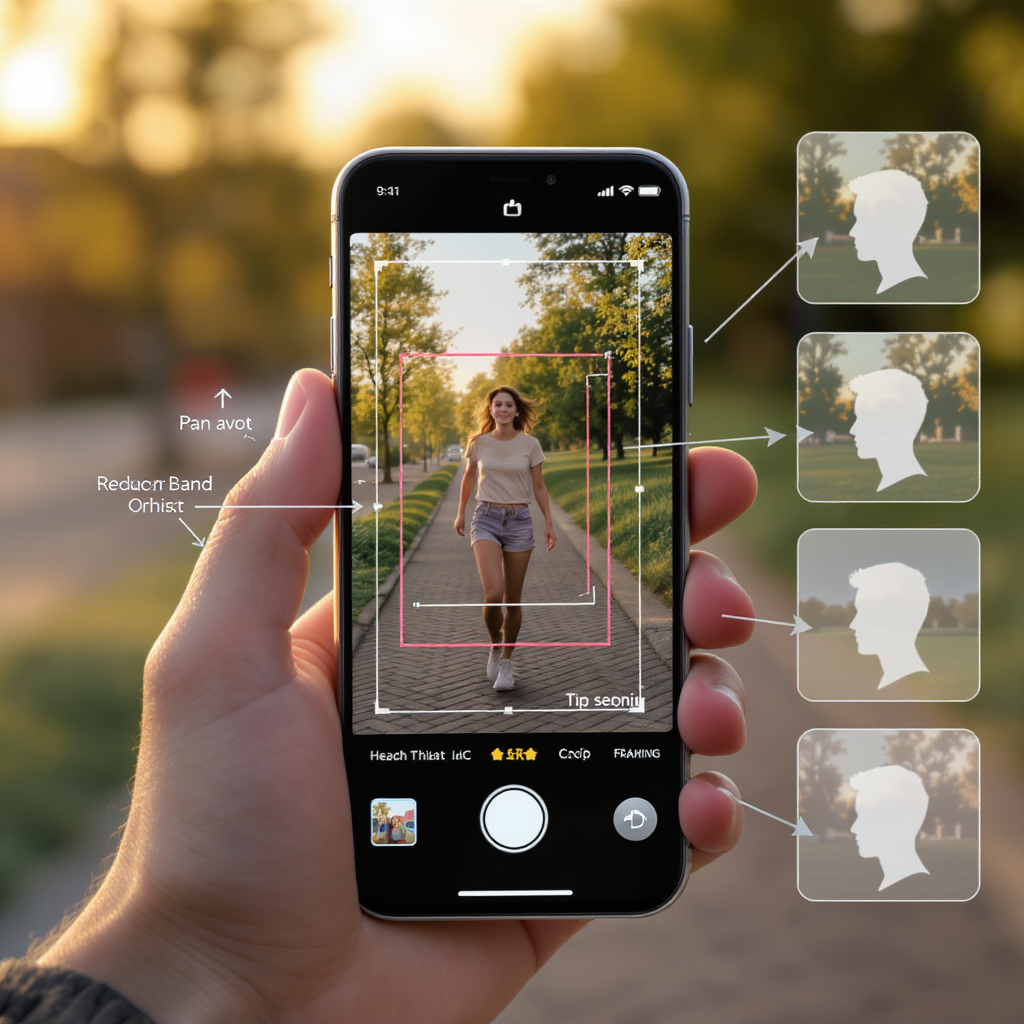
- Composition and headroom:
- Keep eyes in the upper third of the 4:5 safe area, not the full 9:16 frame.
- Leave space for captions/CTAs in the lower third of the 4:5 area.
- Use guides:
- Add tap-to-focus and exposure lock. Many native camera apps and third-party apps let you overlay 9:16 and 4:5 guides.
- Lenses and lighting:
- 1× or 0.8–1.0× equivalent lenses are flattering for people; ultra-wide can distort faces up close.
- Prioritize soft, directional light; avoid mixed color temperatures that complicate color correction.
- Avoid accidental 16:9:
- If using mirrorless/DSLR, rotate the camera to true portrait and set custom 1080×1920 proxies or frame guides to avoid reframing later.
Editing and export settings
Project setup
- Sequence/timeline: 1080×1920, 30 fps (or 60 if shot). Pixel aspect 1.0, progressive.
- Scaling:
- Fit horizontal footage by scaling to fill vertically; crop sides, not top/bottom.
- For quality, scale no more than 200% on 1080p sources. Use high-quality scaling (e.g., Lanczos, “Scale to Frame Size” with detail-preserving algorithms).
- Color management:
- Work in Rec.709 gamma 2.4 or sRGB, not HDR.
- Tag and export with correct color primaries and transfer: Rec.709/sRGB to minimize gamma shifts.
- Subtitles/text:
- Place live text within the UI-safe zone. Test on a phone preview before final export.
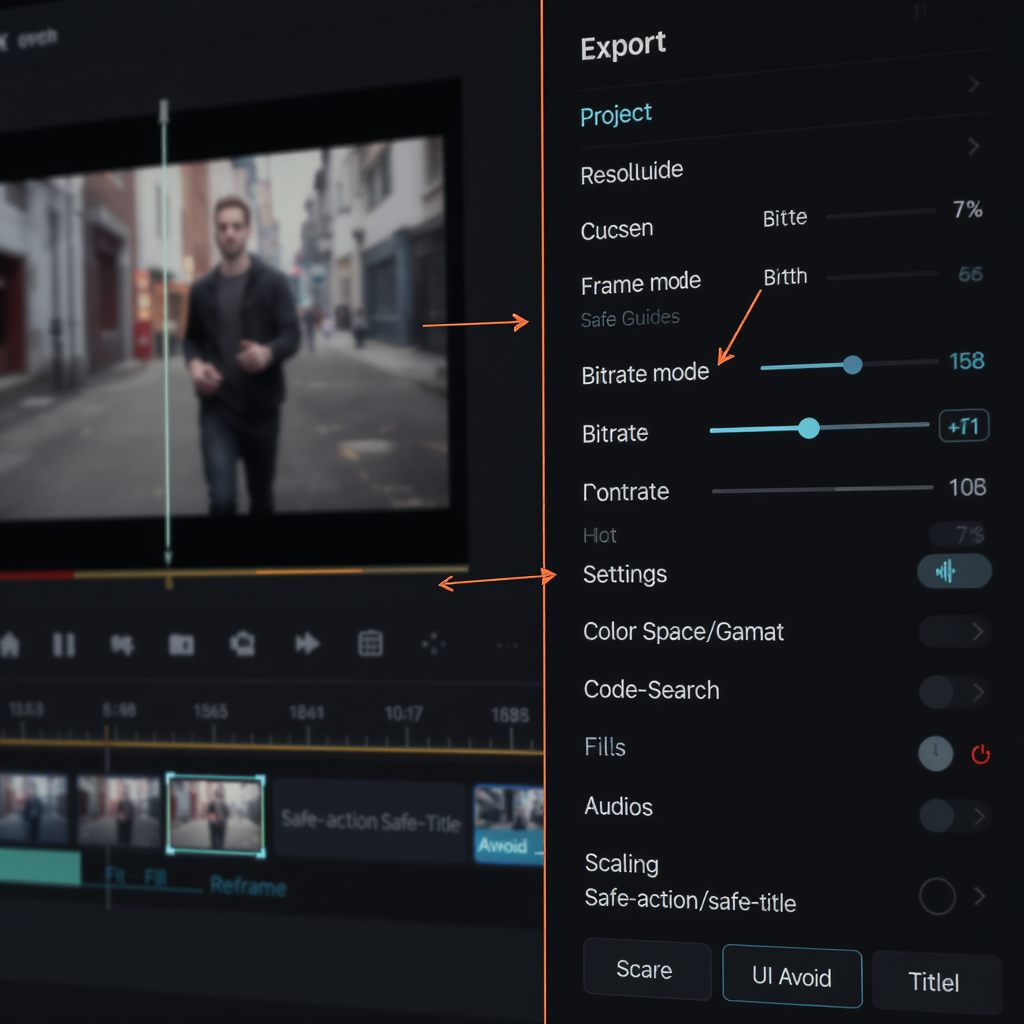
Export recommendations
- H.264 vs HEVC:
- H.264: Most compatible, faster to encode, slightly larger files.
- HEVC: Smaller files at similar quality; some older devices may decode less smoothly. Test your audience mix.
- Bitrate:
- 1080p30: 8–12 Mbps VBR 2-pass.
- 1080p60: 12–20 Mbps VBR 2-pass.
- Audio:
- AAC-LC, 48 kHz, 192–320 kbps stereo.
- Loudness target: around -14 LUFS integrated, -1 dBTP true peak to avoid clipping post-transcode.
Example ffmpeg presets:
## High-quality H.264 for Reels (1080x1920, 30 fps)

ffmpeg -i input.mov -vf "scale=1080:1920:flags=lanczos,format=yuv420p" \
-c:v libx264 -profile:v high -level 4.2 -pix_fmt yuv420p \
-x264-params "keyint=60:min-keyint=60:scenecut=0" \
-b:v 10M -maxrate 12M -bufsize 20M -preset slow \
-color_primaries bt709 -color_trc bt709 -colorspace bt709 \
-c:a aac -b:a 192k -ar 48000 -movflags +faststart output_reel_h264.mp4

## Efficient HEVC alternative

ffmpeg -i input.mov -vf "scale=1080:1920:flags=lanczos,format=yuv420p" \
-c:v libx265 -tag:v hvc1 -pix_fmt yuv420p \
-x265-params "keyint=60:min-keyint=60:scenecut=0" \
-b:v 7M -maxrate 9M -bufsize 14M -preset medium \
-color_primaries bt709 -color_trc bt709 -colorspace bt709 \
-c:a aac -b:a 192k -ar 48000 -movflags +faststart output_reel_hevc.mp4
Adapting horizontal footage
- Auto-reframe and tracking:
- Premiere Pro Auto Reframe, Final Cut Pro Smart Conform, or DaVinci Resolve Smart Reframe track subjects and keep them centered in 9:16.
- Strategic punch-ins:
- Use 100–175% punch-ins on 4K sources to create coverage without noticeable softening.
- Split-screen and PIP:
- Stack vertical crops or add a picture-in-picture for context (e.g., gameplay + facecam).
- Background treatments:
- Blur/gradient fills behind a vertical crop look cleaner than black bars. Use brand colors at low saturation.
- Template workflows:
- Build a 9:16 template with safe-zone guides, lower-third styles, and caption placements to reduce errors.
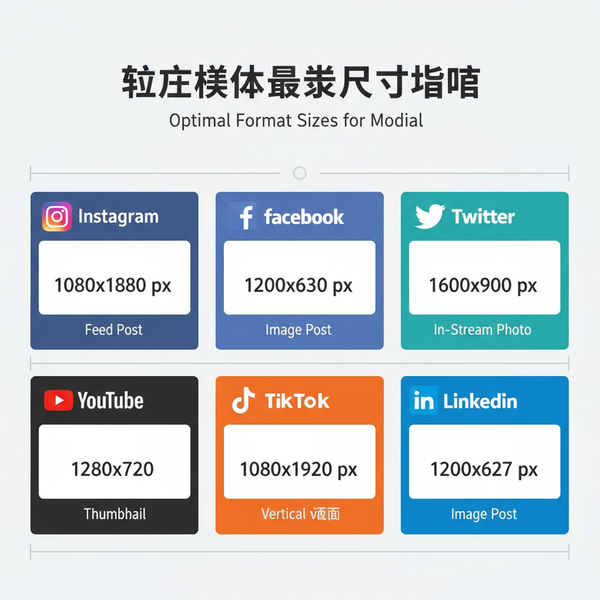
Cross-platform formatting
Reels, Stories, TikTok, and YouTube Shorts all prefer 9:16 but differ in overlays and safe zones. Design once, adapt twice.
| Platform | Primary Ratio | Common Frame Rates | Notable Overlays | Text-Safe Guidance (1080×1920) |
|---|---|---|---|---|
| Instagram Reels | 9:16 | 30 / 60 fps | Top handle/follow; bottom caption/audio | Keep text approx. y=350–1570 |
| Instagram Stories | 9:16 | 30 fps | Stickers, reply bar | Similar to Reels; allow space for stickers |
| TikTok | 9:16 | 30 / 60 fps | Bottom caption/CTA; right-side icons | Reserve ~300 px bottom; ~150–180 px top |
| YouTube Shorts | 9:16 | 30 / 60 fps | Channel bar/caption near bottom | Reserve ~260–300 px bottom; ~120–150 px top |
Watermark-free cross-posting:
- Export a clean master from your NLE. Add platform-native captions/stickers after uploading, not baked-in watermarks.
- If repurposing from TikTok, use the original pre-watermark file or a watermark-free download from your cloud/project, not a scraped video.
Cover images and upload workflow
- Cover size: 1080×1920. Design to read at:
- Full 9:16 (Reel)
- 4:5 (feed preview)
- 1:1 (grid tile)
- Layout tips:
- Put the title inside the central 1:1 zone, with secondary text within the 4:5 zone.
- High-contrast typography (sans-serif, 80–120 pt at 1080p) improves readability on small screens.
- Choosing thumbnails:
- Upload a custom cover that matches the first 1–2 seconds of the video to reduce “clickbait” drop-off.
- Captions, hashtags, alt text:
- Front-load the first 80–120 characters with the hook and value.
- Use 3–10 specific hashtags; avoid massive generic lists.
- Add descriptive alt text for accessibility and search.
- Avoiding compression:
- Export at recommended bitrates; do not exceed them massively (it won’t beat the transcode).
- Upload over strong Wi‑Fi; avoid multitasking during upload.
- Don’t apply heavy filters in-app on top of already graded footage.
Troubleshooting common issues
- Blurry or soft uploads:
- Check you exported 1080×1920 and not 720p.
- Use VBR 2-pass and adequate bitrates; avoid over-sharpening which can trigger harsher compression.
- Ensure the app isn’t set to “data saver” mode.
- Black bars:
- Your source is 16:9 letterboxed. Re-scale to fill 9:16, cropping sides. Replace black bars with blur/gradient if needed.
- Cut-off captions or lower thirds:
- Move them into the UI-safe zone (approx. y=350–1570 on 1080×1920).
- Verify with a device preview before posting.
- Color shifts or washed-out look:
- Export in Rec.709, tag color primaries/transfer, and avoid HDR timelines. Turn off “Display Color Management” mismatches in your NLE if seen.
- Inconsistent audio loudness:
- Normalize to about -14 LUFS integrated with a true-peak limiter at -1 dBTP.
- Ensure sample rate is 48 kHz and channels are stereo.
- 1080×1920 vs “4K” vertical:
- If 4K uploads look worse, Instagram is likely over-transcoding. Stick to a pristine 1080×1920 master at optimal bitrates.
Quick checklist (2025)
- Shoot and edit in 9:16, 1080×1920, 30 fps (or 60 for action)
- Design text inside central 4:5; keep titles y=350–1570 px
- Export H.264 High, 8–12 Mbps (1080p30), AAC 48 kHz
- Color: Rec.709 tagged, no HDR surprises
- Audio: -14 LUFS, -1 dBTP, clean stereo
- Custom cover: 1080×1920, readable at 1:1
- Upload over strong Wi‑Fi; test on-device before posting
Summary
For reliable results on Instagram Reels, stick to a 9:16, 1080×1920 workflow, keep vital text and faces within the 4:5-centered safe zone, and export clean H.264 or HEVC files at sensible bitrates with Rec.709 tagging. Validate on a real device before posting, and adapt overlays for each platform to avoid UI conflicts. When these basics are standardized, you’ll ship consistently sharp, readable Reels that retain viewers and cross-post smoothly.