Instagram Story Resolution: The 2025 Guide to Crisp, High-Impact Stories
Get crisp 2025 Instagram Stories: exact 1080×1920 resolution, safe zones, export specs, and workflow to beat compression for sharper text and color.

This guide covers the current best practices for Instagram Stories in 2025, with a focus on resolution, safe zones, export settings, and workflow. It’s designed to help you preserve sharpness, color fidelity, and brand consistency across devices. Use it as a checklist and reference to avoid common compression pitfalls and UI-related cropping.
Instagram Story Resolution: The 2025 Guide to Crisp, High-Impact Stories
You’ve got a great concept, but it looks soft, cropped, or crushed after upload. This 2025 guide explains the exact Instagram Story resolution, the safe zones that the UI covers, export settings that survive compression, and a production workflow that keeps your Stories tack-sharp and brand-consistent.
---
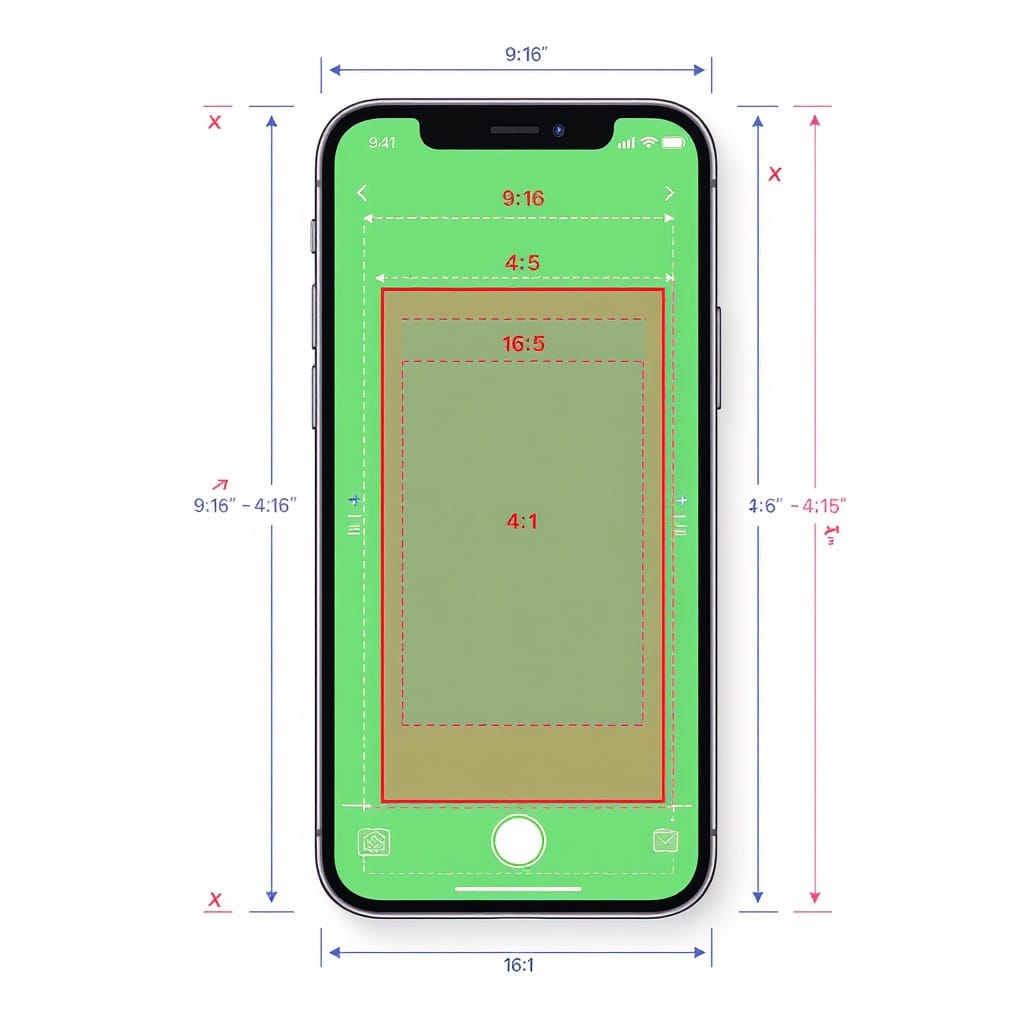
The exact Instagram Story resolution and aspect ratio
- Native Story frame: 1080×1920 pixels (9:16 aspect ratio).
- What 1080×1920 means in practice: design, export, and upload at 1080×1920 to avoid Instagram doing the scaling for you. That’s the safest baseline.
- When to upload higher than 1080×1920:
- 1440×2560 or 2160×3840 (2x) can sometimes yield cleaner edges and text after Instagram’s downscaling—especially for graphics/typography-heavy slides.
- Only do this if your source assets are truly high-resolution and sharp; upscaling a 1080 asset to 2160 won’t help.
- How Instagram compression affects perceived quality:
- Instagram always recompresses. The heavier the motion, grain, or overlays, the harder the compression.
- Cleaner source, consistent frame rate, and modest bitrate keep the platform’s encoder from “overworking” your post.
Rule of thumb: If your Stories are photo/graphic-led, test 1440×2560 or 2160×3840 exports. If they’re video-led with motion and detail, 1080×1920 high-quality exports are generally best.
---
Safe zones and on-screen UI
Instagram’s UI obscures the top and bottom of the screen (profile bar and reply box). Keep critical elements inside a central safe area.
- Central safe content area: approximately 1080×1420 px centered.
- Top padding: ~250 px for profile name, avatar, and icons.
- Bottom padding: ~250 px for the reply/share bar and controls.
- Side margins: Keep key text/logos ~60 px away from left/right edges to avoid device-dependent cropping and thumb coverage.
- Don’t pin crucial CTAs under the top username or bottom reply area; treat those strips as no-fly zones.
Quick placement tips
- Titles and logos: place within the central third vertically.
- Subtitles/captions: just above the bottom safe boundary so they aren’t blocked by the reply UI.
- Stickers/hashtags: avoid extreme corners; test on multiple phone models.
---
Best export settings for sharp photos and videos
The following settings balance quality with predictable Instagram recompression.
| Asset | Resolution | Format/Codec | Bitrate/Quality | Frame Rate | Audio | Color |
|---|---|---|---|---|---|---|
| Photo | 1080×1920 (or 1440×2560 / 2160×3840 test) | JPG for photos, PNG for flat graphics/text | JPG quality 80–90 | — | — | sRGB IEC61966-2.1 |
| Video | 1080×1920 (9:16) | MP4 container, H.264 (AVC) video | Target 5–12 Mbps (VBR) | 30 fps constant | AAC 128–192 kbps, 44.1–48 kHz | sRGB / Rec.709, limited range |
Notes
- Prefer H.264 over HEVC/H.265 for Stories. HEVC may be re-encoded more aggressively and can cause playback compatibility issues.
- Keep frame rate at 30 fps. Instagram often converts 60 fps to 30 fps, adding judder and extra compression.
- Avoid heavy filters or grain overlays. They balloon bitrate and invite harsher recompression.
---
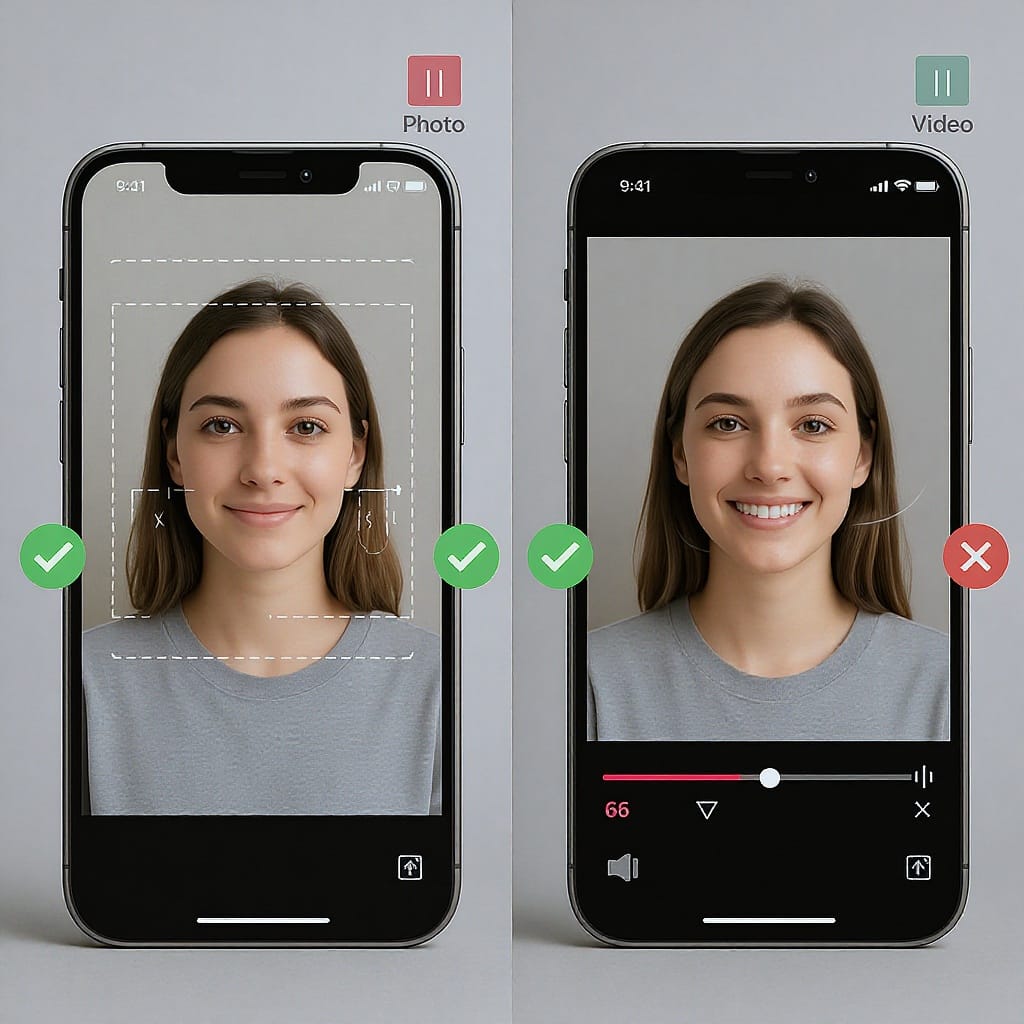
Photo vs. video specifics
- Durations:
- Up to 60 seconds per Story card is reliably supported in 2025.
- Longer videos are auto-split into multiple 60s cards. Consider manual splits to control transitions and pacing.
- When to split longer videos:
- Plan beats at 45–55s to avoid abrupt auto-cuts.
- Use end-card prompts (“Next”) to bridge segments.
- GIFs and animated stickers:
- Stickers are fine but stacking multiple animated layers increases motion complexity, resulting in softer encodes.
- If using a GIF background, render as MP4 H.264 with a clean alpha treatment behind static text for better quality.
- Motion, grain, overlays:
- Fast, noisy footage (low-light grain, handheld whip pans) compresses poorly. Stabilize footage, reduce noise, and moderate motion for cleaner renders.
- Keep overlays crisp and vector-like; avoid semi-transparent tiny text that can smear.
---
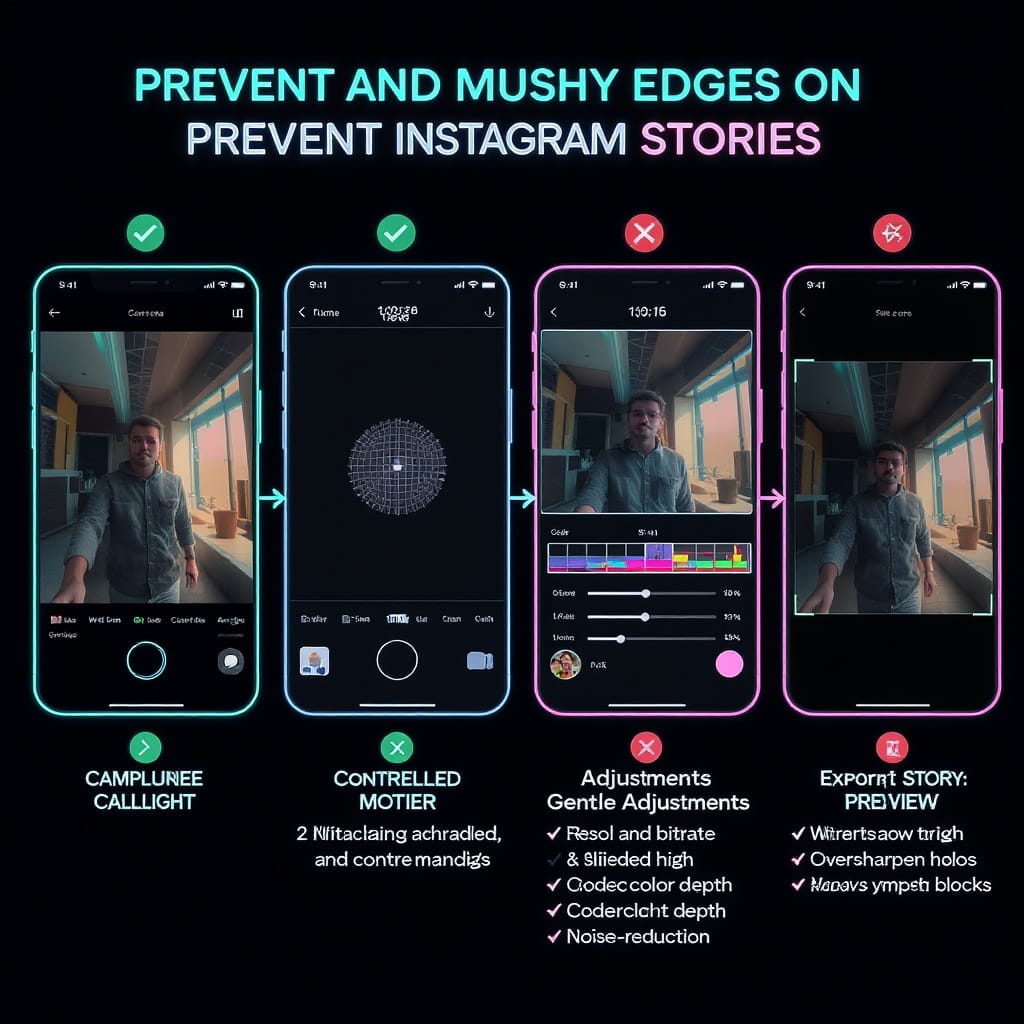
Capture and edit workflow (that prevents mushy edges)
Shoot vertical the right way
- Camera orientation: shoot native 9:16 when possible to avoid heavy crops.
- Phone settings:
- Video: 4K 30 fps gives crop flexibility and cleaner downscales to 1080×1920.
- Lock exposure/white balance to prevent flicker between cuts.
- Avoid digital zoom; step closer or use a lens with optical stabilization.
Build templates in your design tool
- Canvas size: 1080×1920 with guides for 250 px top/bottom safe zones and ~60 px side margins.
- Brand elements (logo, handles, CTA) pre-positioned within the safe zone.
- Export profiles: set sRGB color and a consistent file naming scheme (e.g., brand_campaign_date_seq).
Scale and sharpen without halos
- Downscale from 4K to 1080 using high-quality resampling, then apply subtle sharpening.
- Suggested sharpening (photos):
- Amount: 30–60%
- Radius: 0.3–0.5 px
- Threshold: 1–3 levels
- Avoid oversharpening—Instagram’s encoder exaggerates halos.
Example with ImageMagick (photo downscale and gentle sharpen):
magick input.jpg -colorspace sRGB -filter Lanczos -resize 1080x1920^ -gravity center -extent 1080x1920 -unsharp 0x0.5+0.5+0.02 output.jpgPrevent double compression on export
- Export once at final size and specs; don’t export, re-import, and re-export across multiple apps.
- Transfer files losslessly (AirDrop, cable, or cloud sync without “optimize”/compression).
- Avoid sending via messaging apps that recompress.
Example ffmpeg command for a Story video:
ffmpeg -i input_4k.mp4 -vf "scale=1080:1920:flags=lanczos,format=yuv420p" -r 30 \
-c:v libx264 -profile:v high -level 4.1 -pix_fmt yuv420p -movflags +faststart \
-x264-params "ref=4:bframes=2:me=umh:subme=7:vbv-maxrate=12000:vbv-bufsize=24000" \
-b:v 8M -maxrate 12M -bufsize 24M \
-c:a aac -b:a 160k -ar 48000 output_story.mp4
---
Preventing blurry or pixelated Stories
- Upload on strong Wi‑Fi. Weak connections can trigger lower-quality uploads.
- Settings to check in Instagram:
- Enable “Upload at highest quality” (Settings > Data usage).
- Disable “Data Saver” if enabled.
- Maintain clean originals:
- Don’t use screenshots of screenshots.
- Export with sRGB embedded; avoid wide-gamut (Display P3) assets that can shift or look dull on non-iOS devices.
- Keep text vector-based until final export; avoid rasterizing multiple times.
- Minimize heavy grain, extreme color noise, or glitch filters that spike bitrates.
---
Brand consistency and accessibility
- Typography:
- Title text: 48–72 px at 1080×1920.
- Body text: 32–40 px minimum for comfortable reading at arm’s length.
- Line height: 120–140% for legibility.
- Contrast: Aim for WCAG AA contrast ratios (~4.5:1). Test over photography; use semi-transparent dark/light scrims or gradients.
- Captions/subtitles:
- Always include captions for spoken content.
- Place captions above the bottom safe boundary; use a solid or semi-transparent background for readability.
- Motion restraint:
- Keep motion below “blink” speed; avoid rapid flashes or strobing.
- Animate in Z-depth (parallax, subtle scale) rather than chaotic pans.
- Recurring elements:
- Keep logo, handle, and CTA in consistent safe positions so returning viewers learn where to look.
---
Creative framing for 9:16
- Subject placement:
- Use vertical rule-of-thirds; keep the focal point in the upper-mid third to leave space for captions below.
- Negative space for overlays:
- Compose with clean background areas for text and stickers.
- Add soft background gradients behind text to maintain contrast without blocking content.
- Guide the eye:
- Use leading lines (architecture, roads) and depth cues (foreground blur).
- Subtle animations (2–4% scale over 5–8 seconds) add life without provoking compression artifacts.
- Color strategy:
- Harmonize brand colors with scene hues.
- Avoid ultra-saturated neon across full frames which can ring during compression; reserve for accents.
---
Troubleshooting and quick FAQs
- Why do I see black bars or cropped edges?
- Your video likely isn’t 9:16. Export exactly 1080×1920. If using a 16:9 clip, place it on a 9:16 canvas with a blurred or branded background instead of forcing a zoom that crops faces.
- Instagram is zooming my video—why?
- If your aspect ratio is narrower than 9:16, Instagram may scale/zoom to fill. Put the original into a 9:16 comp first to control the crop.
- Do higher-than-1080 uploads help?
- Sometimes. 1440×2560 or 2160×3840 can preserve fine edges in text/graphics after Instagram downscales. For fast-motion video, the benefit is smaller; test a/b with your content.
- How do I repurpose 16:9 or 1:1 content to 9:16?
- Use smart reframing: center-cut for talking heads; otherwise animate a 9:16 crop to follow action. Add background gradient/blur and move captions into the safe zone.
- My text looks fuzzy—what now?
- Increase font size, switch to high-contrast colors, export PNG for text-heavy static slides, or increase export resolution to 1440/2160 for sharper downscale.
- Best bitrate when using lots of motion?
- Target 10–12 Mbps at 1080×1920, 30 fps. Keep shutter speed around 1/60–1/120 to avoid excessive motion blur that smears after recompression.
- The colors look different on upload.
- Convert and embed sRGB IEC61966-2.1. Avoid wide-gamut profiles. Keep gamma consistent (Rec.709 video) and check on both iOS and Android.
- Do Story ad specs differ from organic Stories?
- Largely aligned: 9:16 at 1080×1920, MP4 (H.264), AAC audio. Many advertisers keep spots ≤60 seconds per card for performance, even though Ads Manager may accept longer in certain placements. Always verify current specs in Ads Manager before a campaign.
---
Quick checklist before you post
- Canvas 1080×1920 (or upscale test at 1440/2160 if text-heavy).
- Safe zones: 250 px top/bottom; ~60 px side margins.
- Photos: JPG q80–90 (or PNG for crisp graphics). sRGB embedded.
- Videos: H.264 MP4, 1080×1920, 30 fps, 5–12 Mbps, AAC 128–192 kbps, sRGB/Rec.709.
- Captions on; text ≥32 px; strong contrast and clean background.
- Upload via strong Wi‑Fi; “Upload at highest quality” ON; Data Saver OFF.
- Final QA on both iOS and Android if possible.
Make these your defaults, and your Stories will look clean, legible, and professional—every time.
---
Summary
Design and export in 9:16 at 1080×1920, respect UI safe zones, and favor clean sources with consistent 30 fps to minimize Instagram’s recompression. Use H.264 MP4, embed sRGB, and upload over strong Wi‑Fi with highest-quality settings enabled. Build templates, test higher-res downscales for text-heavy slides, and keep motion and overlays restrained to preserve sharpness and brand clarity.


