How to Link Your TikTok to Your Business Account: Step-by-Step, Integrations, and Fixes
Link TikTok to your business: switch to a Business Account, connect Business Center/Ads Manager, add profile links, integrate Shop/Shopify, fix issues.
Linking TikTok to your business can involve several different connections—from switching your profile type to integrating Ads Manager, analytics, and ecommerce. This guide refines the structure and flow so you can follow clear, step-by-step setup paths without confusion. Use it to configure your profile, connect business tools, and fix common issues efficiently.
How to Link Your TikTok to Your Business Account: Step-by-Step, Integrations, and Fixes
If you’re asking “how can I link my TikTok to my business account,” there are actually several “links” you may be thinking about. On TikTok, linking your business presence can mean:
- Switching a personal profile to a TikTok Business Account so you unlock analytics, contact buttons, and a website link
- Connecting your profile to TikTok Business Center and Ads Manager to run ads, share assets, and manage permissions
- Adding your website and social links to your profile for discovery and conversion
- Integrating ecommerce tools such as TikTok Shop or Shopify for product tagging and sales
This guide walks through each of these with clear steps, integrations, best practices, and fixes for common issues.

---
What “Linking” Really Means on TikTok
Here’s a quick map of what most teams mean by “linking” TikTok to a business account:
- Account type: Switch to a Business Account to unlock profile features, analytics, contact buttons, and commercial music usage.
- Business tools: Connect your TikTok profile to Business Center (asset hub) and Ads Manager (paid campaigns).
- Profile links: Add website URL, email, Instagram, and YouTube to your profile.
- Ecommerce: Enable TikTok Shop (in supported markets) or connect a platform like Shopify to sync products and tag them in content or ads.
---
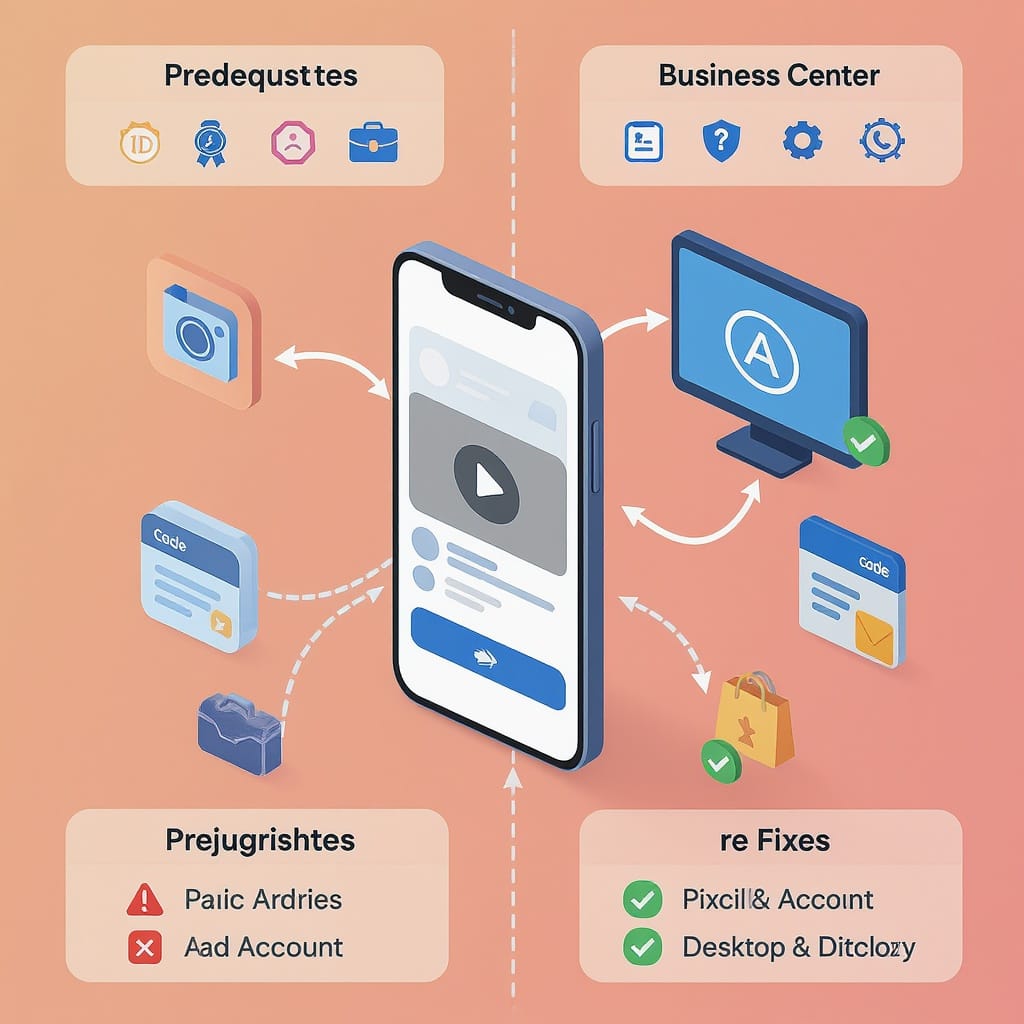
Prerequisites and Eligibility
Before you start, make sure you have:
- Admin ownership of the TikTok profile (you can log in to the account and receive verification codes)
- The latest TikTok app (update via App Store/Google Play)
- Business details ready: legal name, display name, category, email, address, website
- Two-factor authentication (2FA) enabled on your TikTok account for security
- Regional availability confirmed:
- TikTok Shop and certain link features are not available in all countries
- Some link-in-bio capabilities differ for new or low-activity accounts depending on region and policy changes
- Age and policy compliance:
- Shop and ad features often require you to be 18+
- Your business must meet TikTok’s commerce and brand safety policies
---
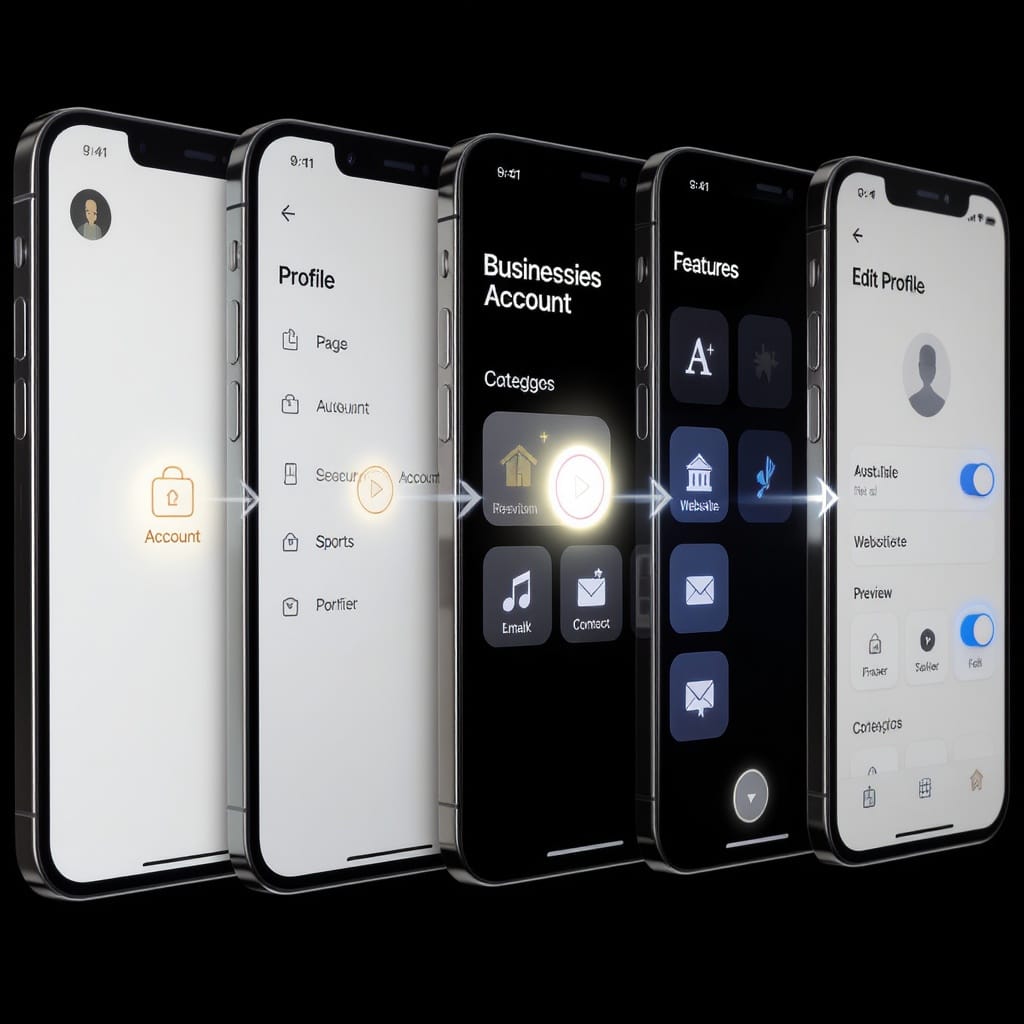
Switch a Personal Profile to a TikTok Business Account
Follow these steps in the TikTok app:
- Open TikTok and go to Profile.
- Tap the Menu icon (≡) in the top right.
- Go to Settings and privacy.
- Tap Account.
- Choose Switch to Business Account.
- Select a category that best fits your brand (this helps TikTok surface relevant tools and tips).
- Confirm the switch.
After switching, you’ll get access to analytics, a business profile, and a contact button (email). However, note the different feature set:
| Feature | Personal Account | Business Account |
|---|---|---|
| Music usage | Broader trending tracks | Commercial Music Library (rights-cleared) |
| Website link in bio | Limited/region-dependent for new accounts | More widely available (still region/policy-dependent) |
| Contact (email) button | Not available | Available |
| Analytics | Basic | Expanded metrics and insights |
| Ads integration | Limited | Designed for Business Center/Ads Manager workflows |
Tip: If you collaborate with creators, consider Spark Ads and whitelisting to use creator posts as ads. Business Accounts can still participate in trends using the Commercial Music Library.
---
Add Key Business Information to Your Profile
Once you’ve switched:
- Edit profile
- Display name: Use your brand name (avoid adding excessive symbols).
- Username: Choose a consistent handle across platforms for recognition.
- Profile photo: Upload your brand logo (1:1 square; ensure it’s clear at small sizes).
- Category: Make sure it matches your business type.
- Bio with a CTA
- Write a concise value proposition and call to action (CTA).
- Example: “Plant-based snacks. 15% off first order — tap the link.”
- Email button (Contact)
- In Edit profile, add your business email. This enables the Email button on Business Accounts.
- Location (if relevant)
- If available in your region, add business location or city to build trust for local audiences.
- Website link
- In Edit profile, add your website URL or link-in-bio tool.
- Notes:
- New accounts or certain regions may restrict clickable links. Switching to Business can help, but policies vary.
- Use clean URLs or add UTM parameters to measure conversions (see below).
---
Link Instagram and YouTube to Your TikTok Business Profile
Cross-linking boosts credibility and gives followers more ways to engage with your brand.
- Where to link:
- Go to Edit profile
- Find the sections for Instagram and YouTube
- Sign in to connect each platform
- Why it matters:
- Social proof: Verified and consistent handles signal legitimacy.
- Conversion paths: Some audiences prefer to shop via YouTube descriptions or IG DMs.
- Content ecosystem: Repurpose content and direct viewers to long-form videos or product tags on other platforms.
- Use consistent handles and UTM tagging:
- Keep your @handle the same (or as close as possible).
- Use UTM parameters for links in your bio and video descriptions to track performance in analytics tools.
Example UTM-tagged URL:
https://example.com/?utm_source=tiktok&utm_medium=social&utm_campaign=profile_bio&utm_content=brand_handle---
Connect Your TikTok to Business Center and Ads Manager
TikTok Business Center is your asset and permission hub. Ads Manager is where you build and report on campaigns.
Step 1: Create or Join a Business Center
- Visit business.tiktok.com and sign in.
- Create a Business Center (BC) for your company (or request access to an existing one).
- Complete the business information and verification steps if prompted.
Step 2: Add Your TikTok Account as an Asset
- In Business Center, go to Assets > TikTok accounts.
- Choose:
- Claim account (you own it) or
- Request access (another BC owns it; you’ll need their approval).
- Follow the on-device approval prompts:
- TikTok may send a verification request to the profile owner in-app.
- Approve the request in your TikTok app when notified.
Step 3: Assign Roles and Permissions
- Navigate to Members and Assets in Business Center.
- Add team members (use work emails).
- Assign appropriate roles (Admin, Operator, Analyst) and asset-level access (TikTok account, Ad account, Pixel).
Step 4: Connect or Create an Ad Account
- In Business Center, go to Assets > Ad accounts.
- Create a new ad account or request access to an existing one.
- Set currency, time zone, and billing.
- Link the ad account to your TikTok account asset.
Step 5: Install TikTok Pixel or Events API
- Open Ads Manager > Events Manager > Web Events.
- Create a Pixel and choose installation method:
- Partner integrations (Shopify, BigCommerce, WooCommerce, GTM)
- Manual install: paste the code in your site’s head and configure events
Sample pixel snippet (manual):
!function (w, d, t) {
  w.TiktokAnalyticsObject = t;
  var ttq = w[t] = w[t] || [];
  ttq.methods = ["page","track","identify","instances","debug","on","off","once","ready","alias","group","enableCookie","disableCookie"];
  ttq.setAndDefer = function(t, e) { t[e] = function(){ t.push([e].concat(Array.prototype.slice.call(arguments,0))) } };
  for (var i=0; i<ttq.methods.length; i++) ttq.setAndDefer(ttq, ttq.methods[i]);
  ttq.load = function(e) {
    var s = d.createElement("script");
    s.type = "text/javascript"; s.async = !0; s.src = "https://analytics.tiktok.com/i18n/pixel/events.js?sdkid=" + e + "&lib=" + t;
    var n = d.getElementsByTagName("script")[0]; n.parentNode.insertBefore(s, n);
  };
  ttq.load("YOUR_PIXEL_ID");
  ttq.page();
}(window, document, "ttq");
- After installation:
- Configure standard events (ViewContent, AddToCart, InitiateCheckout, Purchase)
- Enable Advanced Matching where compliant
- Test using TikTok’s pixel diagnostics in Events Manager
Step 6: Verify Your Domain (for conversion tracking and attribution integrity)
- In Events Manager (Web Events), add your domain.
- Choose a verification method:
- DNS TXT record: Add a TXT record to your DNS and wait for propagation
- HTML file upload: Upload TikTok’s provided file to your site’s root directory
- Meta tag: Add a verification meta tag to the of your homepage
Example meta tag:
- After adding, click Verify in Events Manager.
---
Ecommerce Integrations and Shopping Features
TikTok offers two main commerce tracks: TikTok Shop (native shopping) and offsite ecommerce with product feeds and pixels.
TikTok Shop (where available)
- Eligibility: Merchant verification, supported markets, compliant product categories.
- Setup:
- Apply via TikTok Shop Seller Center (region-dependent)
- Complete KYC/business verification
- Add product catalog, pricing, shipping, and return policies
- Set up payment and fulfillment integrations
- Features:
- Product tagging in videos and LIVE streams
- In-app checkout
- Shop tab on profile
Offsite Ecommerce (Shopify/BigCommerce/WooCommerce)
- Connect a partner platform:
- Shopify: Install the TikTok app from the Shopify App Store. Sign in with your TikTok for Business account, connect your Pixel, and sync products (for catalog-based ads).
- BigCommerce/WooCommerce: Use TikTok for Business integrations or feed apps to sync your product catalog and events.
- Product catalog and ads:
- Create a Catalog in Ads Manager and feed products from your store
- Run Product Sales or Catalog Sales campaigns with dynamic creatives
- Product tagging in content:
- Native product tagging in organic videos relies on TikTok Shop availability
- Without Shop, use link-in-bio tools or captions with URLs (if clickable in your region)
Compliance checklist:
- Meet brand safety and policy guidelines
- Accurate product data (price, availability)
- Clear shipping and returns
- Customer service contact details
---
Best Practices After Linking
- Build a content plan for Business Accounts:
- Mix product demos, UGC, behind-the-scenes, and educational snippets
- Hook in the first 2–3 seconds; keep edits tight
- Use the Commercial Music Library:
- Pick rights-cleared tracks that match your brand voice
- Test multiple sounds to see what boosts completion rate
- Leverage TikTok Analytics and Ads Manager reporting:
- Monitor views, watch time, CTR, CPC/CPA, ROAS
- Analyze audience demographics and top-performing posts
- Test Spark Ads and creator whitelisting:
- Spark Ads let you turn existing posts (yours or creators’) into ads while preserving social proof
- Use whitelisting/authorizations to run ads from creator handles
- Track performance with UTM parameters and funnel metrics:
- Add UTMs to your website link and campaign landing pages
- Track sessions, add-to-cart, checkout, and purchase with your analytics tool
- Iterate creatives quickly:
- Weekly refreshes outpace creative fatigue
- Test 3–5 variants per ad group (hooks, captions, overlays)
---
Troubleshooting and Common Issues
- Can’t find “Switch to Business Account”
- Update the app; go to Profile > Menu (≡) > Settings and privacy > Account
- If still missing, check regional availability or try logging out/in
- Link in bio not clickable
- Ensure you’re on a Business Account
- Some regions and new accounts are restricted; continue posting consistently and ensure your profile is complete
- Try a different URL format (https://) and avoid redirects that look suspicious
- Instagram/YouTube won’t connect
- Update TikTok and the other apps; temporarily disable VPN
- Log out and back in to reauthorize
- Business Center ownership conflicts
- If another Business Center claimed your TikTok account, ask their admin to remove or grant access
- Use Request access instead of Claim if you do not own the asset
- Verification pending in Business Center or TikTok Shop
- Ensure documents match your business name and address exactly
- Re-upload clearer scans; check file formats and size limits
- Pixel not firing or duplicate events
- Use TikTok Events Manager diagnostics and a browser pixel helper
- Check that the pixel code is placed once in the head
- Verify event triggers (e.g., Purchase fires after transaction confirmation only)
- Avoid multiple tag managers triggering the same event
- Domain verification fails
- DNS TXT: Wait up to 24–48 hours for propagation; ensure no typos and correct root/apex domain
- HTML upload: Confirm the file is at example.com/filename and accessible publicly
- Meta tag: Place in the head of the root page; clear caches/CDN
- Region or age restrictions
- Some commerce features require 18+ and are limited by market
- Confirm local availability for Shop and in-app checkout
- Ads rejected or limited delivery
- Review creative against TikTok’s ad policies
- Remove prohibited categories or misleading claims
- Use approved landing pages (mobile-friendly, with clear policies)
- Escalate via TikTok support
- From the app: Profile > Menu (≡) > Settings and privacy > Report a problem
- For Business Center/Ads: Use the Help Center chat or submit a ticket in Ads Manager
---
Quick Checklist: From Zero to Fully Linked
- Switch to Business Account and choose the right category
- Add logo, display name, username, bio + CTA, email button, website link
- Connect Instagram and YouTube
- Set up Business Center: add your TikTok account, invite team, assign roles
- Connect or create an Ad Account and billing
- Install Pixel/Events API and verify your domain
- If eligible, enable TikTok Shop and sync products; otherwise, connect Shopify/BigCommerce/WooCommerce for catalog ads
- Start posting, use Commercial Music Library, test Spark Ads, and track with UTMs
With these steps, you’ve fully “linked” TikTok to your business presence—profile, ads, analytics, and commerce—so you can build audience, measure impact, and drive sales.
---
Summary
To link TikTok to your business, switch to a Business Account, complete your profile, and connect Business Center and Ads Manager with proper roles, billing, and tracking (Pixel/Events API and domain verification). Add social links, consider TikTok Shop or partner ecommerce integrations, and use UTMs plus analytics to measure results. Keep iterating creative, leverage Spark Ads, and use the troubleshooting tips here to resolve common setup issues quickly.