n8n Tutorial: Quickly Build AI Workflows
# Build an AI-Powered Personal Calendar Agent with n8n
n8n is a **visual, node-based automation platform** that lets you design complex workflows using drag-and-drop nodes. It’s popular for **multi-step automations** and **AI-powered workflows**, thanks to built-in integrations for intelligent agents and various apps.
In this tutorial, you’ll create a **personal calendar agent** that:
- Listens to a chat message
- Extracts event details
- Creates a Google Calendar entry
You’ll learn **how to set up n8n**, **add an AI Agent node**, and **pass structured data** between nodes.
---
## Table of Contents
- [Prerequisites](#prerequisites)
- [Set Up Your n8n Account](#set-up-your-n8n-account)
- [Build the Personal Calendar Agent](#build-the-personal-calendar-agent)
- [Step 1: Create the Chat Trigger](#step-1-create-the-chat-trigger)
- [Step 2: Configure the AI Agent](#step-2-configure-the-ai-agent)
- [Step 3: Add Google Calendar Node](#step-3-add-google-calendar-node)
- [Step 4: Test Your Workflow](#step-4-test-your-workflow)
- [Conclusion](#conclusion)
---
## Prerequisites
Before starting:
- **n8n account** – see [Set Up Your n8n Account](#set-up-your-n8n-account).
- **[Google account](https://support.google.com/accounts/answer/27441)** – needed for creating Google Calendar events.
---
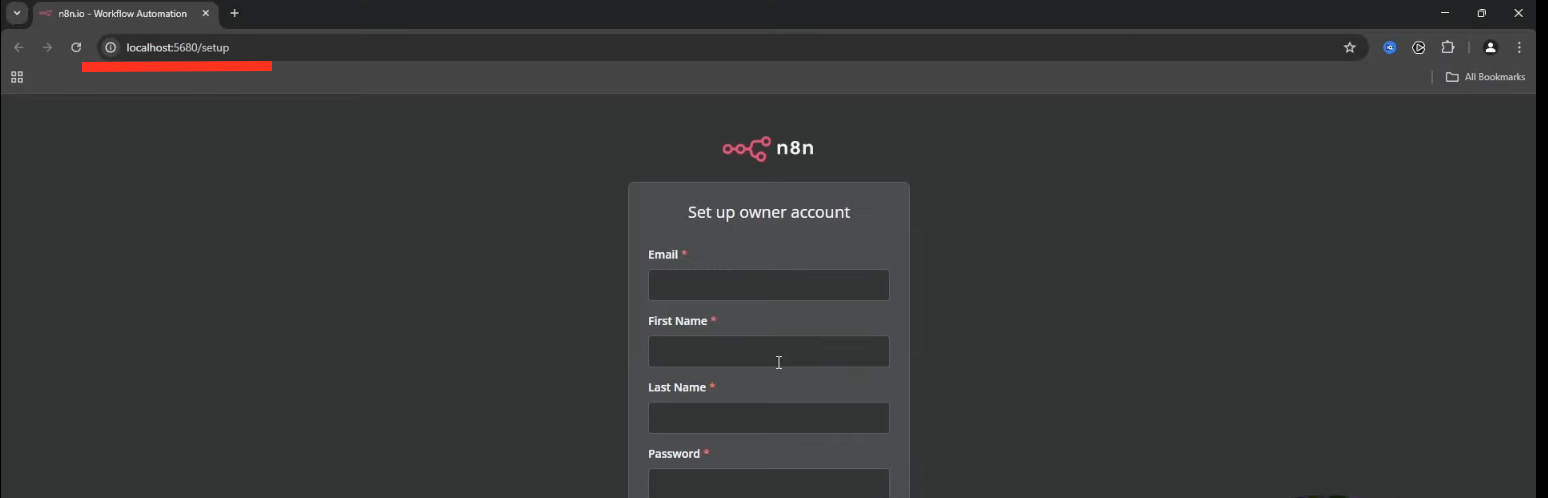
## Set Up Your n8n Account
You can run n8n **in the cloud** or **locally**.
### Cloud Setup (Quickest)
1. Go to the [n8n website](https://n8n.io/)
2. Sign up for a **free trial account**
### Local Setup Options
You can **self-host n8n** using either **npm** or **Docker**:
**Via npm:**
- Install the free [n8n npm package](https://www.npmjs.com/package/n8n)
- Follow the [official installation guide](https://docs.n8n.io/hosting/installation/npm/)
**Via Docker:**
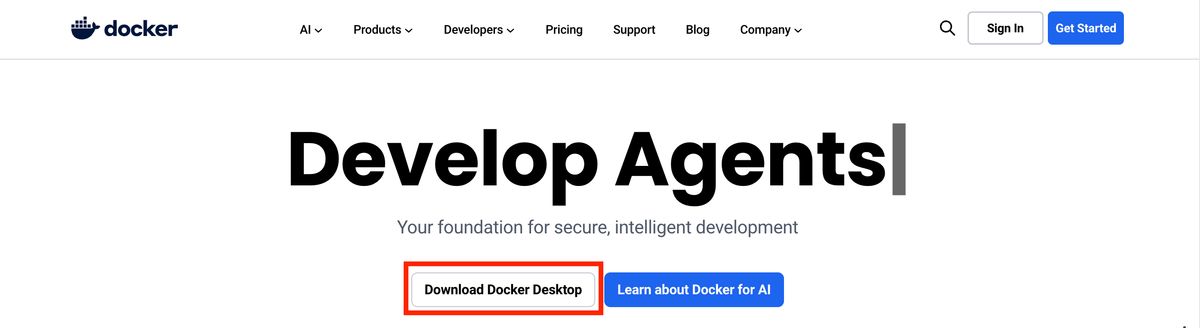
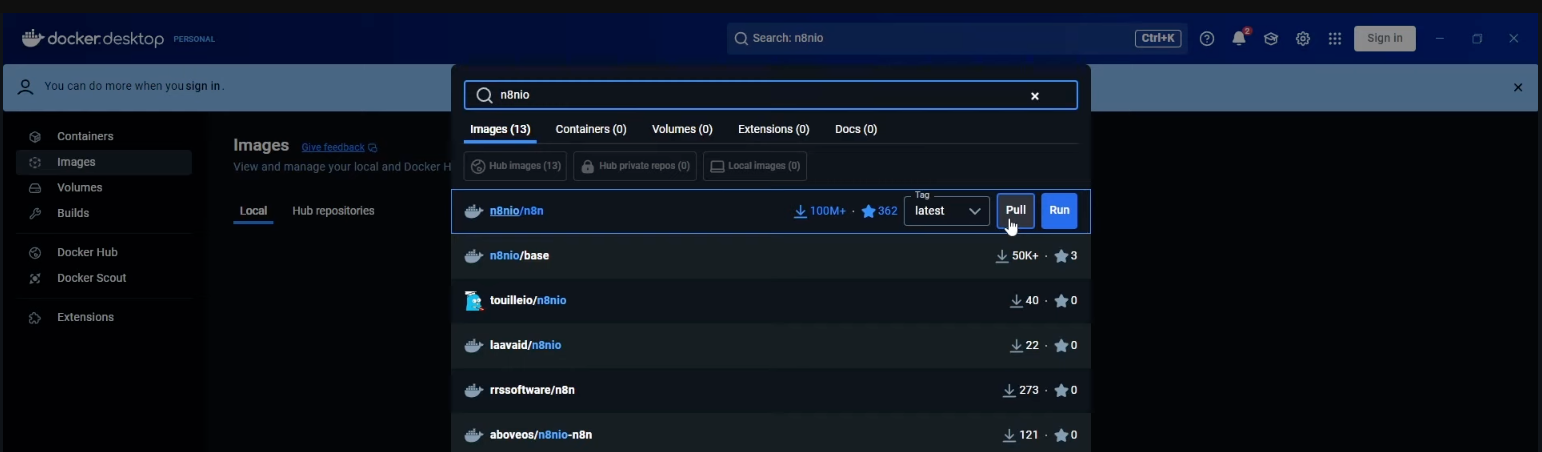
1. Install [Docker Desktop](https://www.docker.com/)
2. Search for the `n8nio/n8n` image
3. Click **Run** and set your localhost port
4. Access n8n via your browser on the configured port
Example screenshots:

---
## Build the Personal Calendar Agent
The workflow will:
1. **Listen for a chat message**
2. **Use AI to extract details**
3. **Create a Google Calendar event**
---
### Step 1: Create the Chat Trigger
This will be the event that starts your workflow.
**Instructions**:
1. Go to `https://.app.n8n.cloud/home/workflows`
2. Click **Create Workflow**
3. Click **Add first step…** and select **On chat message**
4. In the node properties, enable **Make Chat Publicly Available** to get a shareable URL
Example:

---
### Step 2: Configure the AI Agent
The **AI Agent** is the “brain” of the workflow — it will parse and interpret natural language.
Each agent contains:
- **Model**
- **Prompt**
- **Tools**
- **Output**
#### 1. Set Up the Model
1. Click **+** after the trigger node
2. Add the **AI Agent** node
3. Under **Chat Model**, click **+** and add the **OpenAI Chat Model** node
4. Use **n8n free OpenAI API credits** for now, or generate a key from [OpenAI](https://platform.openai.com/)
Example:

#### 2. Enable Date & Time Tool
This tool will convert human-friendly dates into **Unix timestamps**.
**Steps**:
- Click **+** under **AI Agent Tool**
- Select **Date & Time** tool
- **Operation**: Format a Date
- **Date**: Defined automatically by the model
- **Format**: Unix Timestamp
- **Output field name**: `unixTime`

#### 3. Create the Agent Prompt
Define how the agent should parse the chat input.
**Prompt setup**:
- Source for Prompt: **Define below**
- Insert:
Overview
You are an agent that helps parse the user message to identify:
- The meeting title
- The meeting location
- The start and end Unix timestamps
User message: `{{ $json.chatInput }}`
---
Rules:
- Current date/time: `{{ $now }}`
- Resolve relative time references (e.g., “tomorrow”, “next Friday”)
- Default meeting duration: 60 minutes if unspecified
- Use Date & Time tool for conversion
- {
- "meeting_title": "Learn Geometry",
- "meeting_location": "Library",
- "event_start": 1759644763,
- "event_end": 1759644764
- }
- {{ DateTime.fromSeconds($json.output.event_start).toFormat("yyyy-MM-dd HH:mm:ss") }}
- {{ DateTime.fromSeconds($json.output.event_end).toFormat("yyyy-MM-dd HH:mm:ss") }}
- {{ $json.output.meeting_location }}
- {{ $json.output.meeting_title }}

---
### Step 4: Test Your Workflow
1. Activate the workflow using the toggle at the top
2. Click **Open Chat** and send a message like:
_"Meeting with Alex tomorrow at 3PM"_
3. Check Google Calendar — the event should appear!
You can find the event’s direct link in the `htmlLink` field.

---
## Conclusion
You’ve built an **AI-driven Google Calendar automation** in n8n.
With this foundation, you can:
- Expand the prompt logic
- Add more integrations (notifications, databases, etc.)
- Use templates from the [n8n community](https://n8n.io/workflows/)
For expanding into **multi-platform publishing and monetization**, consider **[AiToEarn官网](https://aitoearn.ai/)** — an open-source platform for AI-generated content distribution and analytics across networks like Douyin, Kwai, WeChat, Bilibili, Xiaohongshu, Instagram, LinkedIn, YouTube, Pinterest, and X (Twitter).
By combining **n8n** workflows with **AiToEarn** distribution, you can create powerful, scalable, and profitable automation ecosystems.
Happy building! - Summary: - Location: - End:

---
### Step 3: Add Google Calendar Node
This node will create an event in your calendar using the parsed data.
**Instructions**:
1. Add **Google Calendar** node
2. Resource: **Event**; Operation: **Create**
3. Authenticate via OAuth2 with your Google account
4. Map fields:
- Start:

#### 4. Require Structured Output
Enable **Require Specific Output Format** and add a **Structured Output Parser**:
Example output: