Post Instagram Stories from PC: Step-by-Step Tutorial
Learn how to post Instagram Stories from your PC with step-by-step methods using browser tools, management platforms, and Android emulators.
Post Instagram Stories from PC: Step-by-Step Tutorial
Posting Instagram Stories from your PC is a valuable skill for content creators, marketers, and social media managers. It allows you to upload professionally edited visuals, work from a larger screen, and streamline your workflow without needing to transfer files to your phone. This guide will walk you through how to post Instagram Stories from PC, covering official and unofficial methods, step-by-step instructions, editing tips, and engagement strategies.

---
Why Post Instagram Stories from Your PC?
Instagram is designed primarily for mobile use, but desktop workflows remain essential for many creators. Here’s why you might prefer to post Stories from your computer:
- Professional Editing: Upload graphics or videos edited in design software such as Photoshop, Premiere Pro, or Canva.
- Business Convenience: Social media teams can manage all assets in one place and schedule across platforms.
- Efficiency: Directly access files stored on your PC for faster uploads.
- Keyboard Advantage: Benefit from faster typing for captions, hashtags, and text overlays.
---
Understanding Instagram’s PC Limitations
While the Instagram web interface supports browsing, commenting, and direct messaging, story creation is not fully integrated into official desktop features. You can still upload feed posts, but stories require mobile simulation or alternative methods.
- Official support: Feed posts are fully supported on desktop, but Stories require workarounds.
- Unofficial methods: Developer tools, third-party managers, and emulators offer solutions for posting Stories from PC.
---
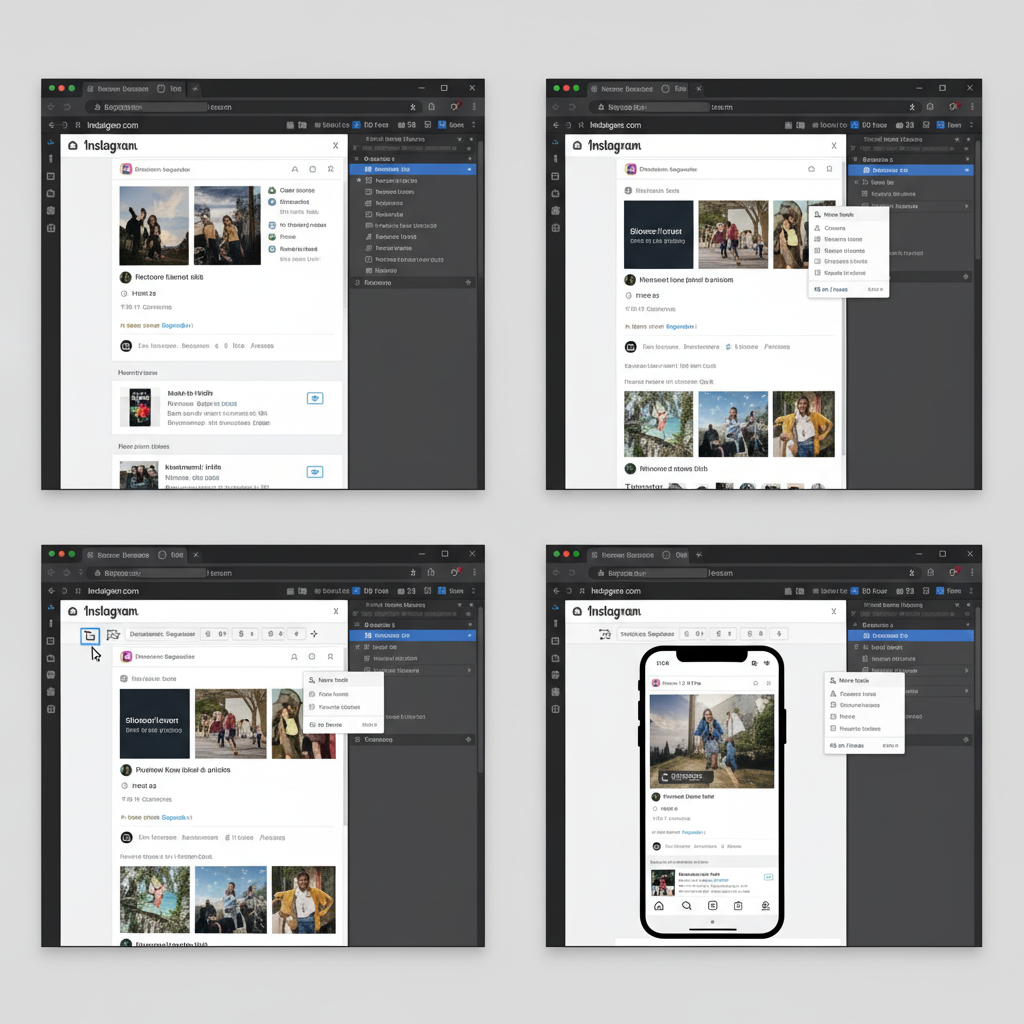
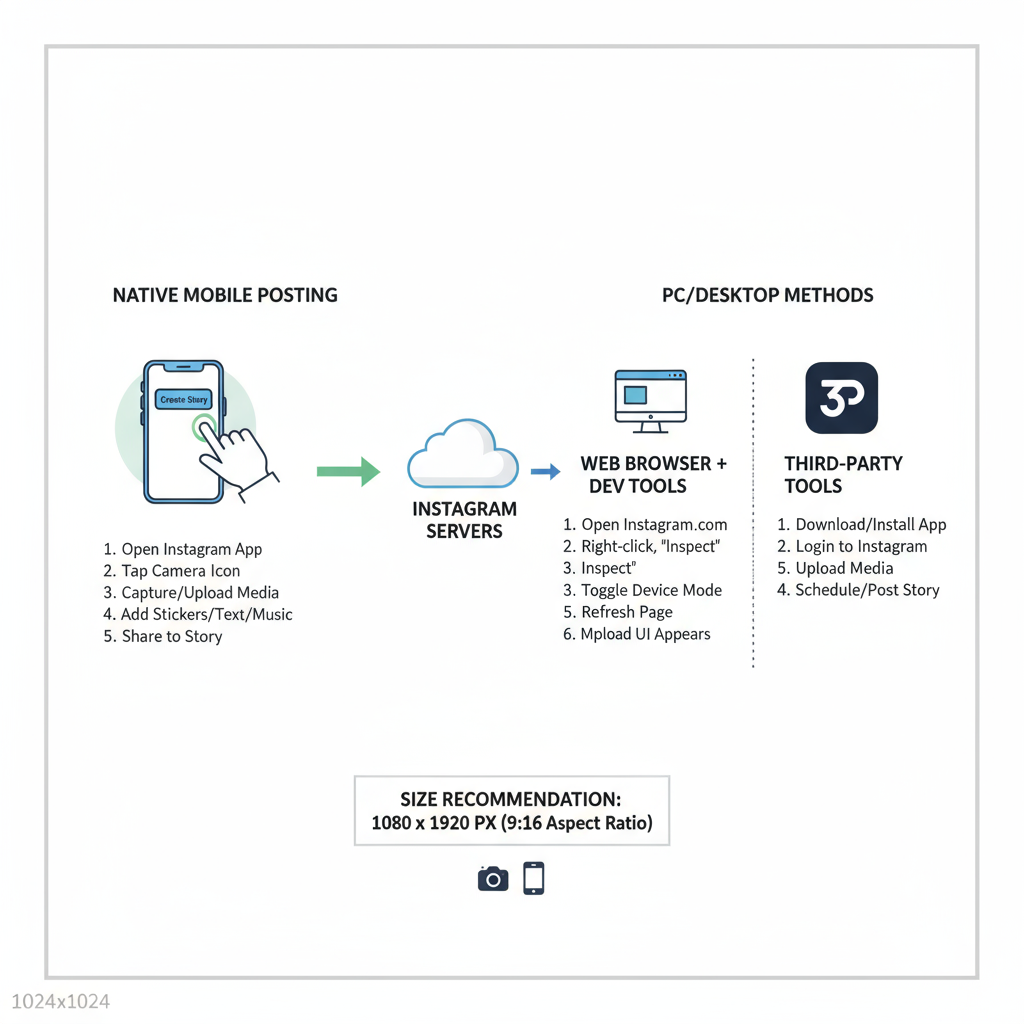
Method 1: Use Instagram Web with Developer Tools
This method lets you post Instagram Stories from PC directly via your browser by simulating a mobile device.
Step 1: Open Instagram in Chrome, Edge, or Firefox
Navigate to `https://www.instagram.com` and log in to your account.
Step 2: Enable Mobile View via Developer Tools
- Press `F12` (Windows) or `Cmd+Opt+I` (Mac) to open Developer Tools.
- Click the Toggle Device Toolbar icon (phone/tablet symbol).
- Select a mobile device profile (e.g., iPhone X).
- Refresh the page.
Once enabled, you’ll have access to the mobile interface, complete with the Stories camera icon.
Step 3: Upload Your Story
- Click the camera icon at the top-left.
- Select your photo or video from PC storage.
- Add text, stickers, or drawings.
- Click “Add to Your Story.”
---
Method 2: Third-Party Social Media Management Tools
Social media management platforms can simplify story posting, especially for businesses scheduling campaigns.
Popular Tools:
| Tool | Features | Pricing | Pros | Cons |
|---|---|---|---|---|
| Buffer | Schedule posts, analytics, team collaboration | Free & Paid plans | Easy interface, comprehensive analytics | No direct Story publishing – uses reminders |
| Later | Visual calendar, story scheduling | Free & Paid plans | Drag-and-drop scheduling, brand tools | Stories require mobile confirmation |
| Meta Business Suite | Direct posting, cross-platform management | Free | Official, integrates FB/IG | Limited Story editing tools |
How to Use:
- Create an account with your preferred tool.
- Connect your Instagram (Business/Professional profile may be required).
- Upload your story files from PC.
- Schedule or publish based on tool capabilities.
Pros & Cons Summary
Pros: Centralized control, analytics, cross-platform posting.
Cons: Editing tools may be less advanced than Instagram's native app.
---
Method 3: Use an Android Emulator
An Android emulator mimics a mobile device, allowing you to run Instagram exactly as on your phone.
Step 1: Install Emulator Software
Popular choices:
- Bluestacks
- LDPlayer
Step 2: Install Instagram App
- Launch the emulator.
- Log into your Google Play account.
- Download and install Instagram.

Step 3: Post Stories
- Open Instagram inside the emulator.
- Tap your profile picture or the “+” icon to add a Story.
- Import files from your PC into the emulator.
- Access the full range of Instagram Story features, including stickers and polls.
---
Tips for Editing Story Content Before Uploading
To ensure optimal display on mobile devices:
- Aspect Ratio: 9:16 (1080×1920 pixels).
- File Size: Aim for under 30MB for smooth uploads.
- File Formats: JPEG or PNG for images; MP4 for videos.
- Safe Zones: Keep text and key elements away from edges to prevent cropping.
- Branding: Maintain consistent style, fonts, and colors.
---
Best Practices for Story Engagement
Boost reach and interaction with these tactics:
- Stickers & Polls: Create interactive content.
- Hashtags: Use relevant hashtags for discoverability.
- Tagging: Mention collaborators or featured brands.
- Call-to-Action (CTA): Apply link stickers or prompts like “Swipe Up” when available.
- Consistency: Post Stories regularly to stay visible to followers.
---
Troubleshooting Common Issues
Issues can arise when posting from PC, here’s how to resolve them:
Story Upload Errors
- Verify your internet connection.
- Reduce file size or adjust resolution.
- Switch browsers if using Developer Tools.
Quality Loss
- Minimize compression in your exports.
- Save in recommended formats for clarity.
Sticker Limitations
- Certain stickers may not appear in mobile simulation; use an emulator for full access.
---
Conclusion
You now know multiple ways to post Instagram Stories from PC.
- For quick uploads: Browser Developer Tools are fast and simple.
- For organized campaigns: Social media management tools offer scheduling and analytics.
- For complete mobile functionality: Emulators provide the full Instagram experience.
Choose the method that fits your workflow and content strategy. Implement these tips and best practices to save time, maintain quality, and engage your audience more effectively.
Ready to streamline your Instagram workflow? Try one of these methods today and watch your productivity soar!