Profile Picture in Twitter (X): Sizes, How to Change It, and Pro Tips
Learn ideal Twitter (X) profile picture sizes, formats, and safe zones, plus step-by-step guides for desktop and mobile and pro tips to boost recognition.

Profile Picture in Twitter (X): Sizes, How to Change It, and Pro Tips
Your profile picture in Twitter (X) is one of the most important visual assets you control on the platform. It shows up in timelines, replies, search results, DMs, Lists, and every tap target that includes your handle. A great avatar builds trust, improves recognition, and can even lift click-through rates on your tweets and bio link.
Why Your Profile Picture Matters
- Trust and credibility: A clear, well-lit headshot or a sharp brand mark tells people you’re real and worth following.
- Recognition at a glance: The more consistent and distinct your avatar, the faster people identify your content in a busy feed.
- Click-through impact: Strong avatars increase the likelihood of profile visits, which can lead to more follows and clicks on your pinned tweet and bio link.
- Consistency across platforms: Use a similar avatar across Twitter (X), LinkedIn, GitHub, and other networks to build cohesive brand recall.
Image Specs and Requirements
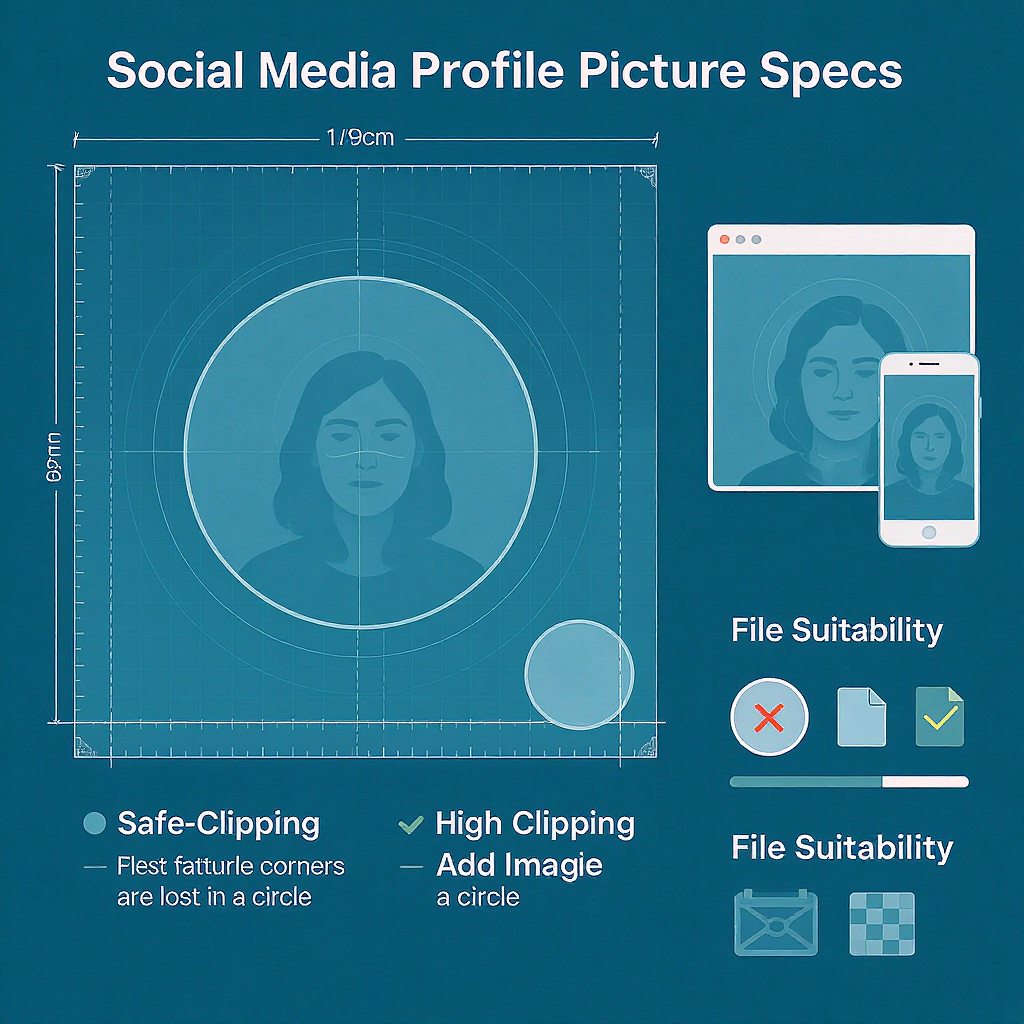
The platform renders avatars in a circular mask but requires square uploads. Use the specs below for crisp results and safe cropping.
| Item | Recommendation | Notes |
|---|---|---|
| Aspect ratio | 1:1 (square) | Twitter (X) crops to a circle in UI; upload a square file. |
| Recommended size | 400 × 400 px | Optimized for profile page and high-DPI screens; larger is unnecessary. |
| Minimum practical size | 200 × 200 px | Lower resolutions can look soft or pixelated after compression. |
| File formats | JPG or PNG (static) | Animated GIFs are not supported for profile pictures. |
| File size | ≤ 2 MB | Keep it under 2 MB to avoid upload errors and extra compression. |
| Color space | sRGB | Ensures consistent color across devices and browsers. |
| Safe zone | Central 70–80% | Keep faces/logos within this area to avoid circular crop cutoff. |
Common display sizes you should be aware of:
| Context | Approx. Display Size | Notes |
|---|---|---|
| Timeline/replies (mobile) | 48–64 px | Often the smallest; design for legibility here first. |
| Profile page (desktop) | ~200 px | Appears larger; high-DPI screens may double pixel density. |
| Sidebar/Lists/Spaces | Varies (40–80 px) | Small sizes emphasize contrast and simple shapes. |
Step-by-Step: How to Change Your Profile Picture on Desktop
- Go to twitter.com and log in to your account.
- In the left navigation, click Profile.
- On your profile page, click the Edit profile button.
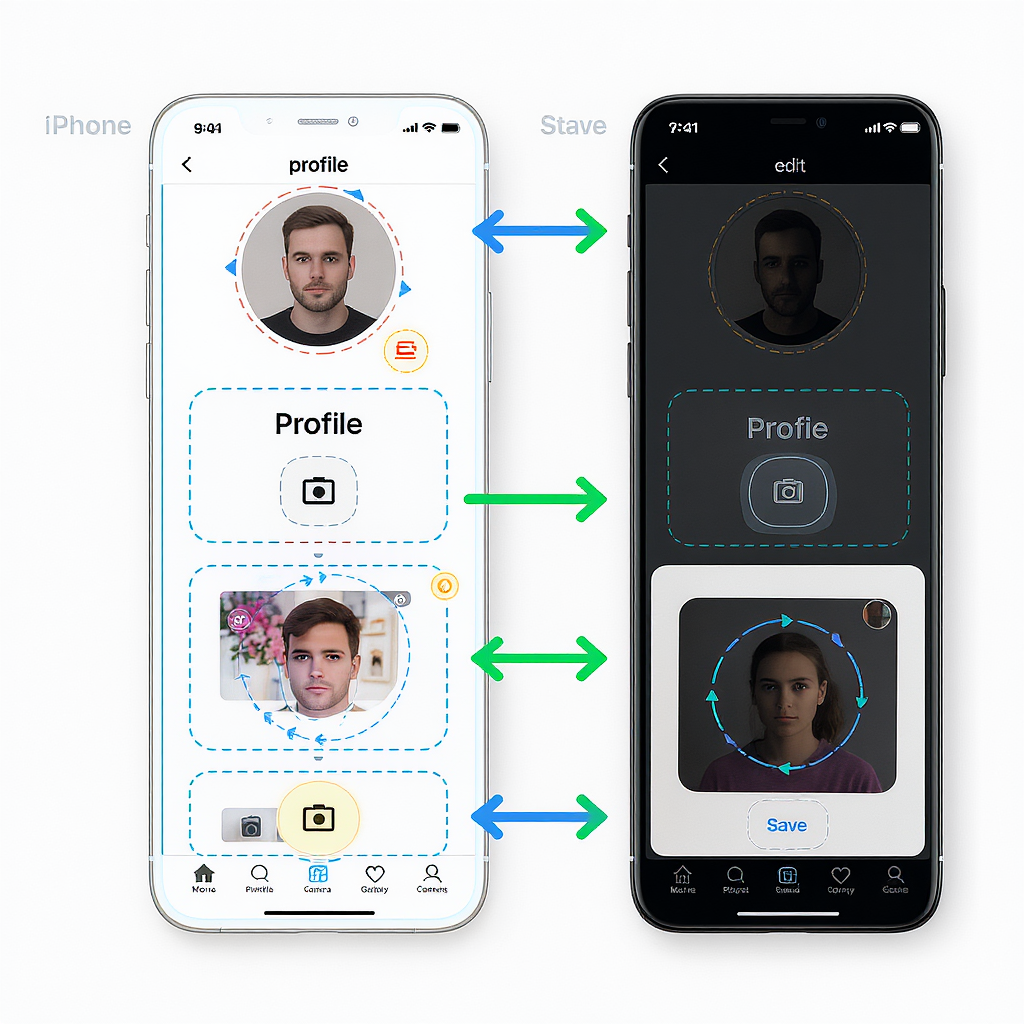
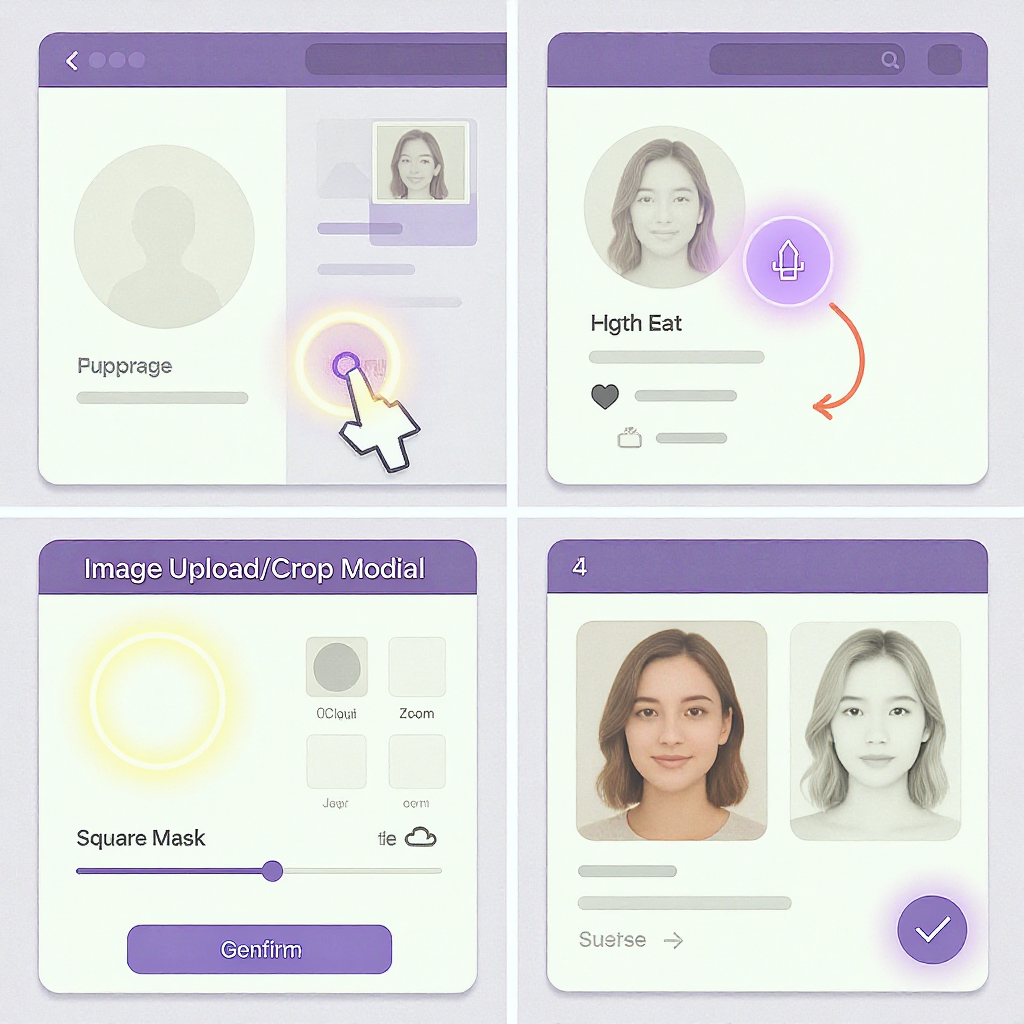
- Hover over your current avatar and click the profile photo area.
- Choose Upload photo and select your image (ideally 400 × 400 JPG or PNG).
- Use the zoom slider to scale, and drag to reposition within the circular guide.
- Make sure key features (eyes, logo mark) are centered and not near the edge.
- Click Apply (or similar) to finalize the crop.
- Click Save on the Edit profile panel to publish the change.
Pro tip: If the crop preview is circular, check the edges. If the preview is square, still assume a circular mask in the final display—keep content centered.
Step-by-Step: How to Change Your Profile Picture on iOS and Android
iOS:
- Open the X app and log in if needed.
- Tap your profile photo (top-left) to open the side menu, then tap Profile.
- Tap Edit profile.
- Tap your profile picture area, then choose Take photo or Choose existing photo.
- Select your image and use the crop/zoom controls to center your face or logo.
- Tap Done or Apply.
- Tap Save to update.
Android:
- Open the X app and sign in.
- Tap your profile photo or the menu icon to open the side menu, then tap Profile.
- Tap Edit profile.
- Tap your profile picture area and select Camera or Gallery.
- Crop and reposition for a circular mask; avoid tight edges.
- Tap Apply, then Save.
If the change doesn’t appear immediately, pull to refresh your profile, force-quit and reopen the app, or wait a few minutes for caches to update.
Design and Branding Tips for Standout Avatars
- Prioritize contrast: Light subject on dark background (or vice versa) reads better at small sizes.
- Simplify the background: Solid colors or soft gradients beat busy scenes.
- Frame smartly: Headshots should crop from mid-chest to just above the head; logos should fill the safe zone.
- Harmonize colors: Use brand colors or tones that match your header and theme.
- Add a subtle border: A 4–8 px circular stroke can help your avatar pop against varied timelines.
- Sharpen for small sizes: Slight clarity/sharpening helps retain detail after compression.
Personal vs. Business Use
- Personal accounts (headshots):
- Natural lighting, neutral background, eyes toward camera.
- Avoid sunglasses and heavy filters that reduce recognizability.
- Business accounts (logos/mascots):
- Use a simplified, single-color or high-contrast logo variant.
- Center the mark; remove taglines or small text that won’t be legible.
- Seasonal or campaign updates:
- Add a subtle seasonal accent (badge or color ring) without altering core identity.
- Time updates to product launches or key events; revert after the campaign.
Common Mistakes and Quick Fixes
- Pixelation or blur:
- Fix: Start from a higher-resolution source; export at 400 × 400, sRGB, 80–90% JPG quality or PNG for flat graphics.
- Over-cropping in circular masks:
- Fix: Keep the subject within the central 70–80%; leave breathing room around edges.
- Busy backgrounds:
- Fix: Replace with a solid color or gradient; darken or blur the background to focus on the subject.
- Low contrast:
- Fix: Increase exposure/contrast; add a subtle outer stroke or drop in a contrasting background color.
- Off-brand colors:
- Fix: Pull from your brand palette; ensure the avatar matches header and link colors for cohesion.
Troubleshooting Uploads and Display
- File type or size errors:
- Ensure JPG or PNG; keep under 2 MB; convert HEIC or WEBP to JPG/PNG before uploading.
- Compression artifacts:
- Export at a slightly higher quality; avoid heavy noise; try PNG for logos and flat graphics.
- Cache or app refresh:
- Refresh your profile, clear browser cache, force-quit and reopen the app, or log out/in.
- Connectivity:
- Switch from cellular to Wi‑Fi or try a different network if uploads fail.
- Policy or copyright flags:
- Avoid copyrighted images/logos you don’t own and content violating community guidelines.
- Not updating across devices:
- Wait a few minutes; CDNs and caches may delay propagation across web and mobile.
Pro Workflow Tips
Batch resizing templates:
- Create a 400 × 400 template with a circular safe-zone guide (70–80% radius).
- Use layers for background options (solid, gradient) and a brand color palette.
Command-line automation (ImageMagick):
## Center-crop to square, pad if needed, and export for X

magick input.jpg -resize 400x400^ -gravity center -extent 400x400 -strip -quality 88 avatar_x.jpg
Batch process a folder:
## macOS/Linux

mkdir -p out && for f in *.jpg *.png; do \
  magick "$f" -resize 400x400^ -gravity center -extent 400x400 -strip -quality 88 "out/${f%.*}_x.jpg"; \
done
AI upscalers and retouching:
- Upscale soft images with tools like Real-ESRGAN, Topaz Gigapixel, or Photoshop’s Super Resolution.
- Subtle skin retouch and color correction can improve headshots without looking over-processed.
Test variants:
- Rotate between 2–3 designs for a week each; measure profile visits, new follows, and bio link clicks.
- Use UTM parameters on your bio link to attribute traffic changes.
- Run a quick poll to ask followers which avatar they recognize fastest.
Align avatar with header and bio:
- Reuse brand shapes, colors, or textures across avatar and header.
- Ensure the avatar’s edge color doesn’t clash with the header at profile scale.
- Mention the brand tagline in the header, not the avatar, to keep the avatar clean.
Quick Checklist Before You Upload
- Square 1:1, 400 × 400 px, sRGB.
- JPG (quality 80–90) for photos; PNG for logos/flat graphics.
- Subject centered within central 70–80% safe zone.
- High contrast, simple background, clean edges.
- File size under 2 MB.
Follow these practices and your profile picture in Twitter (X) will look sharp, on-brand, and instantly recognizable across the entire platform.