Reels Dimensions: The 2025 Guide to Instagram and Facebook Reels Sizes, Ratios, and Safe Zones
2025 guide to Instagram and Facebook Reels: exact sizes, 9:16 ratios, safe zones, export settings, frame rates to avoid UI crops and keep videos crisp.
This practical formatting guide helps you prepare Reels that look sharp, read clearly, and avoid UI collisions across Instagram and Facebook. It focuses on exact dimensions, aspect ratios, safe zones, export settings, and efficient workflows—so you can build once and post with confidence. Use it as a living baseline and validate against in‑app upload prompts as platforms update.
Reels Dimensions: The 2025 Guide to Instagram and Facebook Reels Sizes, Ratios, and Safe Zones

Vertical video is the default language of mobile. When your Reels are sized correctly, they look crisp, read clearly, and avoid awkward crops that kill engagement. This 2025 guide covers exact Reels dimensions, aspect ratios, safe zones, export settings, and practical workflows—so you can master Instagram and Facebook Reels once and for all.
Platforms evolve, so consider this a living baseline. Always sanity‑check against the latest upload guidelines inside each app.
Why Reels dimensions matter
Correct sizing is more than pedantry; it’s performance:
- Avoid ugly black bars and unintended letterboxing
- Preserve text and subtitle readability on small screens
- Keep faces, products, and CTAs out from under UI buttons
- Reduce platform recompression that causes blur, banding, and stutter
- Improve watch time and completion rate by removing visual friction
- Make cross‑posting simpler with one master file and clear safe zones
Exact Reels dimensions and aspect ratios (Instagram and Facebook)
- Aspect ratio: 9:16 vertical (tall). This is the native full‑screen canvas on both Instagram and Facebook Reels.
- Recommended resolution: 1080 × 1920 pixels.
- Acceptable aspect tolerance:
- Full‑screen vertical: 9:16 is the standard.
- Center‑safe for feed previews: 4:5 (1080 × 1350 center crop).
- Horizontal or square will letterbox and reduce impact—avoid for Reels.
- Container and codecs:
- MP4 container with H.264 video (High or Main Profile), 8‑bit 4:2:0.
- AAC audio, 44.1 or 48 kHz, 128–320 kbps.
- Common frame rates and when to use them:
- 24 fps (or 23.976): cinematic look, dialogue, narrative.
- 30 fps (or 29.97): standard social feel, most scenarios.
- 60 fps (or 59.94): fast action, screen tutorials, sports; smoother motion, larger files.
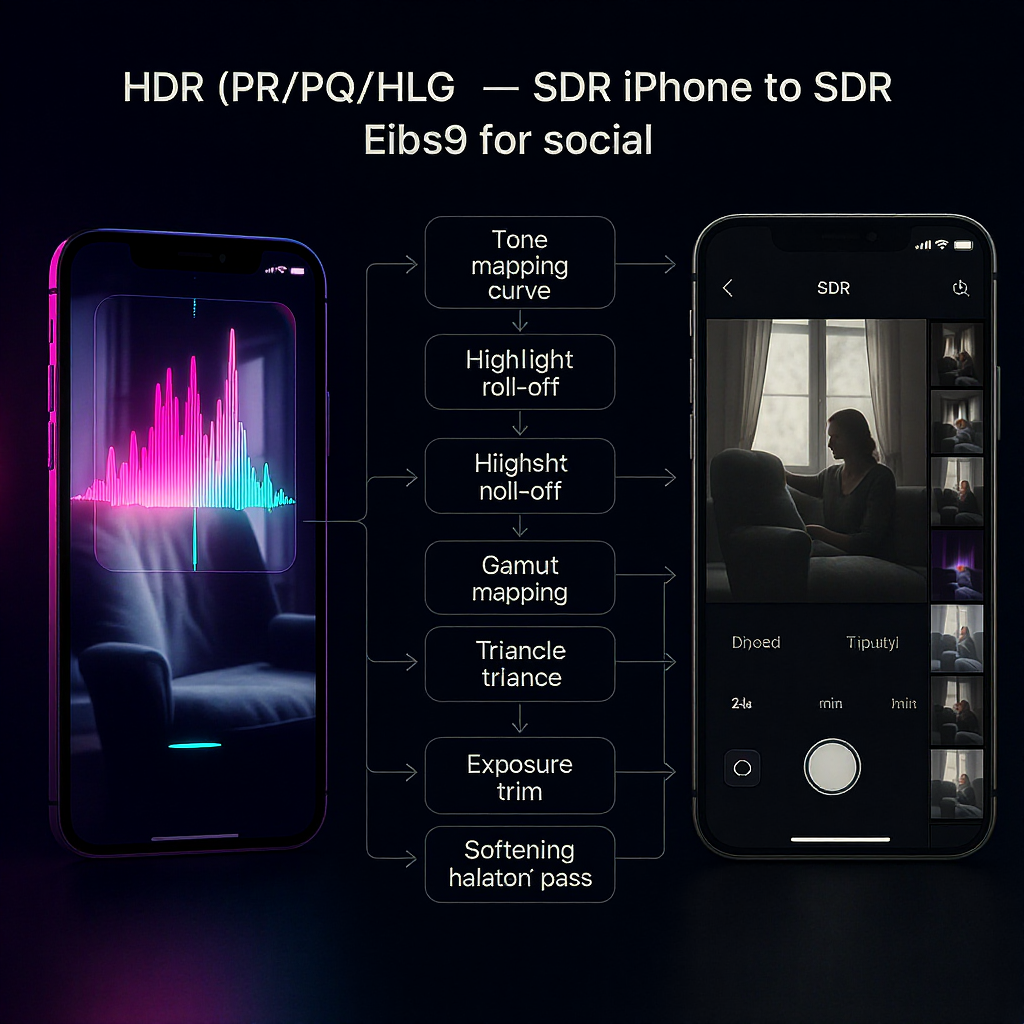
- Color: SDR Rec.709 recommended for consistent rendering across devices. If you shoot HDR (e.g., iPhone HDR), convert to SDR on export to avoid oversaturation or washed highlights in feeds that don’t fully support HDR.
| Platform | Primary Aspect | Canvas (px) | Upload Format | Frame Rates | Audio | Notes |
|---|---|---|---|---|---|---|
| Instagram Reels | 9:16 | 1080 × 1920 | MP4 (H.264) | 24 / 30 / 60 fps | AAC, 44.1–48 kHz | Design center-safe for 4:5 feed preview |
| Facebook Reels | 9:16 | 1080 × 1920 | MP4 (H.264) | 24 / 30 / 60 fps | AAC, 44.1–48 kHz | Similar safe zones; UI differs slightly |
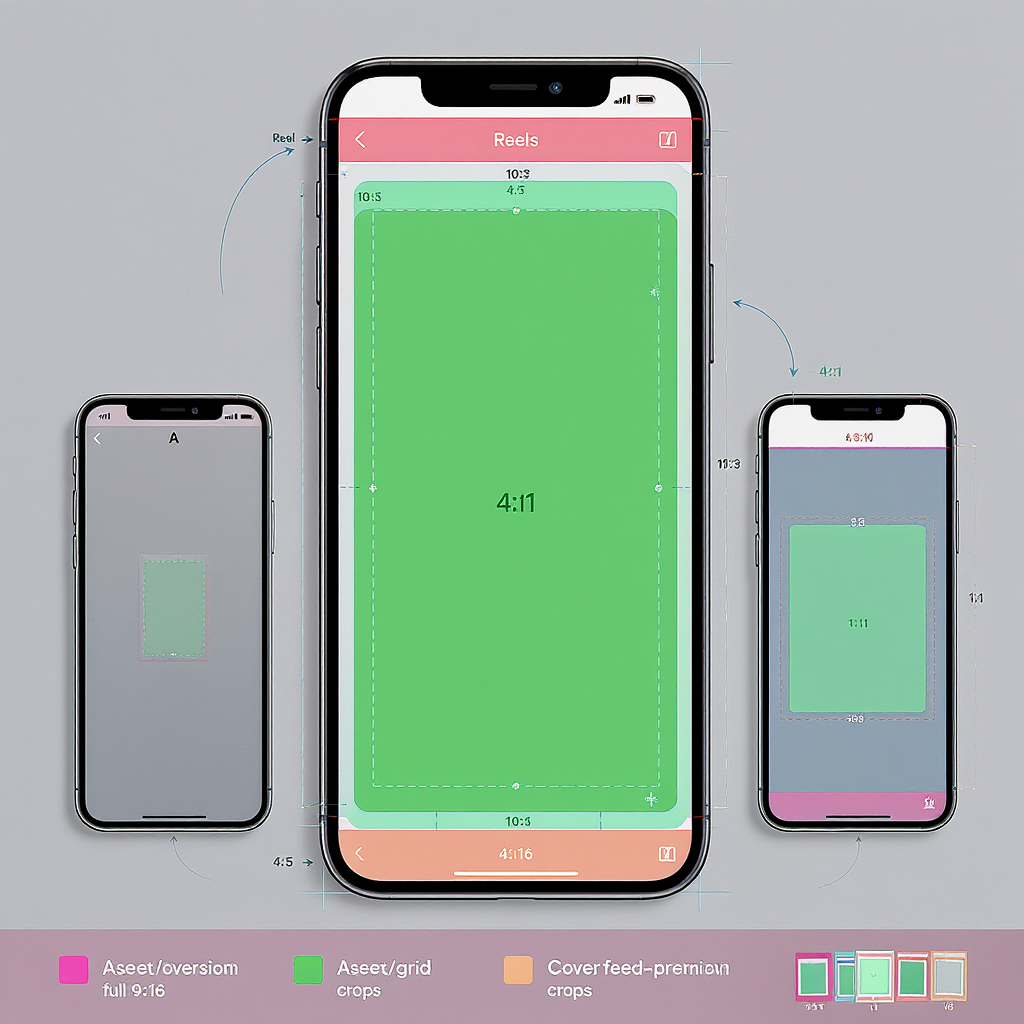
Safe zones and UI overlays
The biggest mistake in Reels is placing titles, captions, or CTAs under UI overlays (username, like/share buttons, caption box). Use practical padding so your message always reads.
Key concepts:
- Full canvas: 1080 × 1920 (9:16).
- Feed preview crop: centered 4:5 window equals 1080 × 1350.
- “No‑text” edges: leave breathable margins so on‑screen graphics don’t clash with UI or look cramped.
Practical padding guidelines (1080 × 1920 master):
- Keep all essential text, logos, and faces within the central 1080 × 1350 window for feed previews.
- Top “danger zone”: at least 200–250 px from the top. Avoid placing titles here (username, audio info overlays may sit near the top).
- Bottom “danger zone”: at least 300–340 px from the bottom to steer clear of captions and action bars that can expand.
- Right side icons: leave ~120 px margin on the right for like/comment/share buttons; avoid anchoring text flush right.
- Left edge: ~60–90 px breathing room helps balance composition.
- If in doubt: keep critical text within an inner “safe box” around 900 × 1600 centered, and it will read on almost any device.
Tip: Add visible guides to your template—one for 9:16 canvas, one for 4:5 center‑safe preview, and inner text‑safe margins.
Cover images and feed previews
Your cover decides whether people tap—treat it like a thumbnail.
- Cover size: 1080 × 1920 (matches reel).
- Profile grid crop: 1:1 centered square. Design your cover so the central 1080 × 1080 looks great on the grid.
- Placement:
- Keep titles and faces centered and slightly above vertical center so they’re visible in 1:1 and 9:16.
- Avoid placing text at extreme top/bottom; it may be cropped in grid or obscured by UI in Reels view.
- Workflow:
- Export a still frame or design a separate JPG/PNG at 1080 × 1920.
- When uploading, use the app’s cover selector to align the 1:1 grid crop. Check both Reels player and profile grid previews before posting.
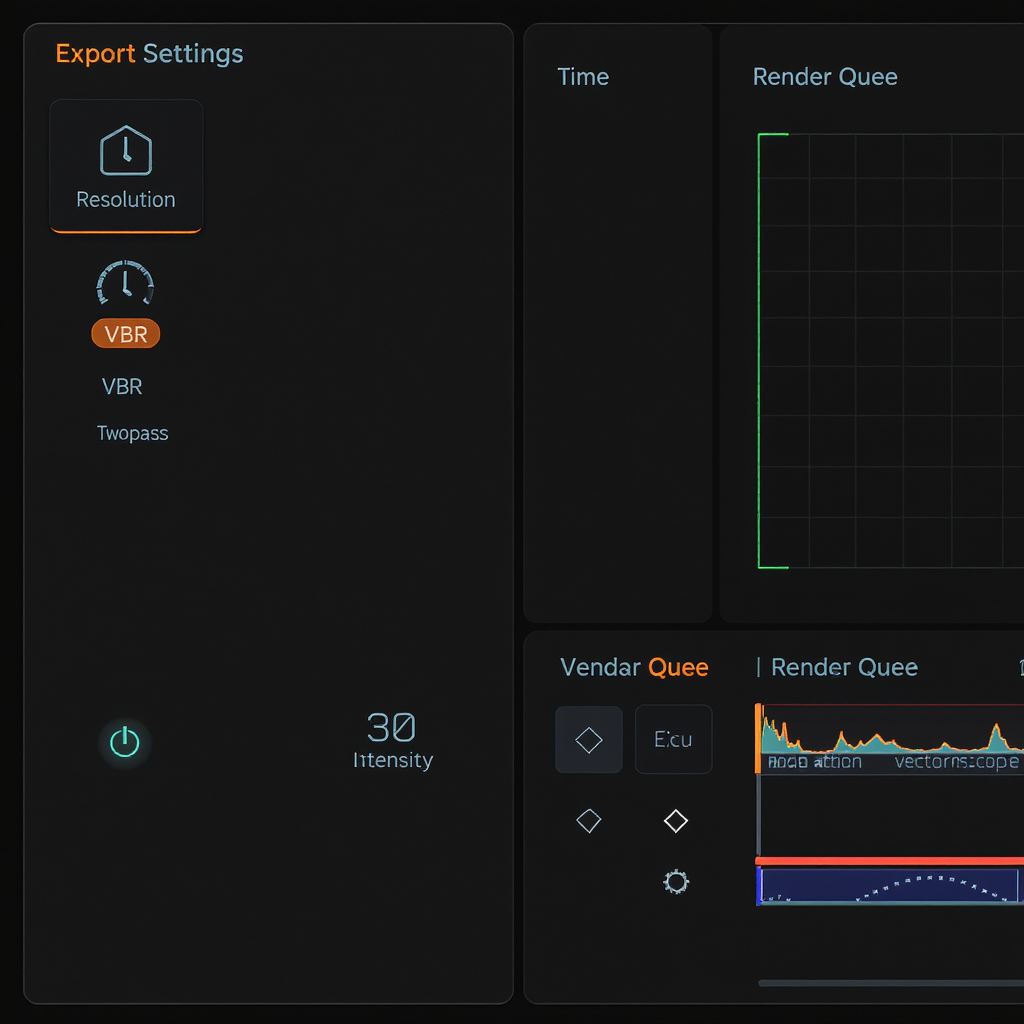
Export settings cheat sheet (clean 1080p vertical)
| Setting | Recommendation | Why |
|---|---|---|
| Resolution | 1080 × 1920 (9:16) | Native canvas; avoids scaling |
| Frame rate | Match source (24/30/60) | Prevents frame interpolation artifacts |
| Bitrate | 8–12 Mbps (VBR 2‑pass) for 30 fps 10–16 Mbps for 60 fps |
Balances quality and size; withstands recompression |
| Profile/Level | H.264 High, Level 4.2 (or Auto) | Wide compatibility |
| Keyframe interval (GOP) | 2 seconds (e.g., 48 frames at 24 fps) | Improves seek and compression |
| Color | Rec.709, full‑range to legal‑range mapping | Consistent display; avoid HDR surprises |
| Audio | AAC, 48 kHz, 192–320 kbps stereo | Clean voice and music |
| Bitrate mode | VBR 2‑pass preferred; CBR 10–12 Mbps acceptable | VBR preserves detail efficiently |
Avoid generation loss:
- Export once from your editor at final quality.
- Don’t screen‑record your own post or download from a platform and re‑upload (watermarks and heavy recompression).
- Transfer the master file directly to your phone (AirDrop, cable, cloud drive).
- In app settings, enable “Upload at highest quality” or equivalent.
Optional FFmpeg recipes:
## High-quality 1080x1920 vertical export, 30 fps, VBR-ish bitrate

ffmpeg -i input.mov -vf "scale=1080:1920:flags=lanczos,format=yuv420p" \
  -r 30 -c:v libx264 -profile:v high -level 4.2 -pix_fmt yuv420p \
  -preset slow -crf 18 -x264-params keyint=60:min-keyint=60:scenecut=0 \
  -c:a aac -ar 48000 -b:a 192k output.mp4
## Convert HDR (PQ/HLG) iPhone footage to SDR Rec.709 for consistent social playback

ffmpeg -i hdr.mov -vf "zscale=transfer=bt2020-10,tonemap=hable:desat=0.5,zscale=transfer=bt709,scale=1080:1920,format=yuv420p" \
  -colorspace bt709 -color_primaries bt709 -color_trc bt709 \
  -c:v libx264 -crf 18 -preset slow -c:a aac -ar 48000 -b:a 192k reel_sdr.mp4
Workflow by tool: quick presets and reusable templates
Create a reusable 1080 × 1920 project with visible guides for:
- Outer canvas (9:16)
- Center‑safe 4:5 feed crop (1080 × 1350)
- Inner text‑safe margins (e.g., 60 px left, 120 px right, 200 px top, 320 px bottom)
CapCut (desktop or mobile):
- Create new project > Canvas 9:16 (1080 × 1920).
- Add overlays: use “Safe area” if available; otherwise, import a PNG guide.
- Export: Codecs > H.264, 30 or 60 fps, Bitrate 10–12 Mbps (or “Recommended”), AAC 48 kHz.
Canva:
- Create design > Custom size 1080 × 1920.
- View > Show rulers/guides; place guides at 540 px center and for 4:5 safe height (285 px from top and bottom marks).
- Download > MP4 video, frame rate 30 fps (in advanced settings if available), Quality High.
Adobe Premiere Pro:
- Sequence: 1080 × 1920, 24/30/60 fps to match footage; Working color space Rec.709.
- Add a transparent PNG overlay with safe‑zone guides (put on top track, mute visibility when exporting).
- Export (H.264): Match Source, VBR 2‑pass, Target 10–12 Mbps (30 fps) or 12–16 Mbps (60 fps), Keyframe every 2 s, AAC 48 kHz 192–320 kbps.
Final Cut Pro:
- New project: Vertical, 1080 × 1920, 24/30/60 fps, Color space Rec.709.
- Use Title/Safe Areas or import a guide template.
- Share > Computer > H.264 Better Quality, set data rate ~12,000–16,000 kbps for 60 fps; Audio AAC 48 kHz.
LumaFusion (iOS/iPadOS):
- Project: Aspect Vertical 9:16, 1080 × 1920, fps to match camera.
- Export: H.264, Quality Extreme or set Bitrate 10–12 Mbps; AAC 48 kHz.
VN / InShot (mobile editors):
- Canvas 9:16, import safe‑zone guide as overlay.
- Export: 1080p, 30 or 60 fps, Bitrate “High” or manual 10–12 Mbps, AAC.
Cross‑posting to TikTok and YouTube Shorts
The 9:16 baseline travels well, but UI and safe zones differ slightly.
- Shared baseline: 1080 × 1920, H.264 + AAC, 24/30/60 fps.
- Safe‑zone differences:
- TikTok: larger caption area can expand at the bottom; keep bottom 320–360 px clear.
- YouTube Shorts: channel name/subscribe button near lower left/right; avoid corner‑anchored text.
- Margins: keep 5–10% padding on all sides for on‑screen text and lower thirds.
- Captions/subtitles: use your own burned‑in subs sized for small screens; avoid platform auto‑caption overlays covering your designed text.
- Watermarks: never repost a downloaded, watermarked video. Upload the original master to each platform separately.
- One master to rule them all:
- Compose inside the 4:5 center‑safe area.
- Place lower thirds above the bottom 320 px.
- Keep CTAs away from the right edge icons and left edge avatar areas.
Troubleshooting quality loss
Symptoms and fixes:
- Blurry or soft uploads:
- Ensure the app’s “Upload at highest quality” is enabled.
- Export at 1080 × 1920 with 8–12 Mbps VBR (or higher for fast motion).
- Avoid double or triple exports; upload from the master.
- Use a strong, stable connection; pause other traffic while uploading.
- Banding in gradients (skies, walls, graphics):
- Add very light film grain or dithering (2–4%).
- Keep gradients subtle; avoid large flat tones.
- Export with higher bitrate or lower CRF (e.g., CRF 18–20).
- If possible, capture/edit in 10‑bit and convert to high‑quality 8‑bit on export.
- Stutter or jitter:
- Match timeline FPS to capture FPS; don’t mix 24/30/60 without conscious conversion.
- Follow the 180° shutter rule when shooting (e.g., 30 fps → 1/60, 60 fps → 1/120).
- Color shifts:
- Work in Rec.709; convert HDR sources to SDR before export.
- Ensure limited/full range conversions are handled by your NLE; avoid washed blacks.
- Crunchy edges/over‑sharpening:
- Apply gentle sharpening only (small radius, low amount).
- Avoid stacking sharpened exports.
Lighting and capture tips:
- Use more light; compression loves well‑exposed, low‑noise footage.
- Keep ISO as low as practical; avoid underexposure.
- Stabilize: tripod, gimbal, or in‑app stabilization; shaky footage compresses poorly.
Advanced creative tips that respect safe zones
On‑screen text and subtitles:
- Size for mobile: aim for a minimum text height of ~60–72 px at 1080p.
- High contrast combos (white with black stroke or drop shadow).
- 3–6 words per line; 1–2 lines max. Pace: 0.75–1.5 seconds per line.
Lower‑third templates:
- Position above the bottom 320 px; keep 120 px from right edge.
- Use a semi‑transparent bar or clean pill shape to lift text from background.
Framing subjects for Reels and feed preview:
- Compose faces and products inside the 4:5 center crop.
- Leave headroom for top overlays; avoid cutting eyebrows in the square grid.
Hooks, pacing, and b‑roll:
- Land your hook in the first 2 seconds; make it readable without audio.
- Intercut tight b‑roll every 2–4 seconds to maintain momentum.
- Micro‑transitions (whip pans, match cuts) help retention without feeling gimmicky.
Motion graphics for small screens:
- Bold shapes, simple easing (ease in/out), limit fine detail.
- Animate in layers: background plate, subject, text, accent graphics—avoid clutter.
- Keep brand elements consistent but minimal; logos belong in a safe, non‑intrusive corner (left side preferred to dodge right‑side icons).
A reusable 1080 × 1920 template (quick build)
Create once, use forever:
- Base canvas: 1080 × 1920, 9:16 sequence.
- Guides:
- Horizontal guide at 285 px from top and 285 px from bottom to mark the 4:5 center window (1080 × 1350).
- Vertical guides at 60 px (left) and 120 px (right) for side UI breathing room.
- Additional guides at 200 px from top and 320 px from bottom as “no‑text” zones for overlays.
- Save as template/preset in your editor (Premiere sequence preset, Final Cut project template, CapCut canvas preset).
- Include a muted overlay PNG with these guides you can toggle on/off.
Quick checklist before posting
- Aspect ratio: 9:16
- Resolution: 1080 × 1920
- Safe zones: all key text/logos within center 4:5; nothing under top/bottom UI
- Cover: 1080 × 1920 with a strong center 1:1 crop
- Export: H.264, 8–12 Mbps (30 fps) or 10–16 Mbps (60 fps), AAC 48 kHz
- Color: Rec.709 SDR; convert HDR if needed
- Captions: readable, high contrast, not blocked by UI
- Upload: original master, “highest quality” enabled
Master these reels dimensions and you’ll not only prevent bad crops—you’ll unlock cleaner visuals, higher retention, and a smoother workflow that scales across Instagram, Facebook, TikTok, and Shorts.
Summary
- Build a 9:16, 1080 × 1920 master with clear inner safe zones, and compose key elements inside a 4:5 center crop.
- Export H.264 + AAC at appropriate bitrates and frame rates, prefer Rec.709 SDR, and avoid multi‑generation compression.
- Use consistent templates and margins to sidestep UI overlays, enabling painless cross‑posting to Instagram, Facebook, TikTok, and YouTube Shorts.


