How to Schedule Twitter Messages (on X): Tools, Best Times, and Workflows
Learn how to schedule posts on X (formerly Twitter): compare native vs third-party tools, find best times, build team workflows, and track analytics.
This practical guide shows you how to schedule posts on X (formerly Twitter) with confidence and clarity. It compares native and third‑party tools, outlines step‑by‑step workflows, and helps you test timing so you can publish consistently without sounding automated. You’ll also find guidance on team approvals, analytics, and avoiding common pitfalls.
How to Schedule Twitter Messages (on X): Tools, Best Times, and Workflows

Whether you still call it Twitter or now “X,” the mechanics of consistent publishing haven’t changed: you need to show up where your audience is, at the times they’re listening. In this guide, you’ll learn how to schedule Twitter messages effectively, compare native and third‑party options, set best‑time windows, and build workflows that scale without feeling robotic.
Why scheduling Twitter (X) messages matters
- Consistency without burnout: Scheduling lets you publish steadily even on your busiest days, preserving a dependable cadence.
- Global reach: Audiences span time zones. Scheduled posts hit morning commutes in London and afternoon breaks in New York.
- Strategic batching: Draft media, threads, and copy in focus blocks, then line them up for the week.
- Space for creativity: Free your brain from the “post now” treadmill, and use real-time energy for replies and conversations.
- Experimentation: Plan A/B tests and content themes, then observe results in a more controlled way.
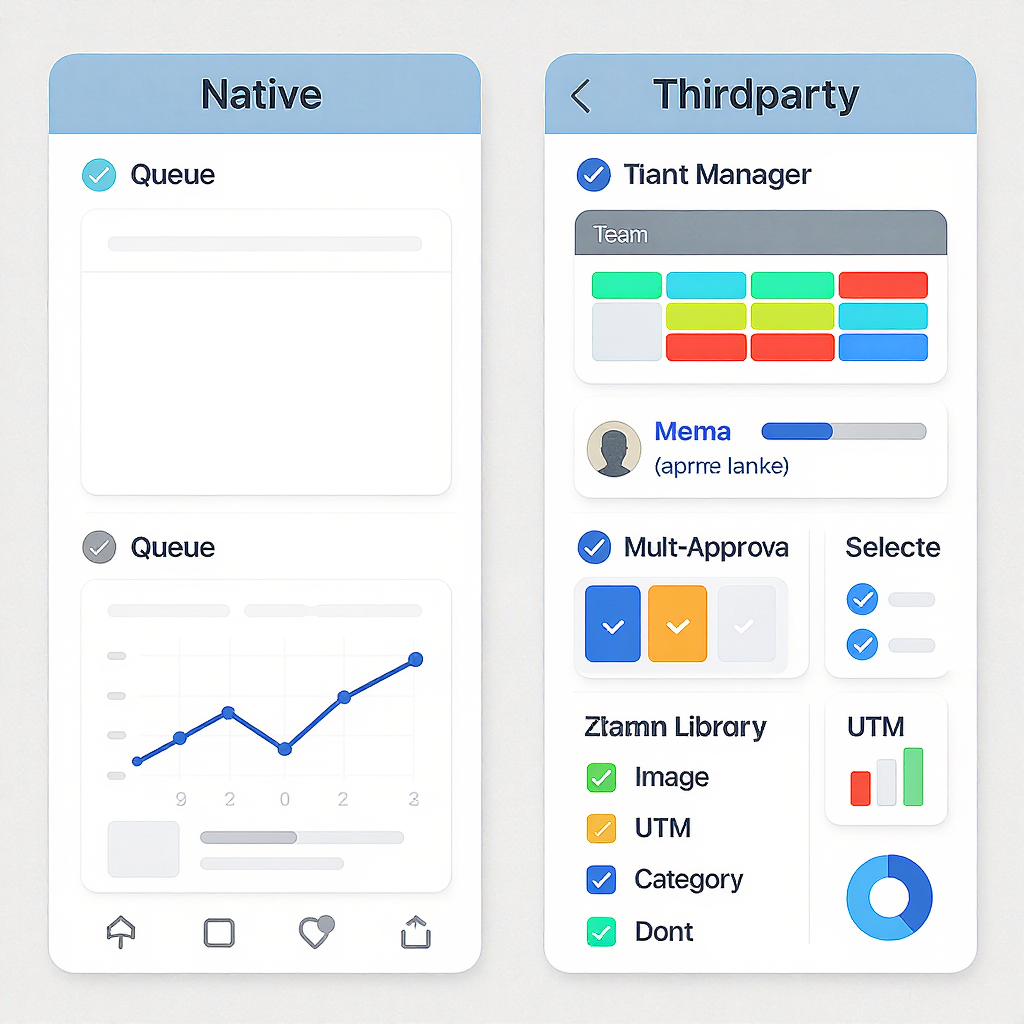
Native vs third-party options
X’s native scheduling capabilities and third‑party schedulers both help you schedule Twitter messages, but they differ in depth and workflow features.
- What X currently supports
- Native scheduling is available in certain web experiences and X Pro (formerly TweetDeck). Features and access may vary by account type or subscription and change frequently.
- Pros: Free or low cost, “closest to the metal,” fewer moving parts.
- Cons: Limited approvals, collaboration, queue logic, and cross‑platform publishing.
- When third‑party tools shine
- Buffer: Lightweight scheduling and queues, ideal for small teams.
- Hootsuite: Broad feature set with streams, approvals, and reporting.
- Sprout Social: Strong collaboration, social inbox, listening, and analytics.
- Others to consider: Later, Loomly, SocialPilot, Metricool.
Below is a quick comparison to help you decide:
| Capability | Native X | Buffer | Hootsuite | Sprout Social |
|---|---|---|---|---|
| Schedule from web UI | Yes (varies) | Yes | Yes | Yes |
| Bulk upload | Limited/None | Limited | Yes | Yes |
| Approval workflows | Basic/None | Basic | Advanced | Advanced |
| Best-time suggestions | Limited | Basic | Yes | Yes |
| Social inbox & assignments | Limited | Limited | Yes | Yes |
| Analytics depth | Basic | Basic | Intermediate | Advanced |
| Multi-network publishing | No | Yes | Yes | Yes |
Tip: Because X features evolve, verify native availability in your account before adopting a third‑party stack.
Step-by-step: schedule a post with a third-party tool
The steps below are tool‑agnostic and mirror Buffer/Hootsuite/Sprout workflows.
- Connect your X account
- In your scheduler, go to Settings > Social Accounts and authorize your X handle.
- Apply least‑privilege access: only connect the profiles you’ll publish to.
- Create a new post
- Click Compose. Write concise copy, lead with the hook, and place the link near the end.
- Add relevant hashtags sparingly (1–2), and prioritize keywords in plain language.
- Add media and accessibility
- Upload images or video. Prefer square or 16:9 formats that preview cleanly.
- Add alt text that describes the content and context for screen readers.
- Choose timing
- Pick “Schedule” and set a date/time in your audience’s primary time zone.
- Alternatively, use “Queue” to drop content into your pre‑defined slots.
- Set approvals (team workflows)
- Assign a reviewer, add notes, and require approval before it can publish.
- Use version history to track edits.
- Final checks and UTM tags
- Confirm link tracking (UTM parameters) so you can attribute traffic later.
- Preview the post on desktop and mobile.
- Schedule or add to queue
- Hit Schedule. The post is now in your calendar; move or duplicate it as needed.
Finding your best posting times
“Best time to post” lists are generic. Your audience is unique. Use data:
- Start with X Analytics: Check days and hours with the highest engagement rates.
- Observe inbound activity: When do replies and DMs spike?
- Create a time-window test: For two weeks, post in distinct windows (e.g., 8–10am, 12–2pm, 5–7pm local).
- Hold variables steady: Similar content types across windows to isolate timing.
- Analyze per‑slot performance: Engagement rate per impression, CTR, profile visits, follows.
Pro tip: Segment by content type. Your threads might do best in evenings, while video highlight clips may peak at lunch hours.

Building a weekly content calendar
Balance reach, depth, and community building. A simple weekly rhythm:
- Evergreen posts to drive steady traffic.
- Timely news or commentary to join the conversation.
- Threads for depth and shareability.
- Replies/quote posts to engage peers and customers.
Sample structure you can adapt:
| Day | Morning | Midday | Afternoon/Evening |
|---|---|---|---|
| Mon | Evergreen tip + image | Reply/Quote peer thread | Thread: How‑to / case study |
| Tue | Short video clip | Poll (market insight) | Customer spotlight |
| Wed | Blog link + stat | Answer FAQs in replies | Space/Live reminder |
| Thu | Product tip + screenshot | Quote industry report | Thread: teardown/opinion |
| Fri | Win/lesson of the week | Community shoutout | Fun/light post |
CSV starter template you can import into many schedulers:
date,time,timezone,copy,media_url,alt_text,link,utm_source,utm_medium,utm_campaign,notes,owner,status
2025-09-29,09:00,America/New_York,"Your hook here #YourKeyword",https://example.com/image.jpg,"Describe the image for accessibility",https://example.com,"twitter","social","sept_campaign","Needs approval",Alice,Draft
Media and format optimization
- Images: Use crisp, high‑contrast visuals. Include brand elements subtly. Add alt text that conveys meaning, not just “image of chart.”
- Video: Keep cuts tight. Add burned‑in captions or upload captions where supported.
- Threads: Outline first, ensure each tweet stands on its own. Schedule with adequate spacing to avoid flooding feeds.
- Polls: Use sparingly to learn, not just to farm engagement.
- Links vs. media: Test both. Sometimes a pure text hook with a follow‑up reply containing the link performs better.
- How scheduling impacts visibility: Avoid stacking too many posts within the same hour; let each breathe. Keep an eye on any platform changes that may prioritize certain formats.
Automation without spam
Scheduling is not a license to firehose. Thoughtful automation helps you scale:
- Queues: Define time slots by content pillar (e.g., education, community, product).
- RSS‑to‑post: Automate only high‑quality sources. Route into a drafts queue for a human pass.
- Content recycling: Re‑surface evergreen posts months later with updated copy, fresh visuals, and context.
- Variations: Write 2–3 copy variants per URL and rotate across time zones.
- UTM tagging: Attribute traffic cleanly in analytics tools.
Example of adding UTM parameters to a link you schedule:
Original: https://example.com/guide
With UTM: https://example.com/guide?utm_source=twitter&utm_medium=social&utm_campaign=q4_launch&utm_content=thread_hook
Respect platform rules:
- Don’t post identical content repeatedly in short windows.
- Avoid aggressive follow/unfollow or reply spam.
- Monitor API and rate‑limit updates from X to keep integrations healthy.
Team workflows: roles, approvals, and secure access
- Roles and permissions: Define creators, editors, approvers, and publishers. Use role‑based access in your scheduler.
- Two‑person integrity: For sensitive announcements, require two approvals before publishing.
- Social inbox coordination: Assign replies/DMs, use internal notes, and set SLAs for response times.
- Secure access management:
- Enforce SSO and MFA/2FA.
- Centralize account ownership; minimize shared passwords.
- Rotate tokens/keys, and promptly remove access when roles change.
Measure and iterate
Track performance beyond vanity metrics. Look at:
- Engagement rate per impression (quality of resonance)
- CTR and link‑assisted conversions (traffic and outcomes)
- Profile visits and follow rate (audience growth)
- Save and share signals (longer‑term value proxies)
- Response times and resolution in the inbox (support impact)
A/B testing workflow:
- Create two variants that change only one element (hook, image, or CTA).
- Schedule them in comparable time windows on different days.
- Use consistent UTMs: utm_content=variant_a vs variant_b.
- Declare a winner on a rolling 7‑ or 14‑day window, then scale.
Dashboards: Combine X Analytics with your scheduler’s reports and your web analytics to see the full funnel from impression to conversion.
Common pitfalls and compliance
- Over‑scheduling: Too many posts cannibalize attention. Cap daily volume and leave room for spontaneous participation.
- Duplicate content: Recycled posts should be significantly revised. Vary copy, visuals, and angles.
- API/rate‑limit changes: Platform policies evolve. Keep integrations updated and have a fallback (native posting).
- Brand voice drift: Maintain a voice and style guide. Store approved phrases, tone rules, and do‑not‑say lists.
- Compliance and legal: If you operate in regulated industries, route posts through legal review and archive all communications. Use disclaimers when required.
Final thoughts
When you schedule Twitter messages thoughtfully, you gain consistency, reach, and clarity—without losing authenticity. Start small: define your pillars, set 5–10 weekly slots, test time windows, and enforce approvals. Then iterate with data. The goal isn’t to automate your voice; it’s to free it to show up where and when it matters most.
Summary
- Use native scheduling for simplicity or third‑party tools for collaboration, queues, and analytics.
- Test distinct posting windows and segment by content type to find your real best times.
- Build a weekly calendar, enforce approvals and secure access, and measure outcomes with UTMs and dashboards to continually refine your workflow.