How to Use View As on Facebook Profile for Privacy
Learn how to use Facebook's View As feature to check what others see on your profile, protect privacy, and adjust visibility for past posts.
Introduction to Facebook’s “View As” Feature for Privacy Control
Facebook’s “View As” feature is a built-in privacy tool that allows you to view your profile exactly as another person — either the public or a specific friend — would see it. This function is invaluable for managing your personal information, helping you identify what is visible to strangers and acquaintances without needing to log out or create a second account.
Regularly using “View As” ensures you’re aware of what you may be sharing unintentionally, from photos to contact information, and allows you to correct your privacy settings quickly. Whether you use Facebook for personal connections, career networking, or public engagement, this feature is essential for safeguarding your digital footprint.

---
Why Checking Your Profile from a Visitor’s Perspective Matters for Privacy
Many Facebook users post daily without realizing certain information is visible to the entire internet. Over time, this can expose sensitive personal data such as:
- Your complete birthdate
- Phone number or email address
- Posts revealing your home or travel location
- Photos showing family members or private activities
Using “View As”, you can:
- Prevent identity theft by hiding sensitive details
- Reduce spam or unsolicited contact from strangers
- Maintain a professional image for employers and colleagues
- Avoid oversharing private moments or family matters
Routine checks help reduce your exposure to potential risks.
---
How to Access the “View As” Tool Step-by-Step on Desktop
Accessing “View As” on Facebook’s desktop version is straightforward:
- Log in to your Facebook account via a web browser.
- Navigate to your profile page.
- Click the three-dot menu on the bottom-right of your cover photo.
- Select View As from the dropdown.
- Your profile reloads as the public can see it.
- Click the ‘X’ or “Exit View As” to return to your normal view.
Pro Tip: By default, it shows the public view. To see how a specific friend views your profile, use privacy menus for individual posts.
---
How to Use “View As” on Mobile Devices (Android/iOS)
Although steps may vary slightly, Android and iOS both provide easy access:
For Android
- Open the Facebook app.
- Tap your profile picture or access your profile via the menu.
- Tap the three-dot icon beside Edit Profile.
- Choose View As.
- Your profile reloads in public view mode.
For iOS
- Launch the Facebook app on your iPhone or iPad.
- Go to your profile by tapping your profile picture.
- Tap the three dots near your name.
- Select View As.
On mobile, tap the back arrow to exit.
---
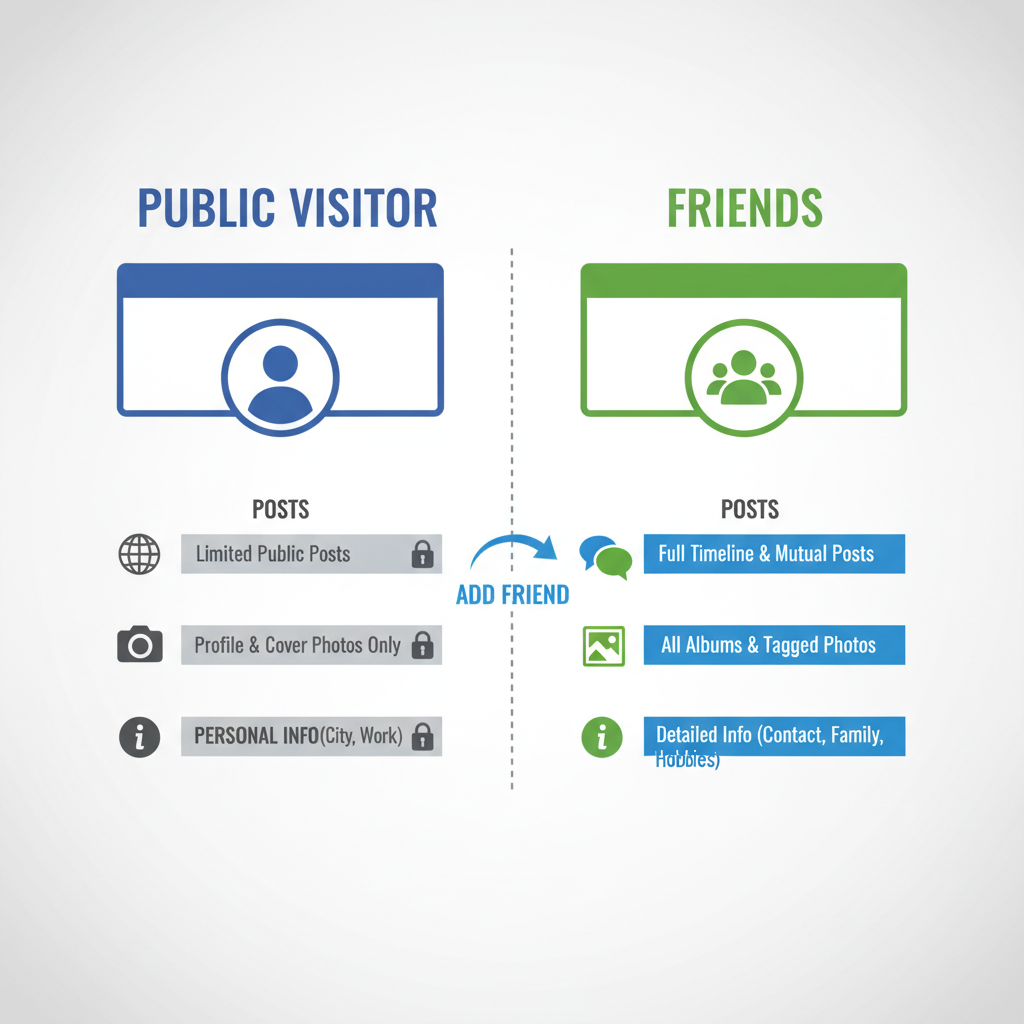
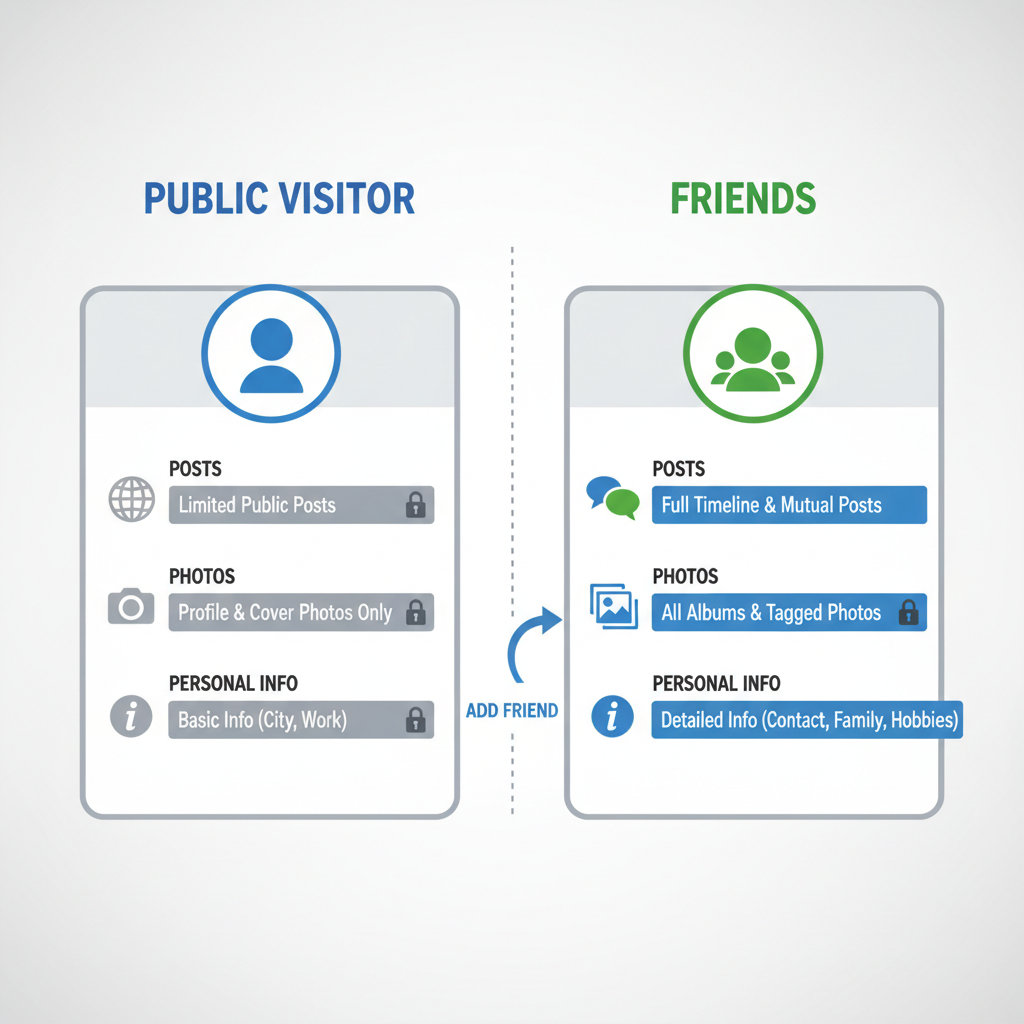
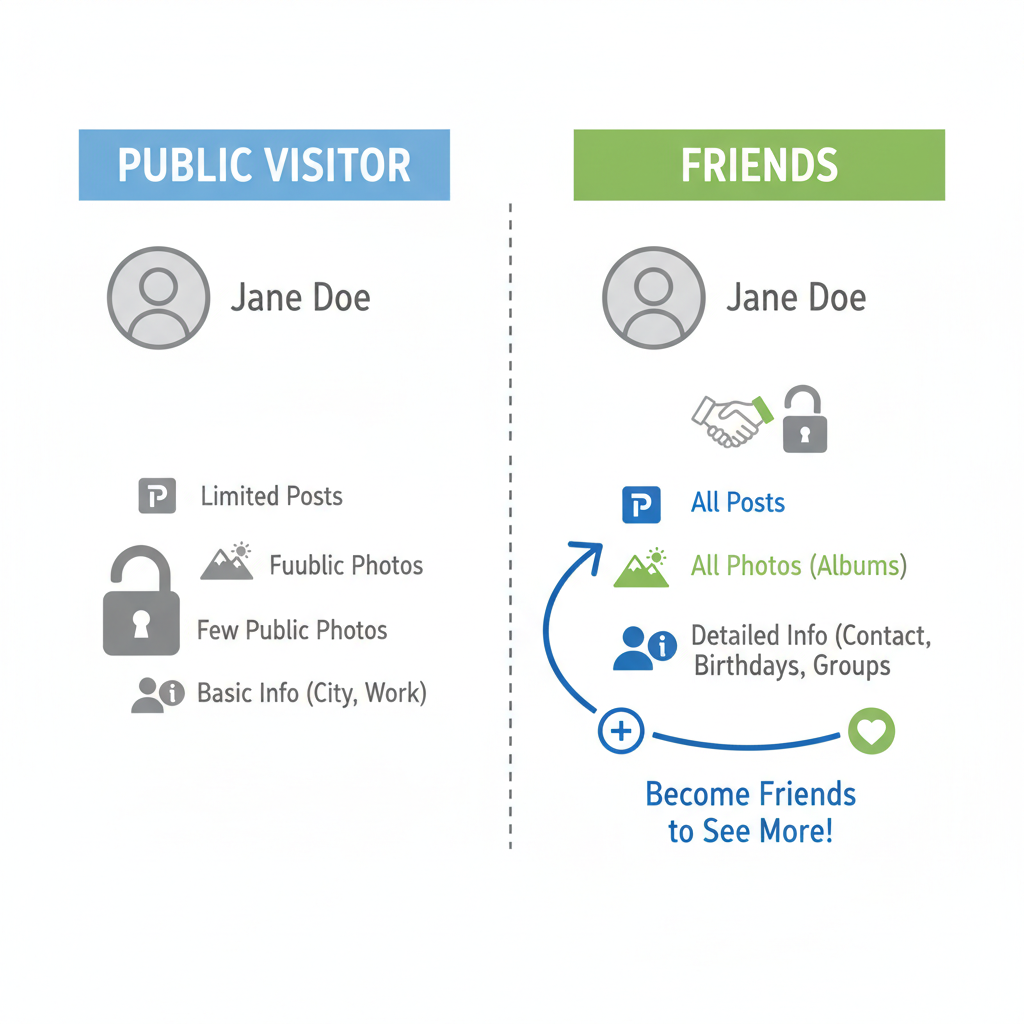
Understanding What Public Visitors vs. Friends See
Different audiences see different portions of your content. Here’s how it typically breaks down:
| Content Type | Public View | Friends View |
|---|---|---|
| Profile Picture & Cover Photo | Usually visible unless restricted | Visible |
| Timeline Posts | Public posts only | All posts shared with Friends |
| About Information | Publicly set fields | Public + Friends-only fields |
| Tagged Photos | Public or unhidden tags | Most tags unless individually restricted |
Review your settings to manage visibility effectively for each category.
---
Managing Visibility for Past Posts
When “View As” reveals old posts you’d prefer to hide, you can adjust their visibility:
- Go to the post in question.
- Click/tap the audience selector icon (globe, two people, or lock).
- Change to Friends or Only Me.
- For bulk changes, use the Limit Past Posts option to switch old content to friends-only.
This is vital for images and updates posted years ago under less strict privacy settings.
---
Reviewing About Section, Photos, and Tagged Posts
Your About section may contain sensitive details such as address, workplace, or school. In “View As” mode:
- Identify which About fields are public.
- Change their privacy to Friends or Only Me for safety.
Photos:
- Check for public albums you may want to restrict.
- Edit album settings in the Photos section.
Tagged Content:
- Remove tags or adjust post privacy as needed.
- Enable Timeline Review to approve tags before they appear on your profile.
---
Adjusting Privacy for Sensitive Information
If “View As” shows sensitive details publicly, act quickly:
- Navigate to Settings & Privacy → Settings.
- Select Privacy.
- Modify Who can see your future posts.
- Edit Profile and Tagging for tighter control.
For personal identifiers like phone number or email:
- Visibility should be set to Only Me.
- Avoid ever making these public unless absolutely necessary.
---
Best Practices for Ongoing Facebook Privacy Protection
Treat privacy as an active, ongoing process:
- Quarterly reviews: Incorporate “View As” into your routine.
- Post-change updates: Change settings after switching jobs, moving, or life events.
- Check app permissions: Remove apps you no longer use.
- Educate connections: Politely request friends honor your tagging/privacy preferences.
Regular adjustments reduce the risk of long-term data exposure.
---
Troubleshooting “View As” Problems
If “View As” fails to load or options are missing:
- Feature not appearing? Update your app or try desktop.
- No specific friend option? Facebook has phased this out; use custom post settings.
- Privacy changes not updating? Clear your cache or re-log.
- App issues? Reinstall Facebook or try Facebook Lite.
For persistent issues, consult Facebook Help Center — the platform frequently updates its privacy tools.
---
Conclusion: Stay in Control of Your Facebook Profile
Facebook’s “View As” is more than just a curiosity — it’s a vital privacy safeguard. By seeing your profile through the eyes of others, you can take control of your personal data, hide sensitive details, and maintain the image you want to present online.
Whether you’re concerned about identity theft, professional image, or personal safety, making “View As” part of your regular digital maintenance can help you safeguard your online presence.
Take action today: Go to your profile, open “View As,” and ensure you’re sharing only what you truly intend.